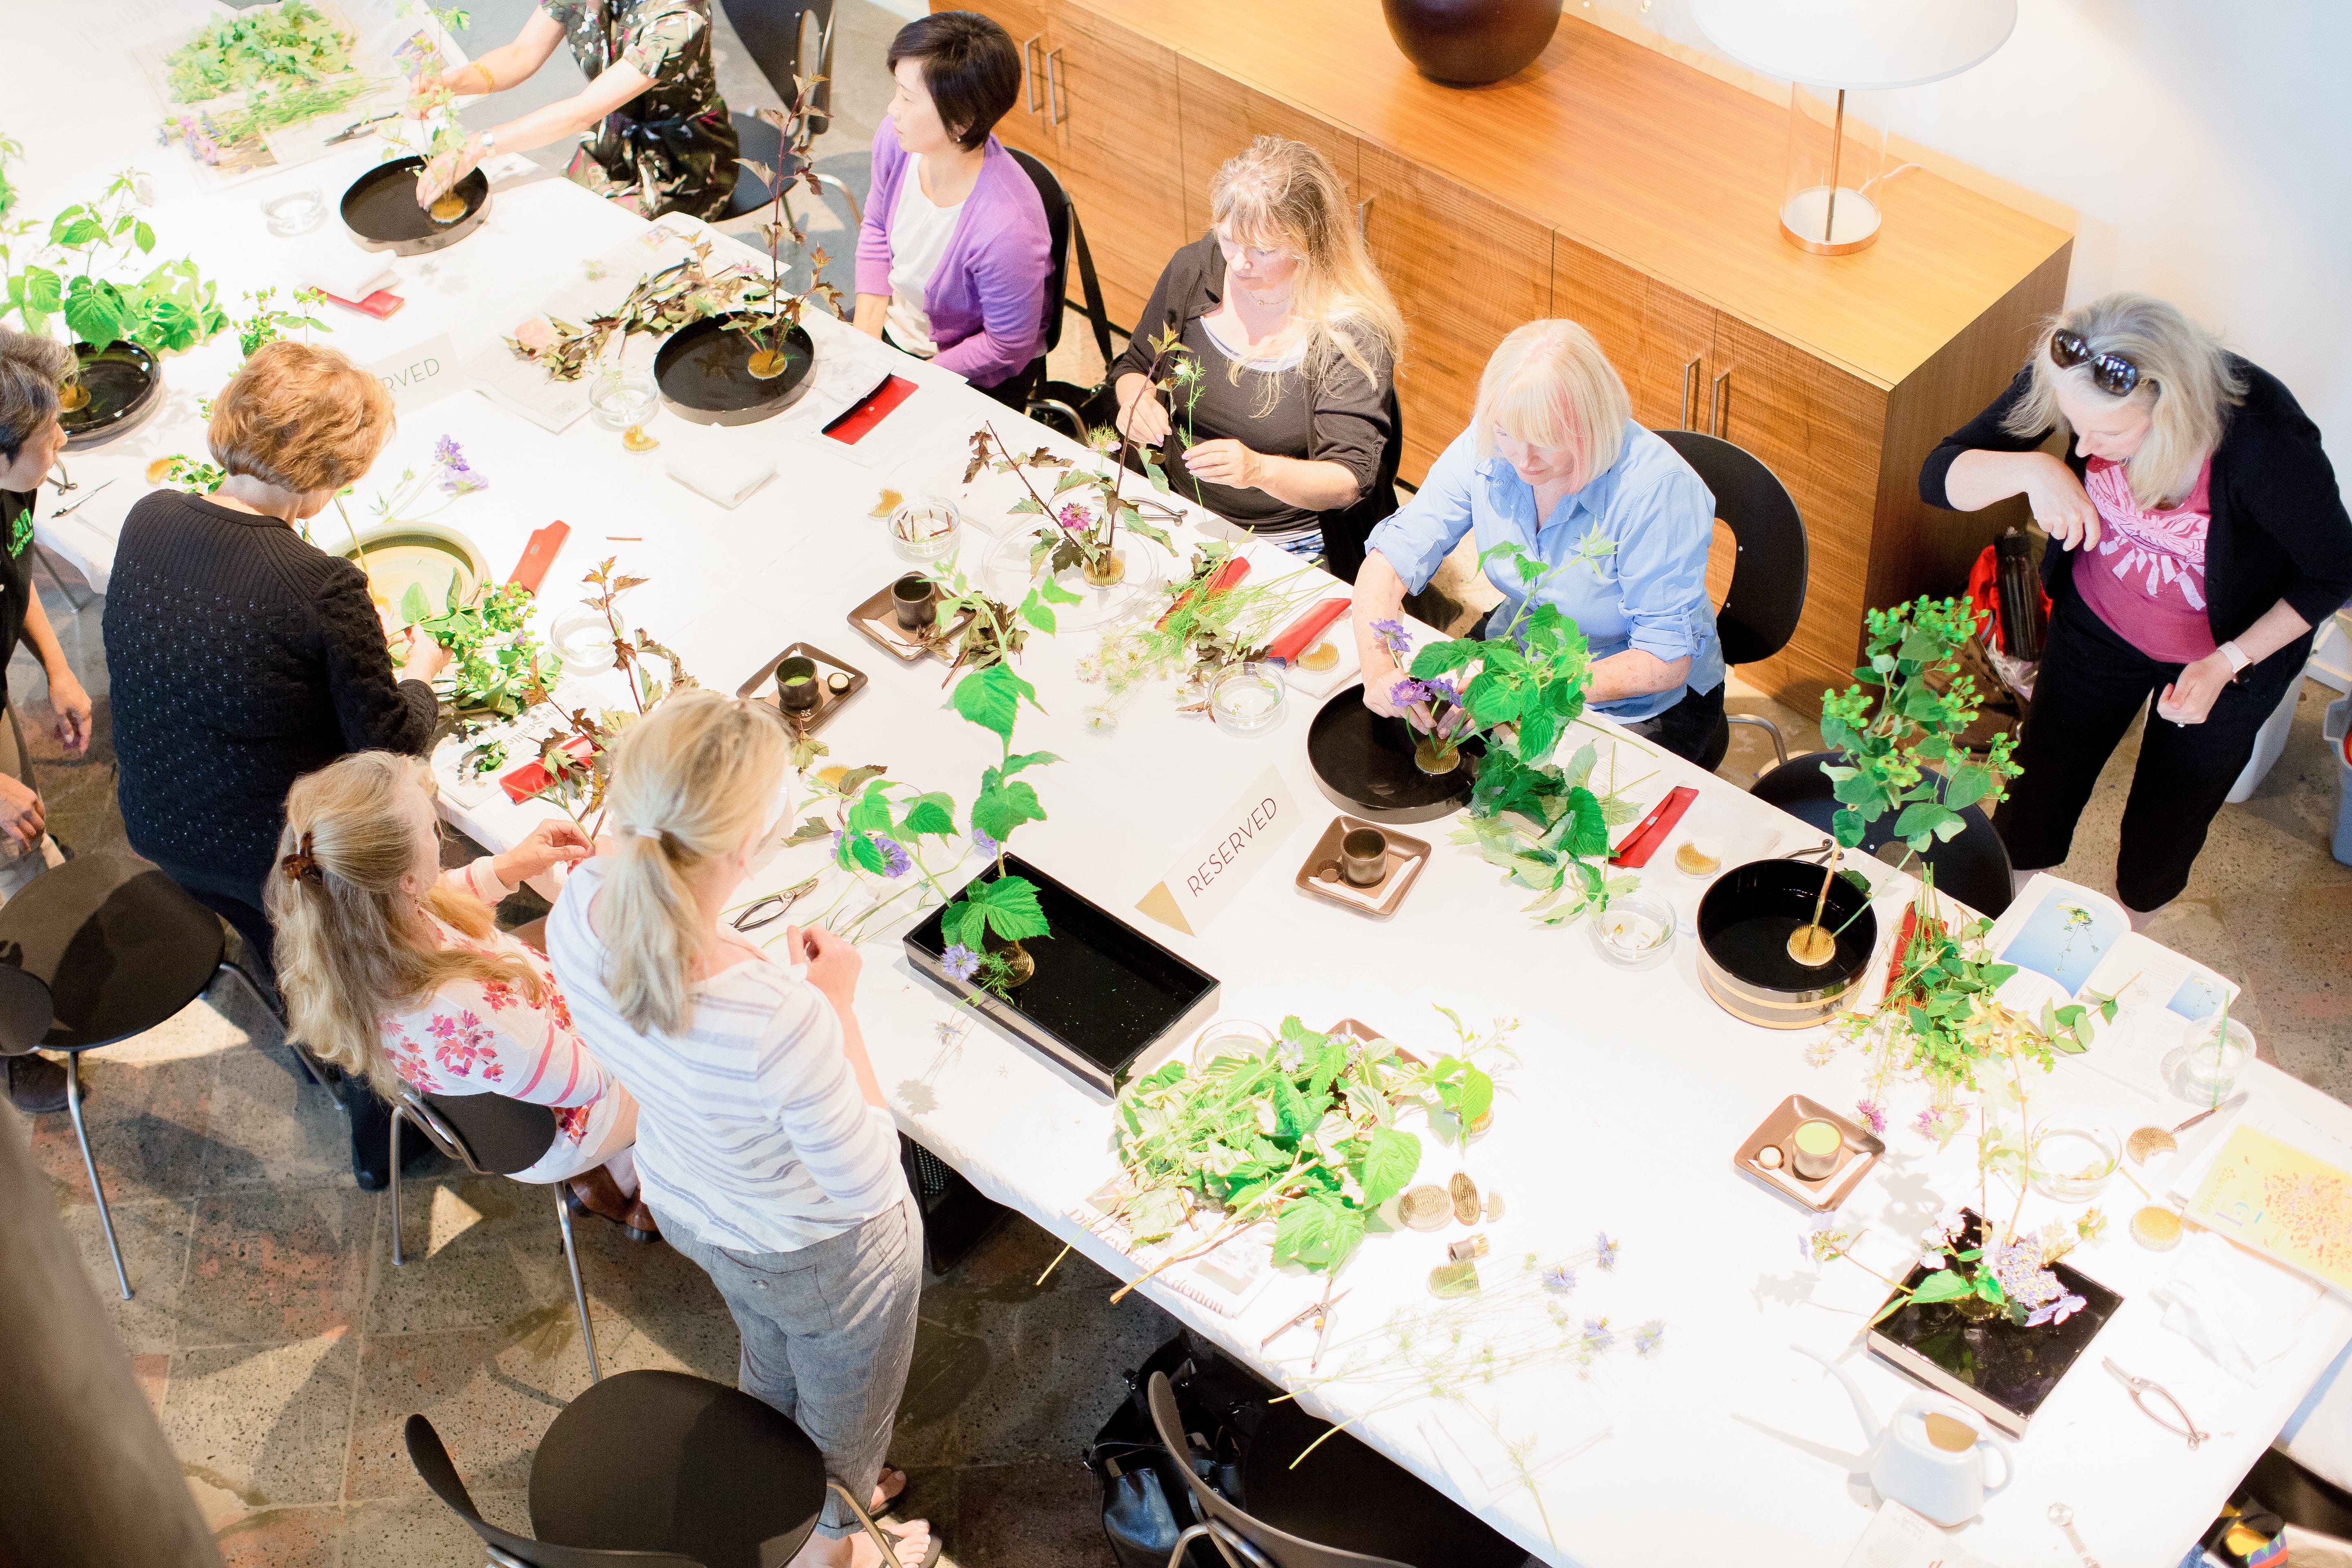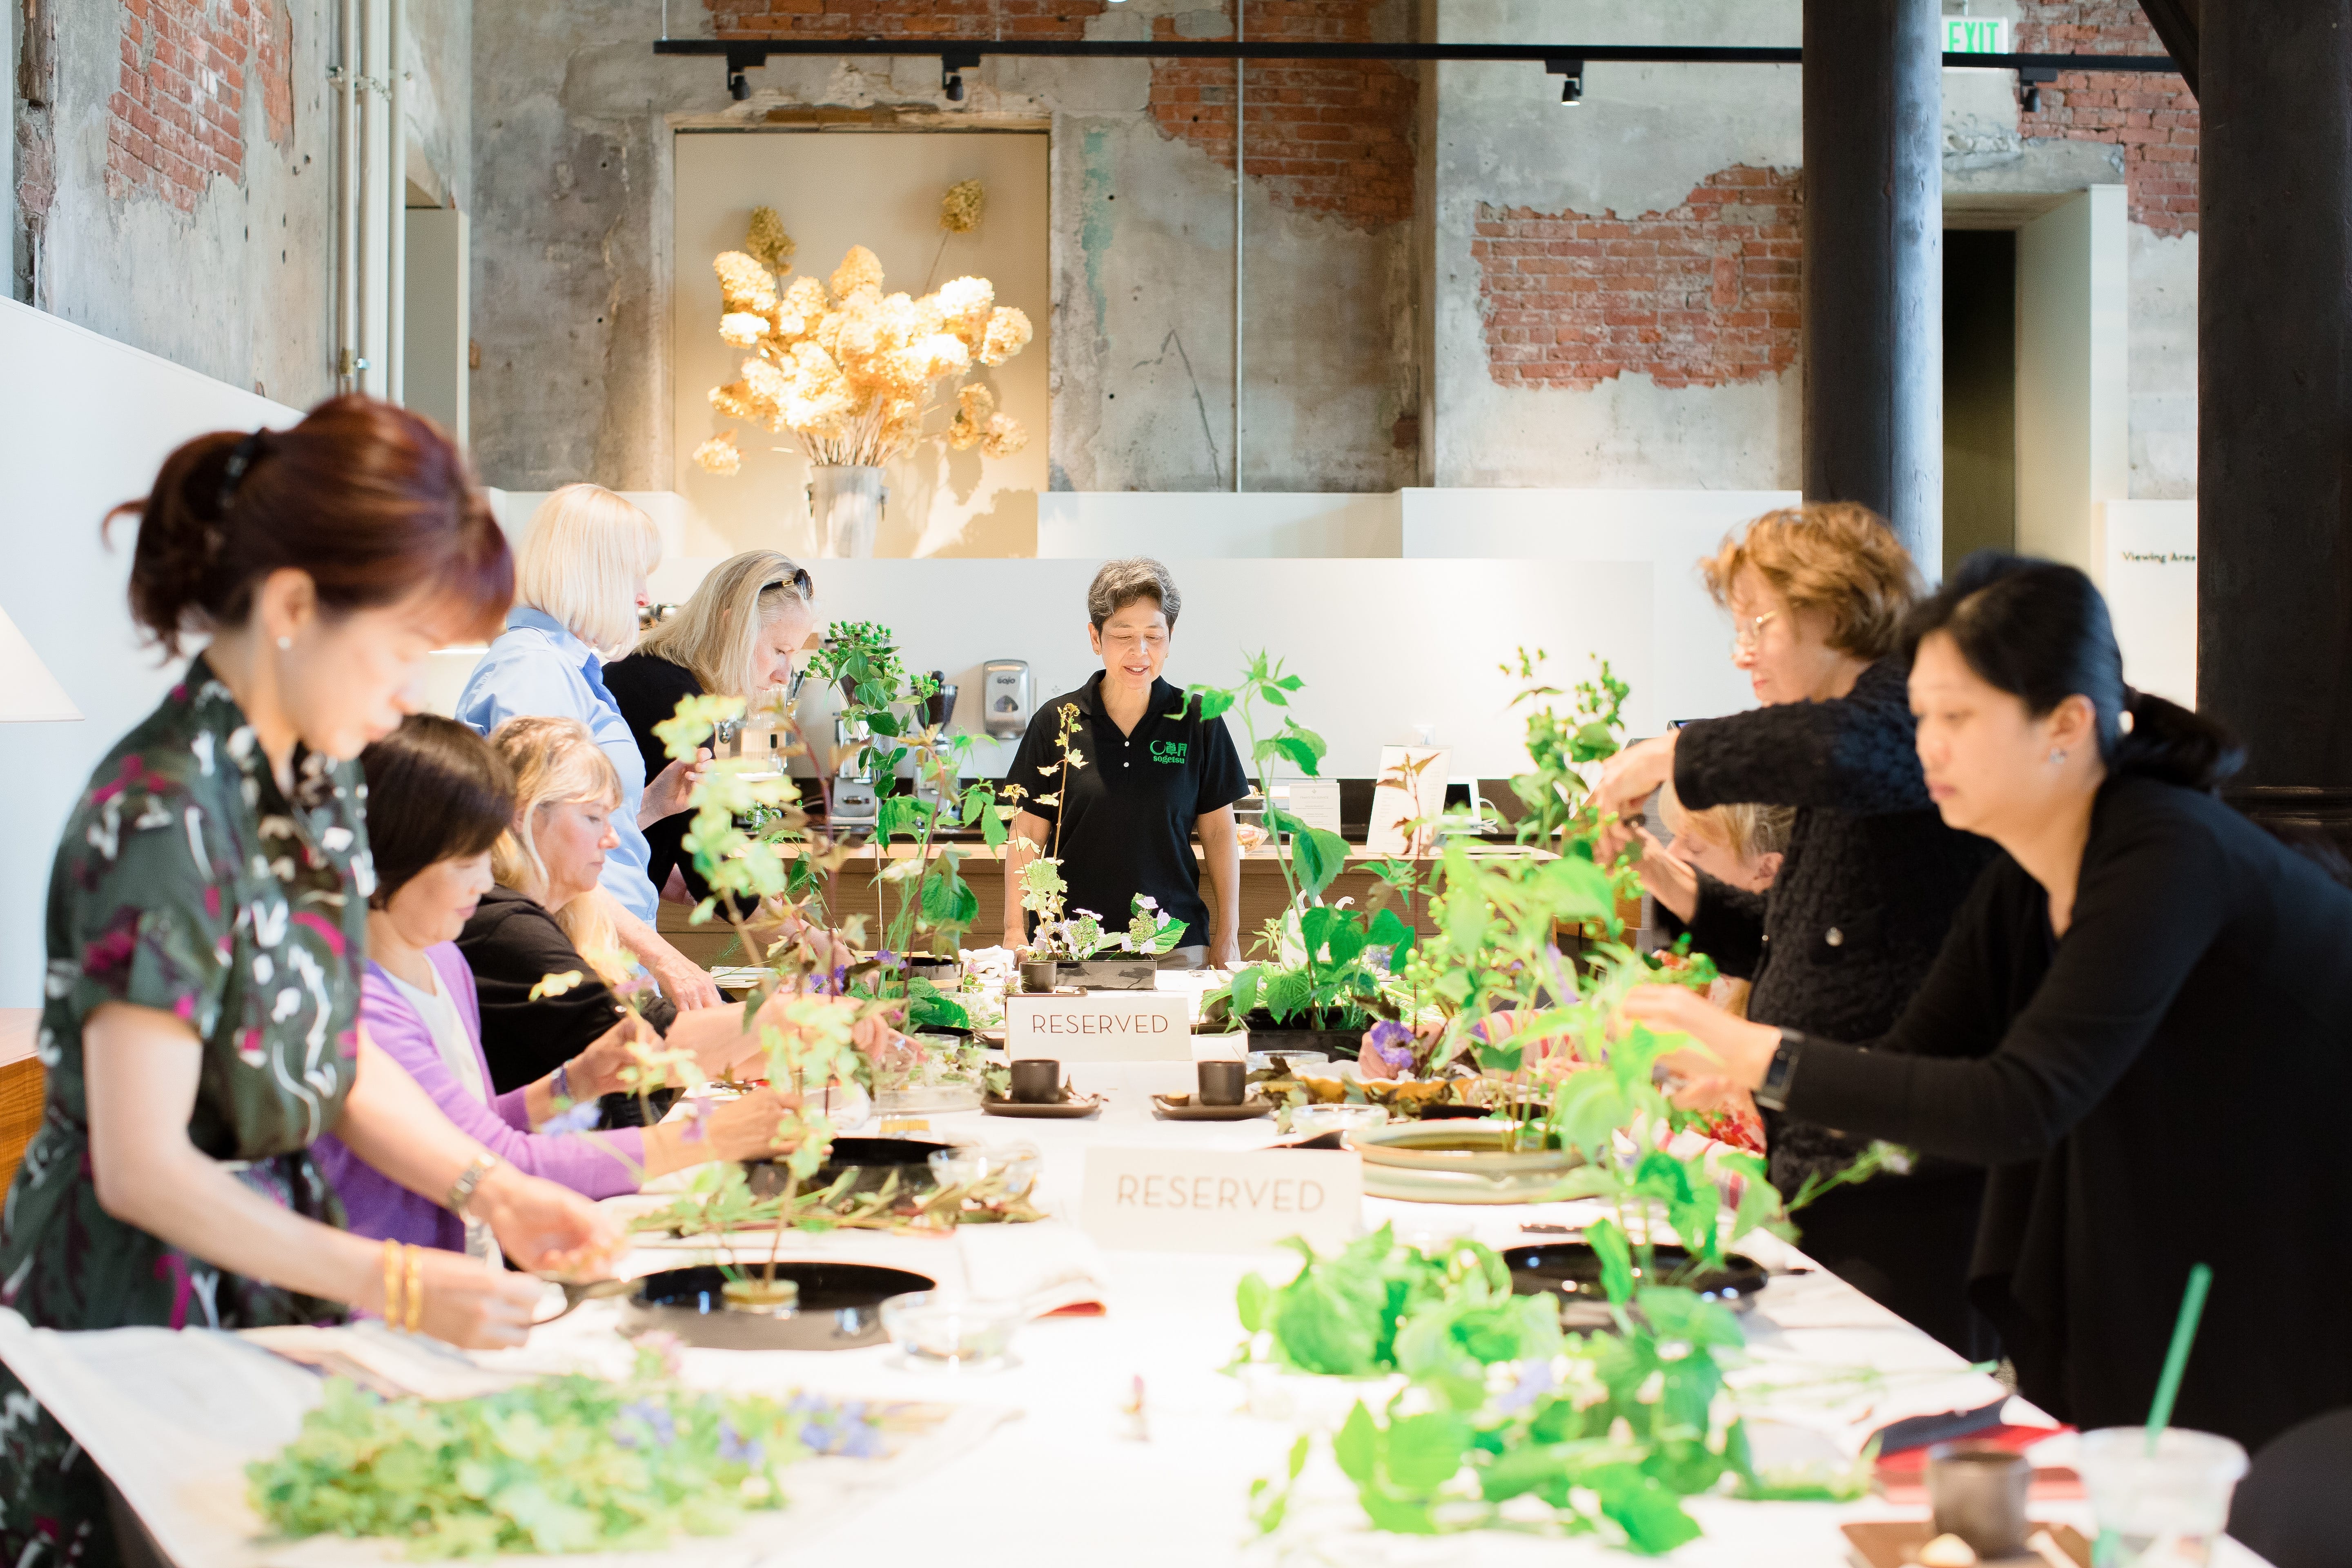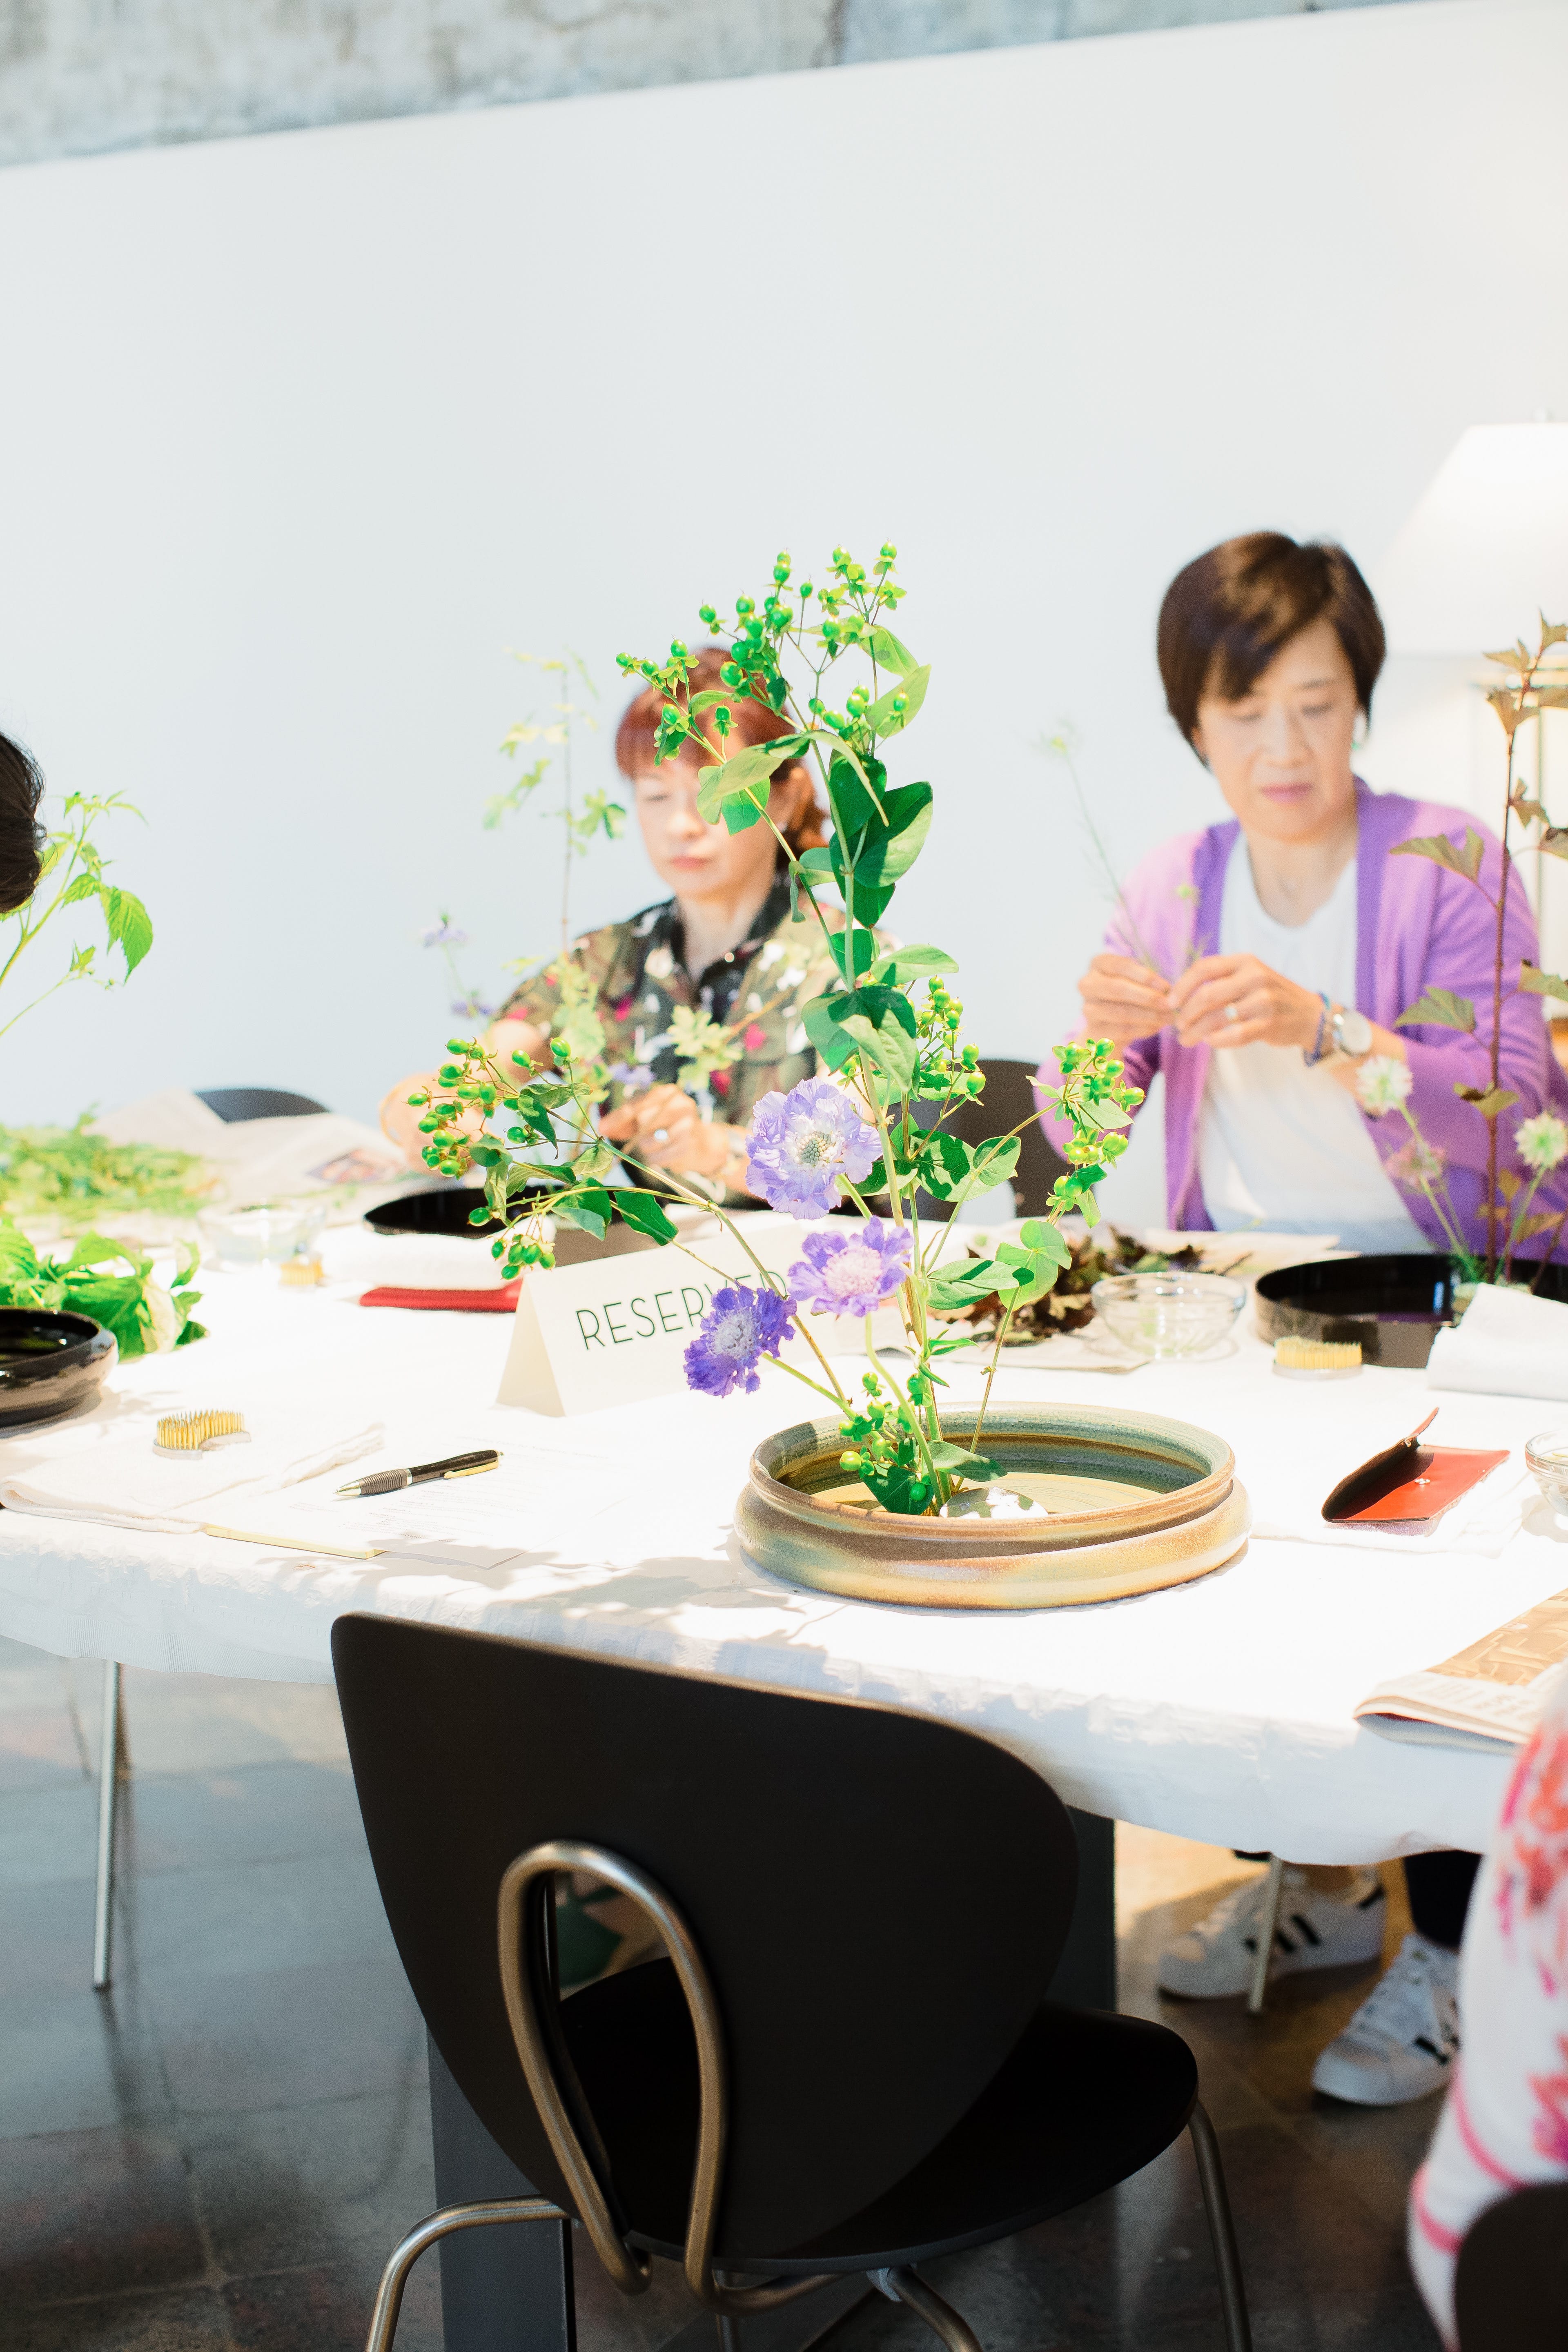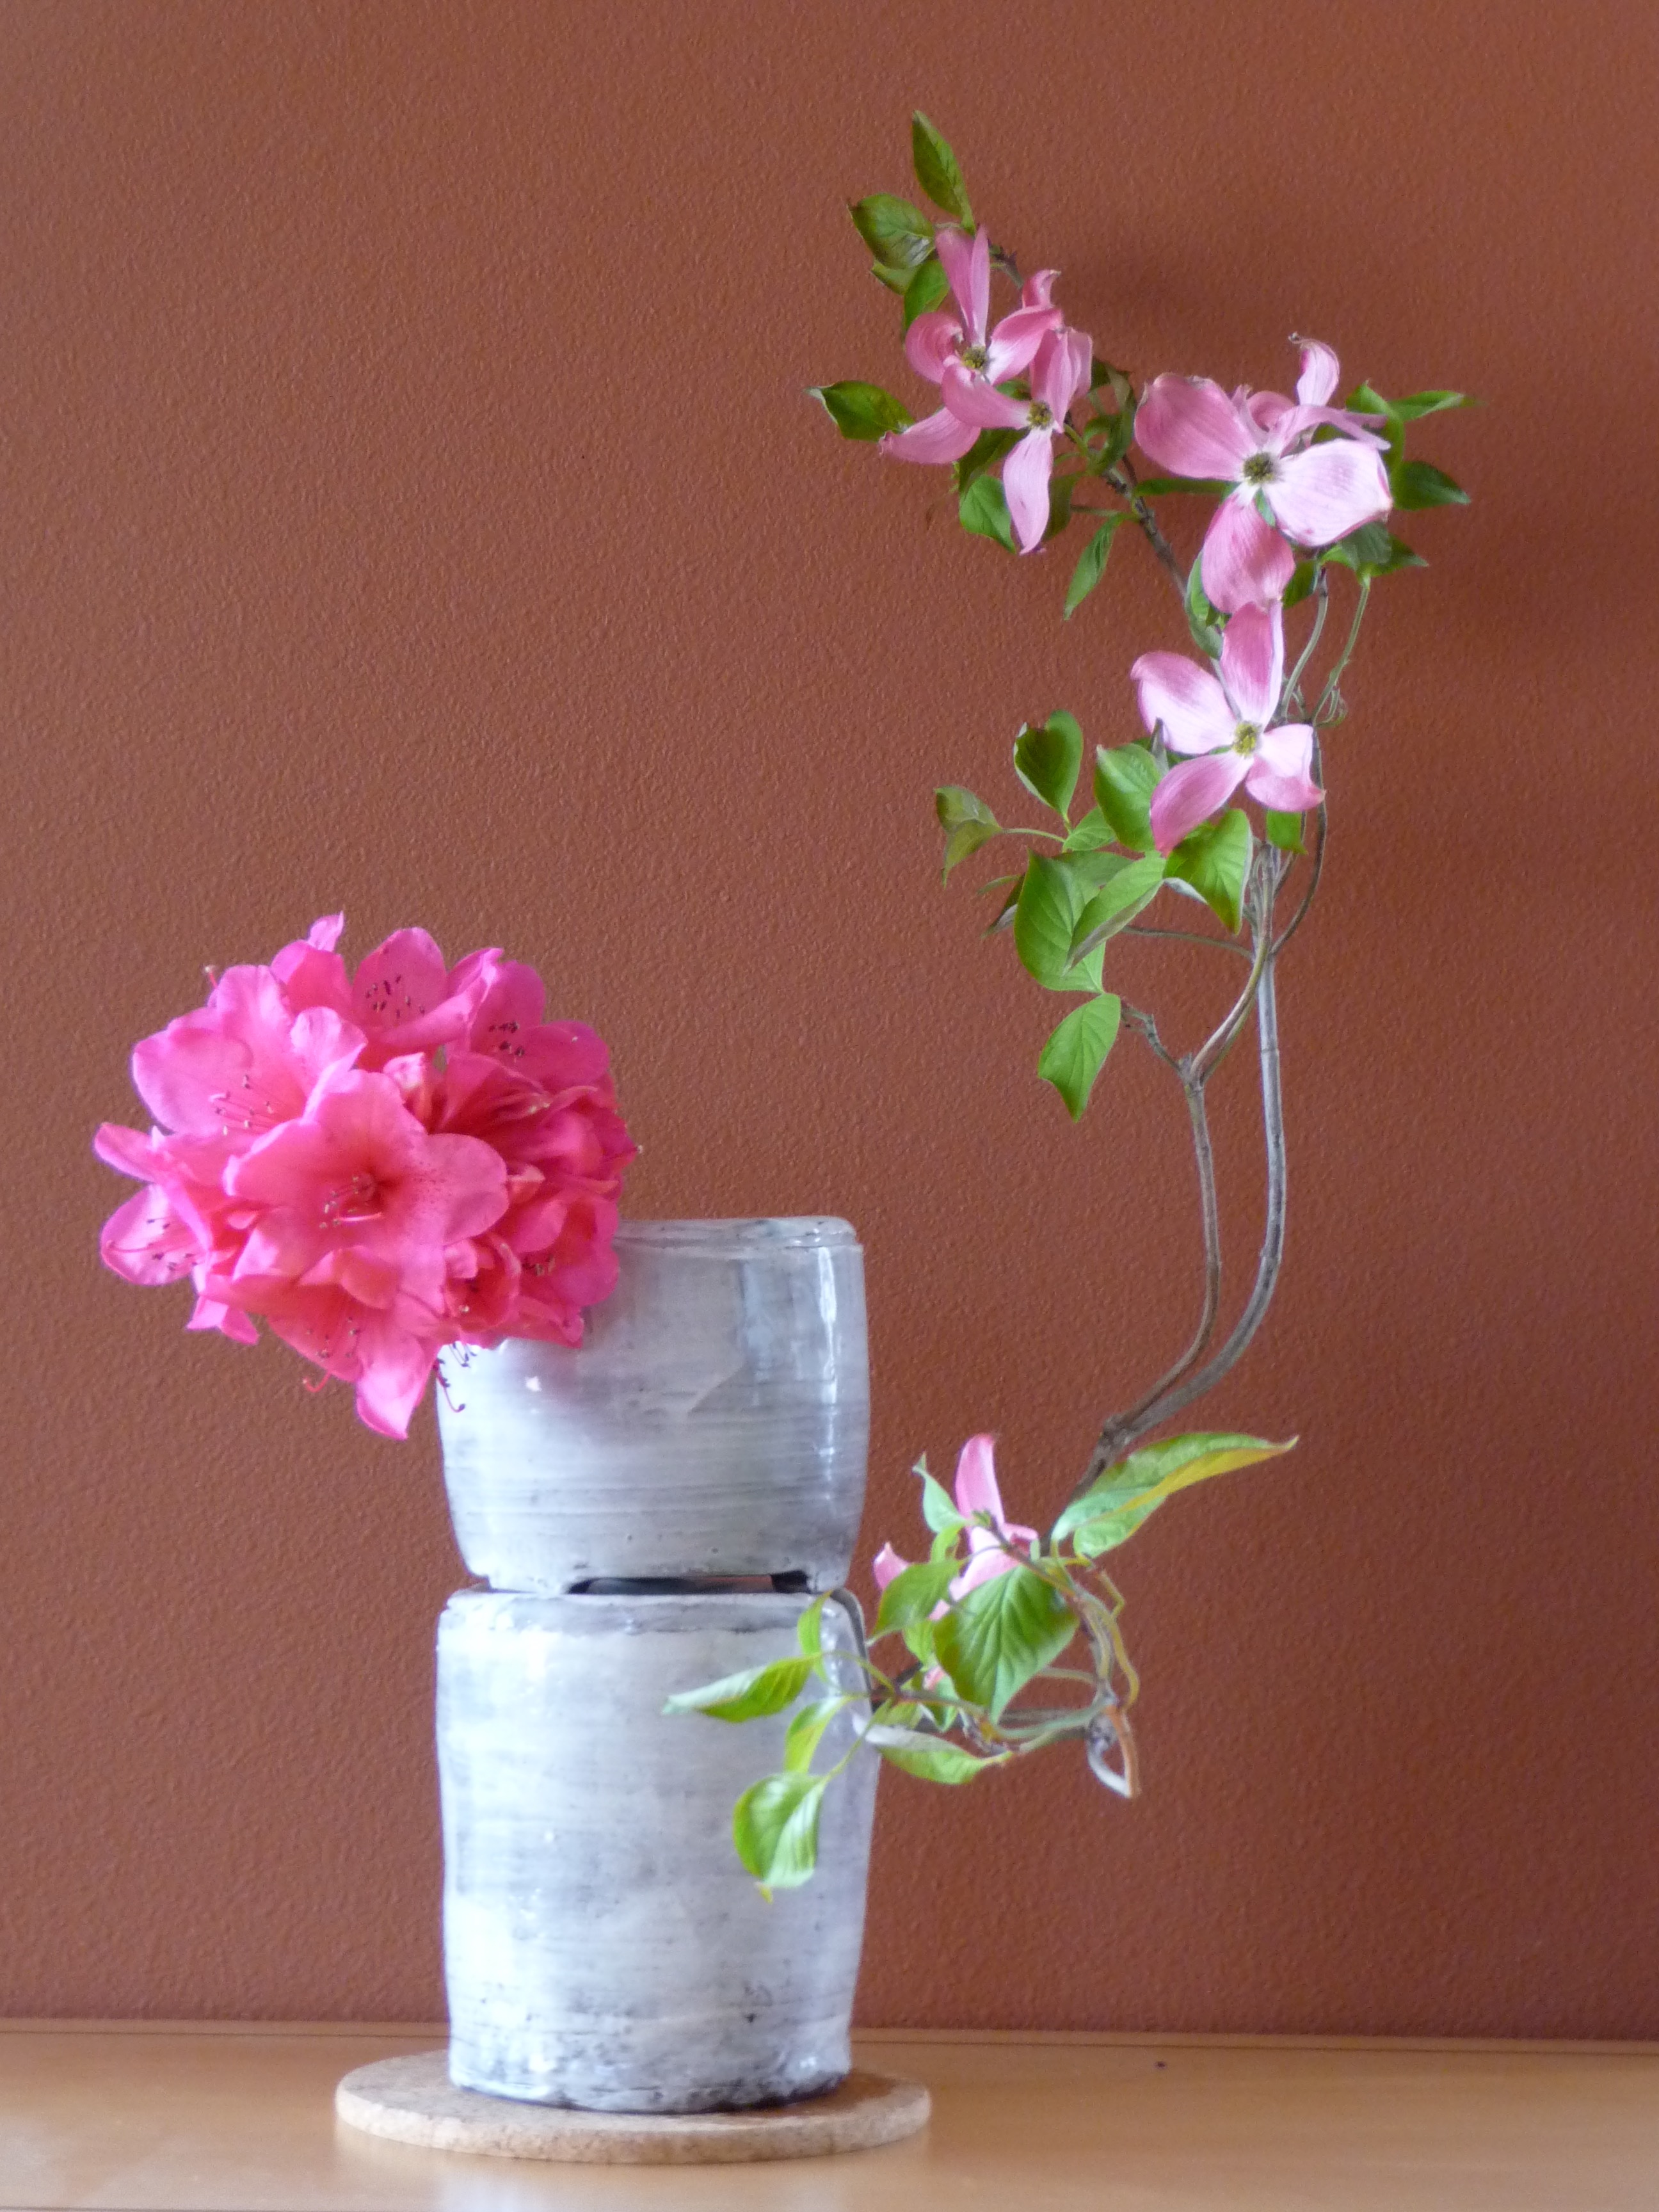
You might wonder what exactly you do and learn at our Ikebana class. So here is a sneak preview of our first lesson.
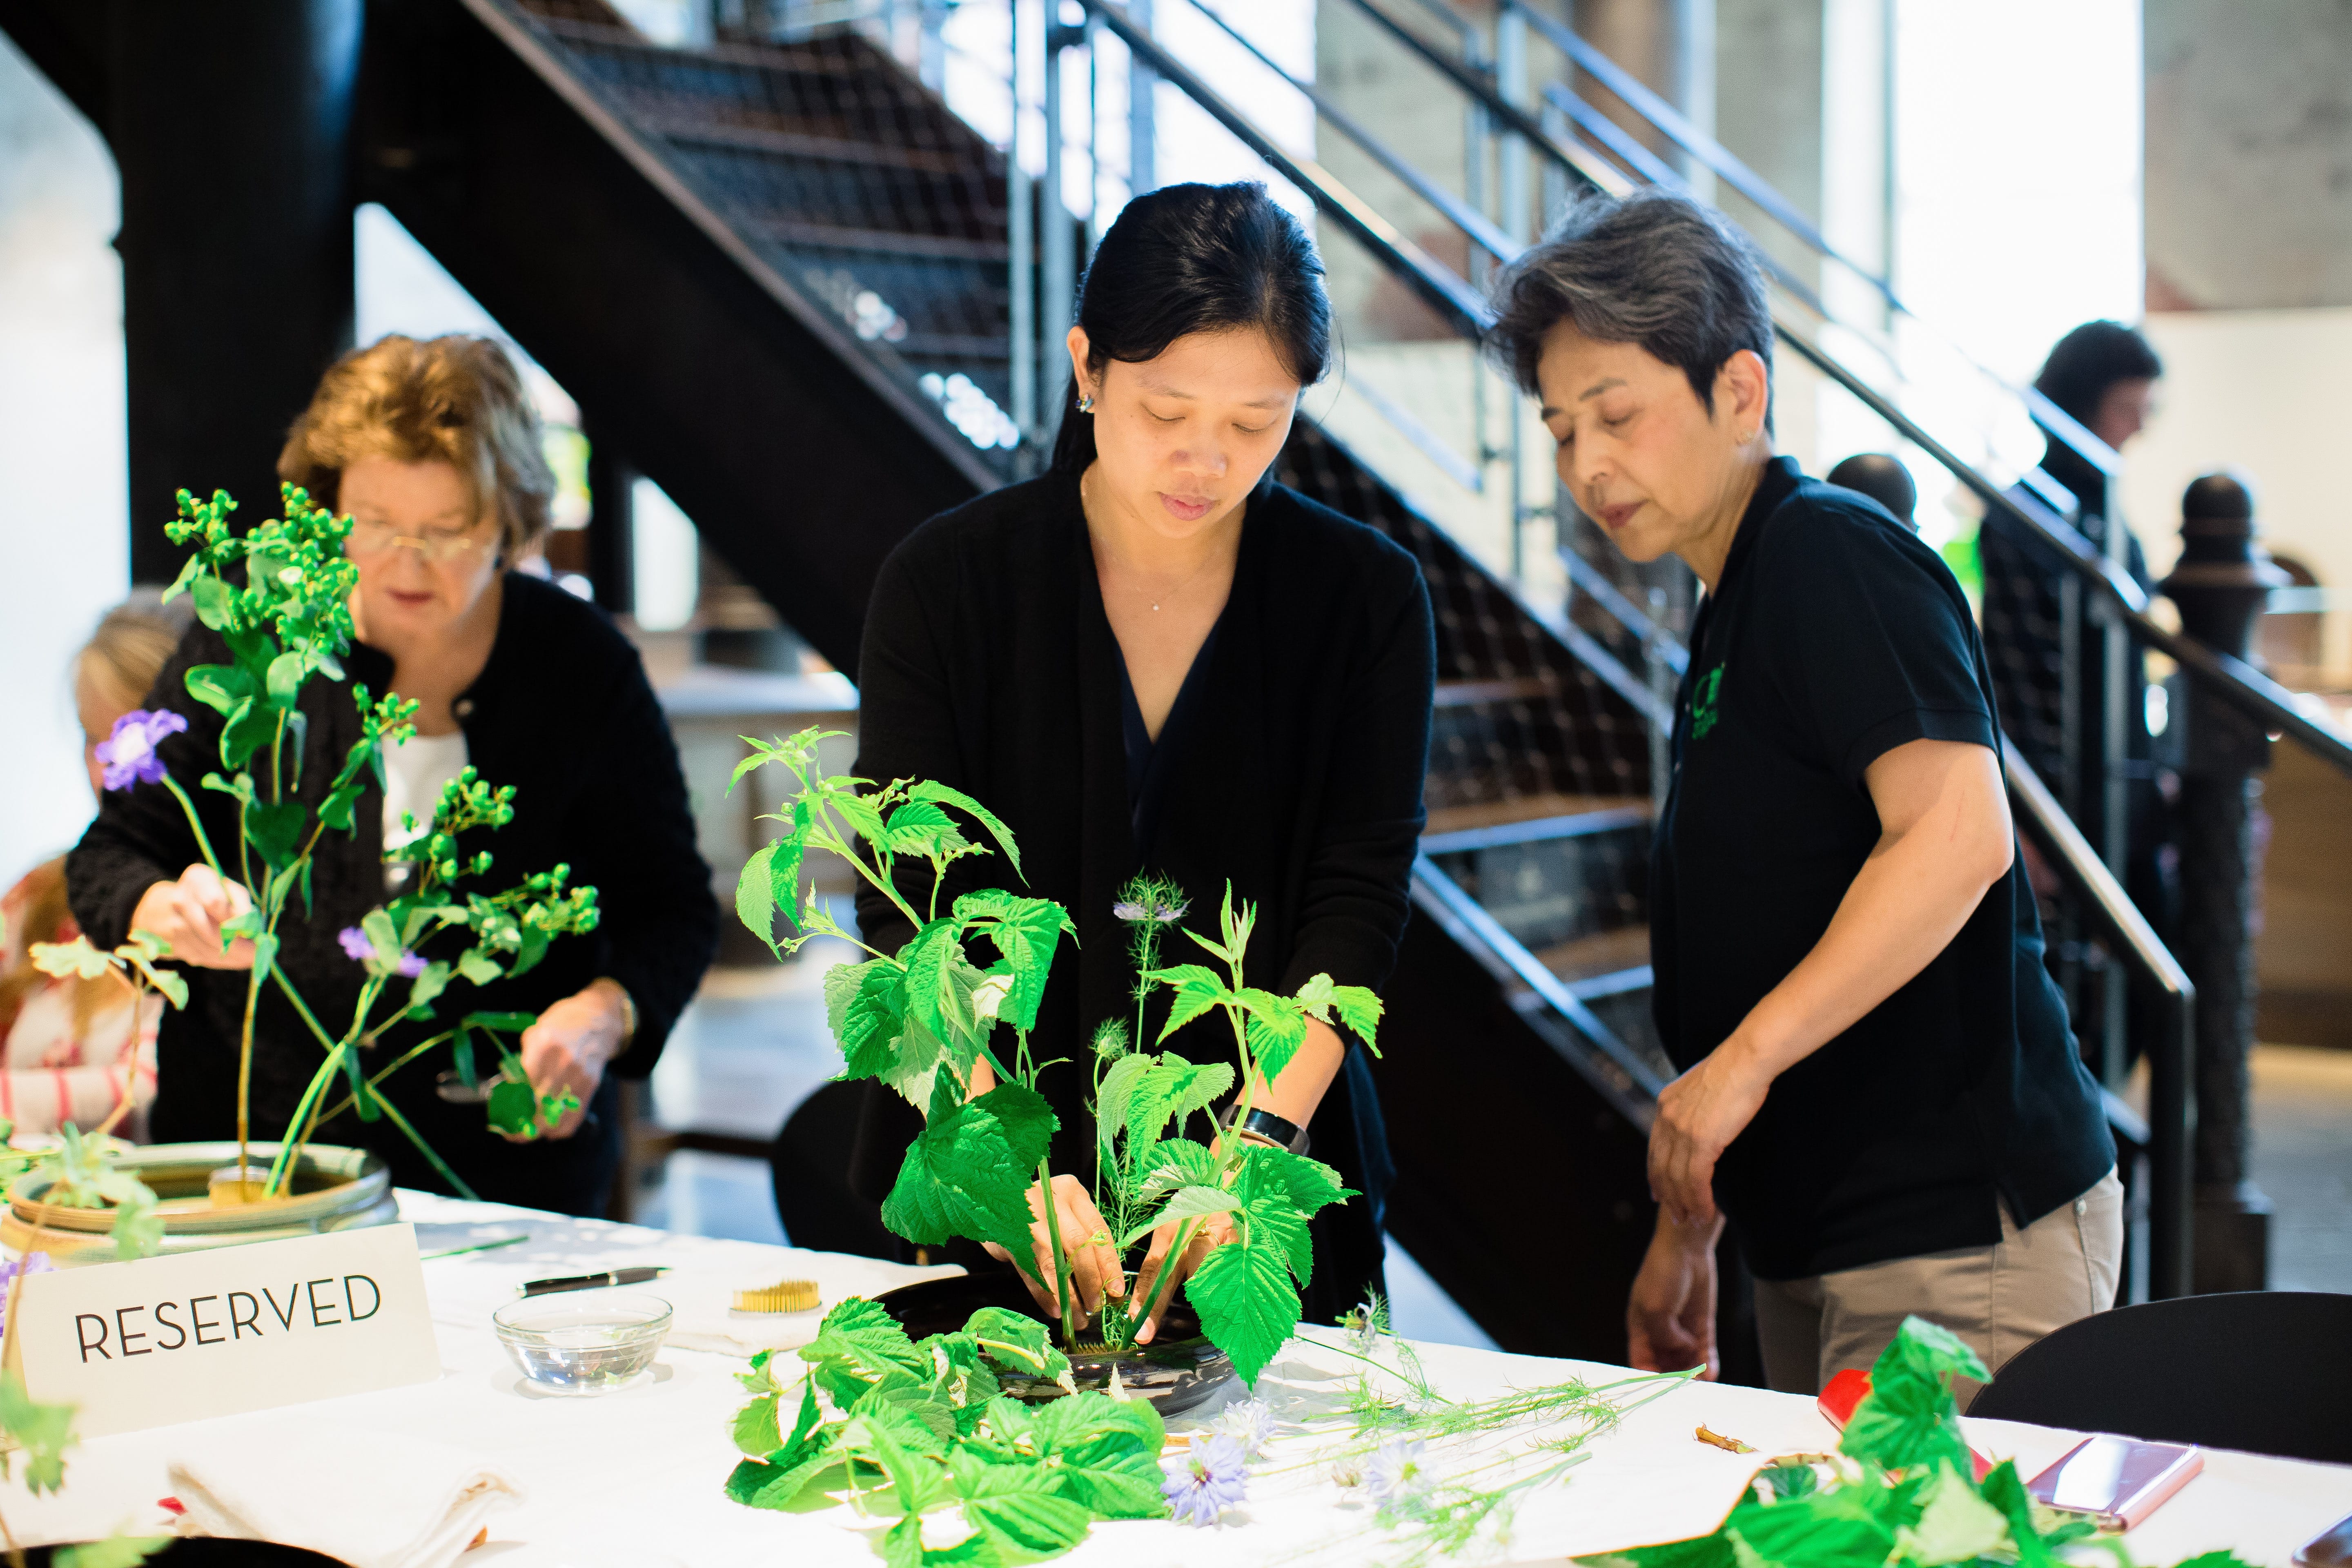
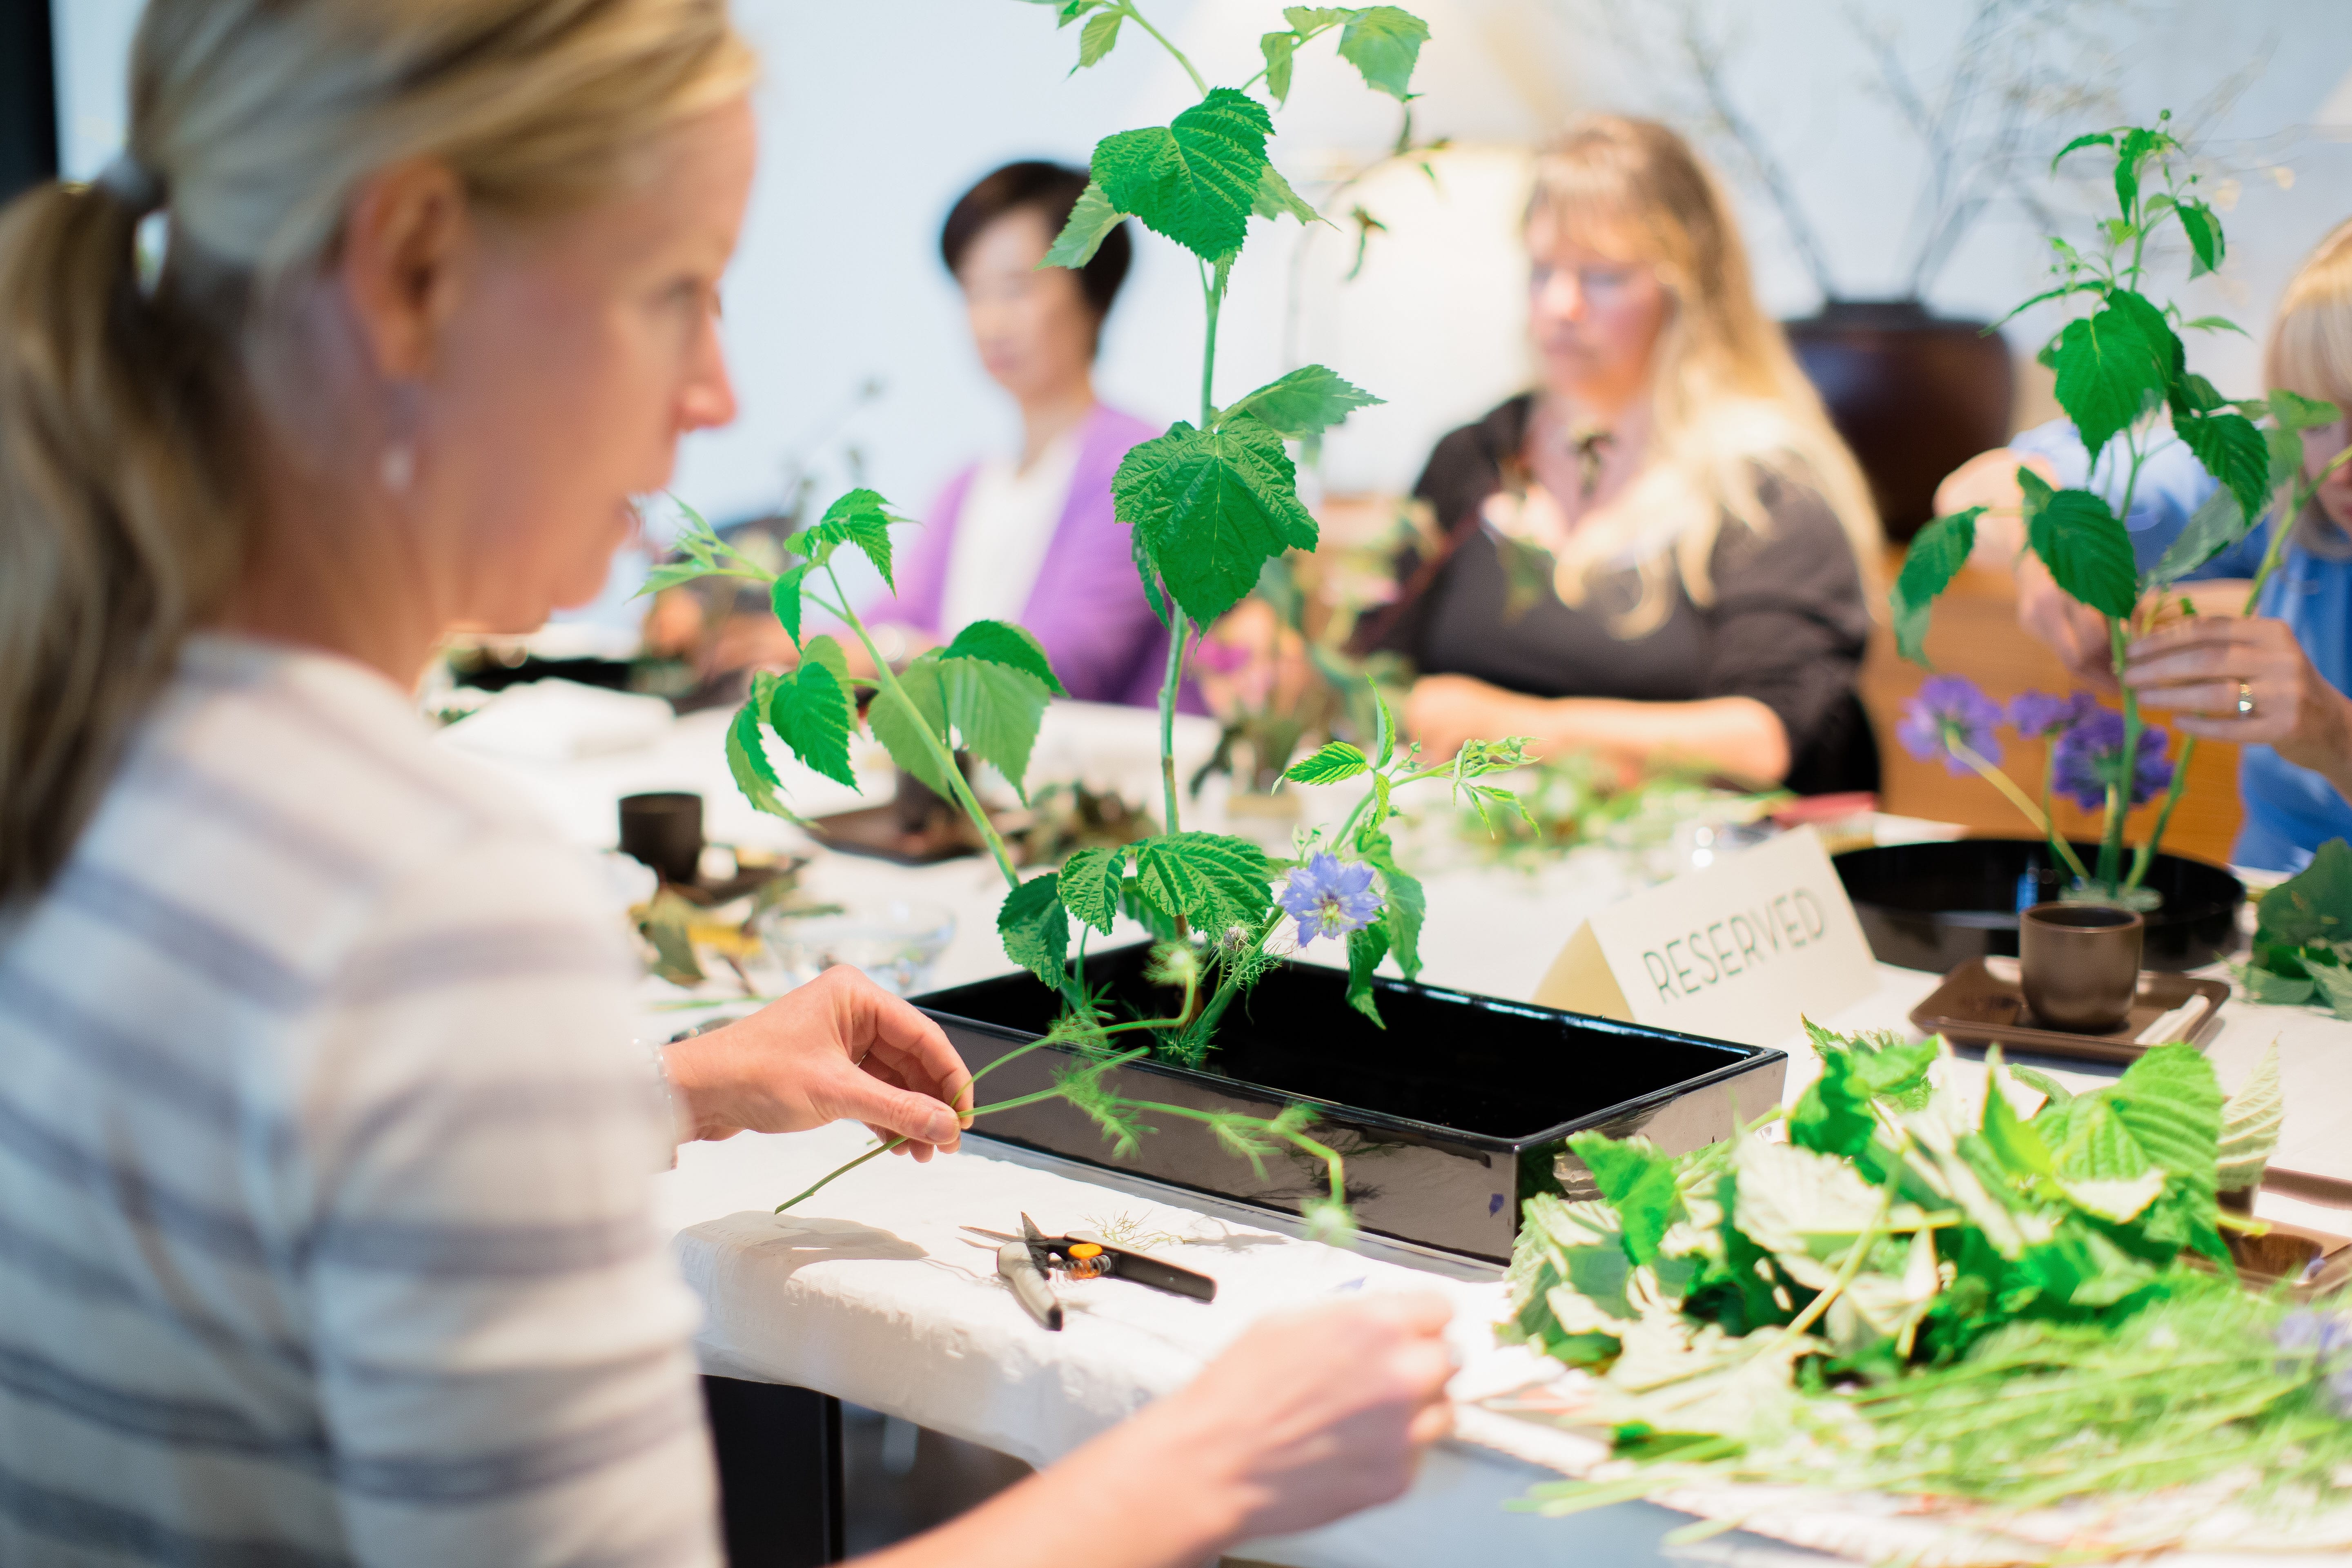
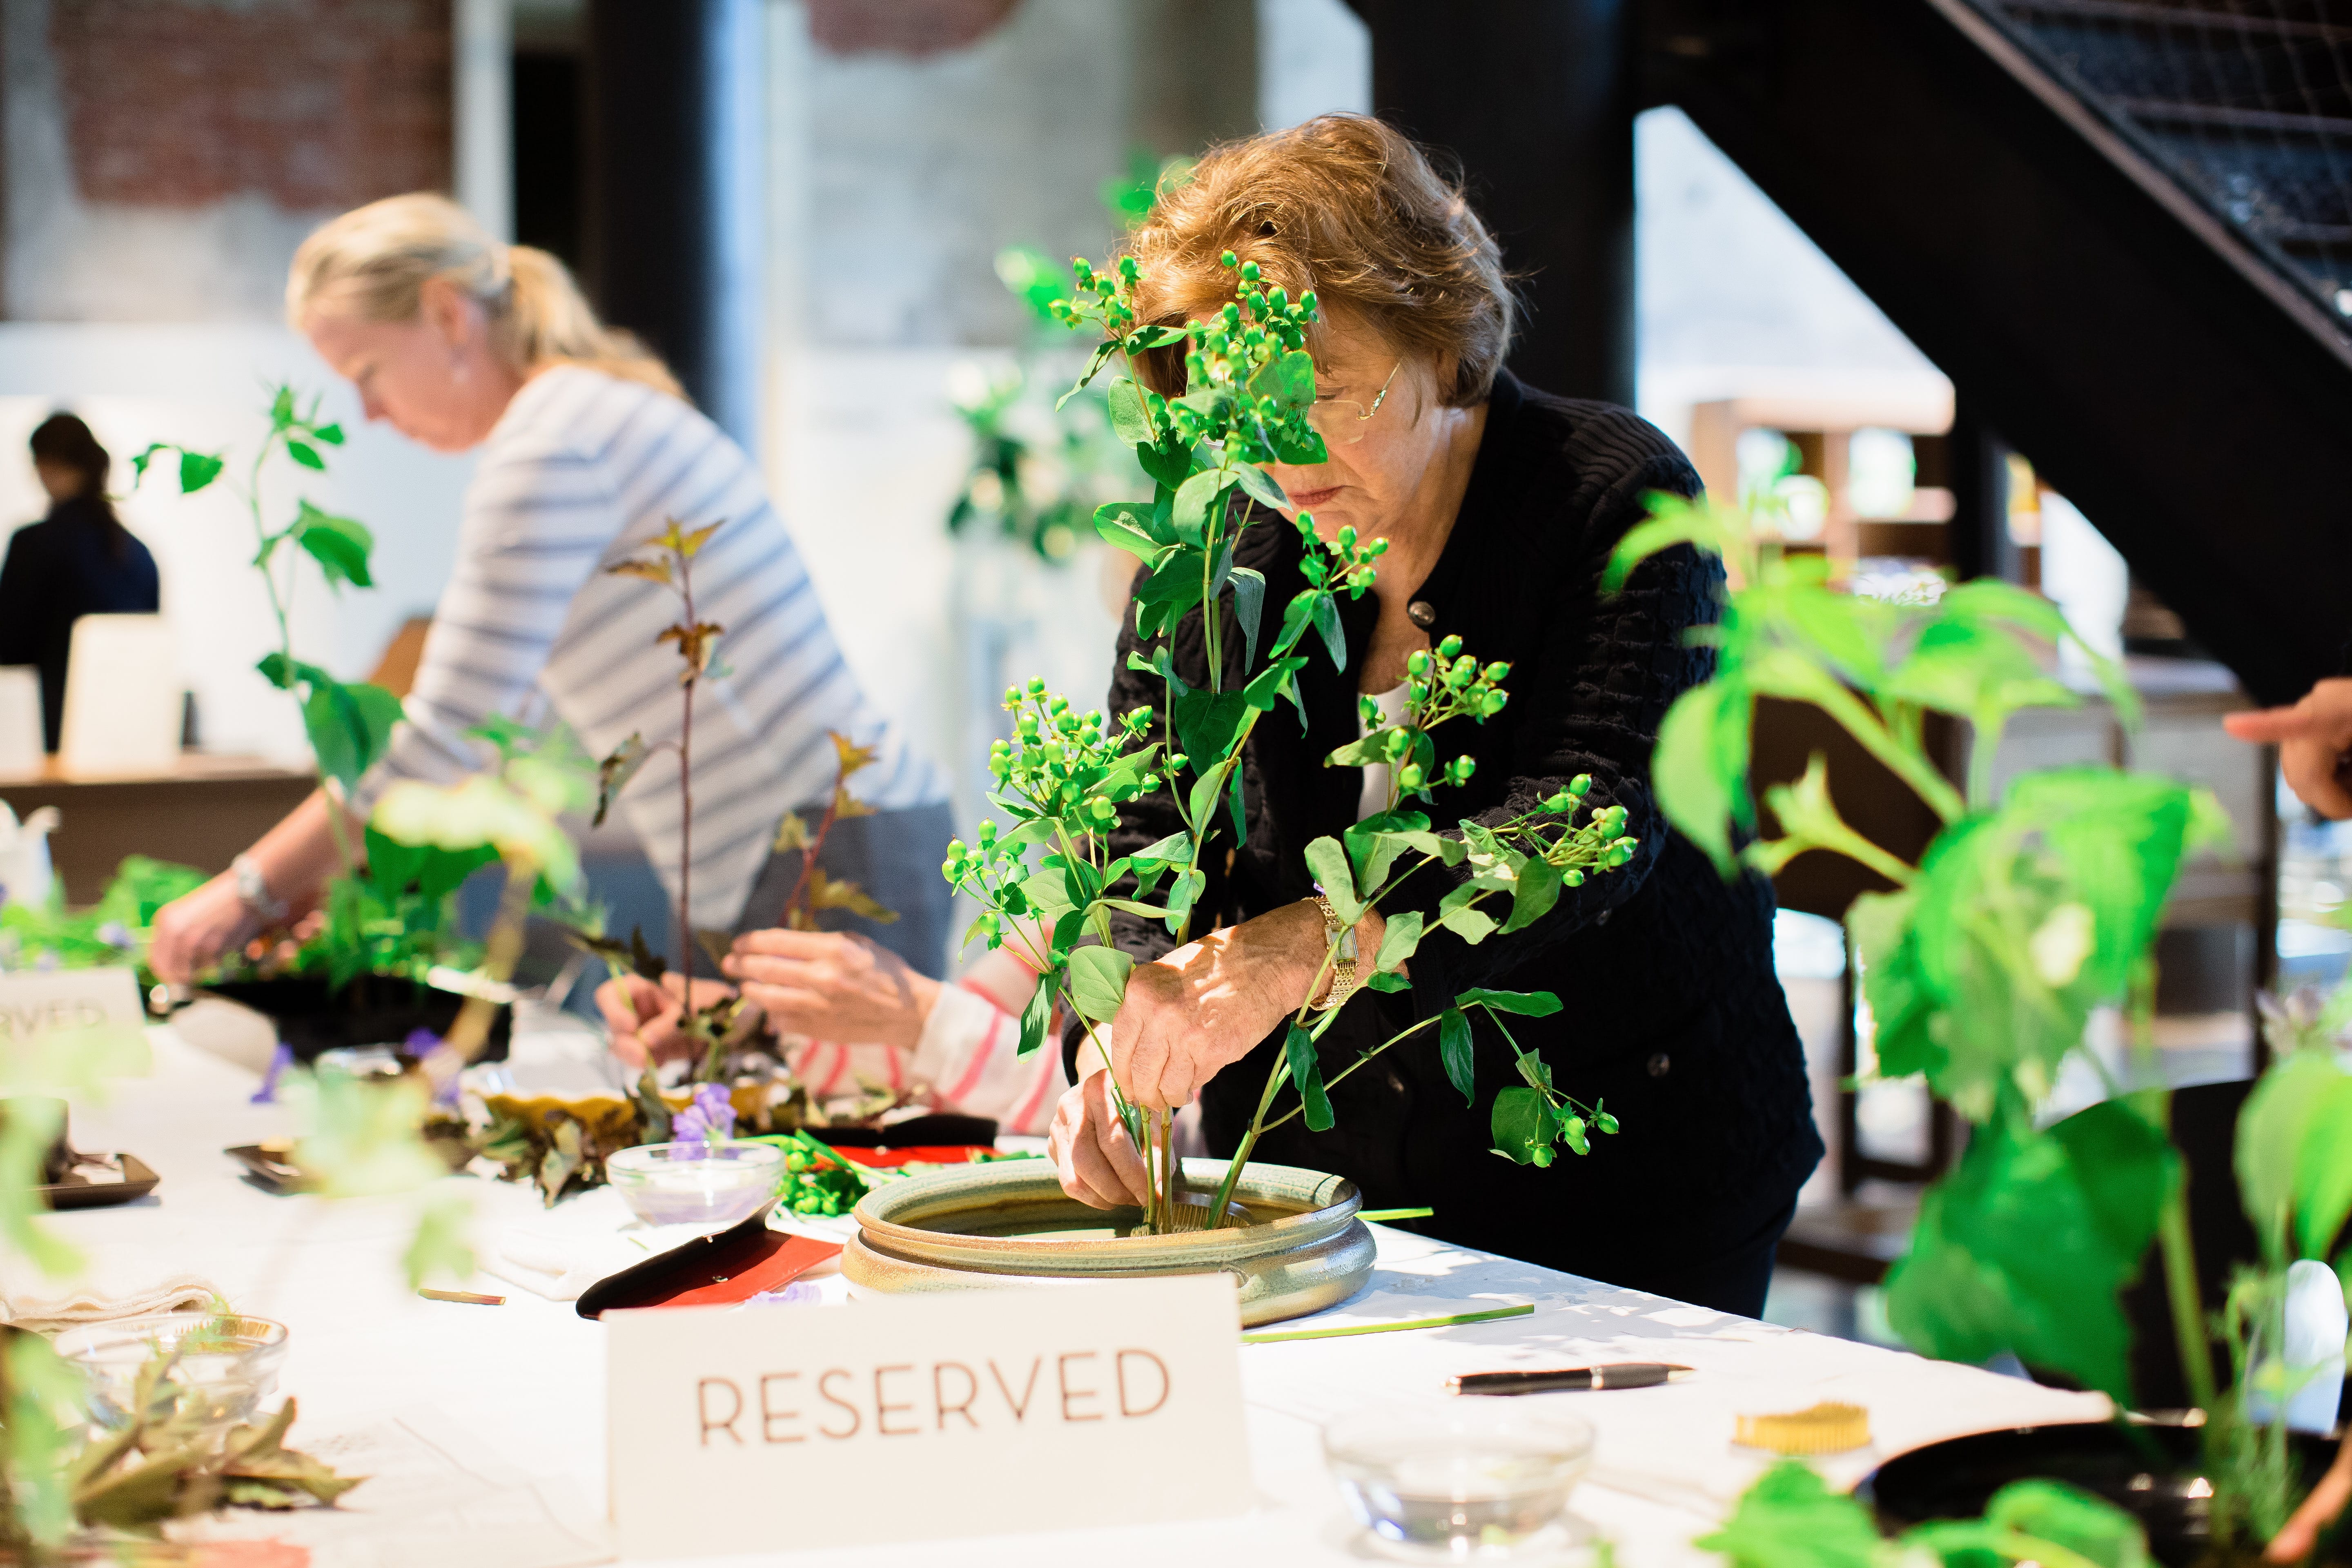
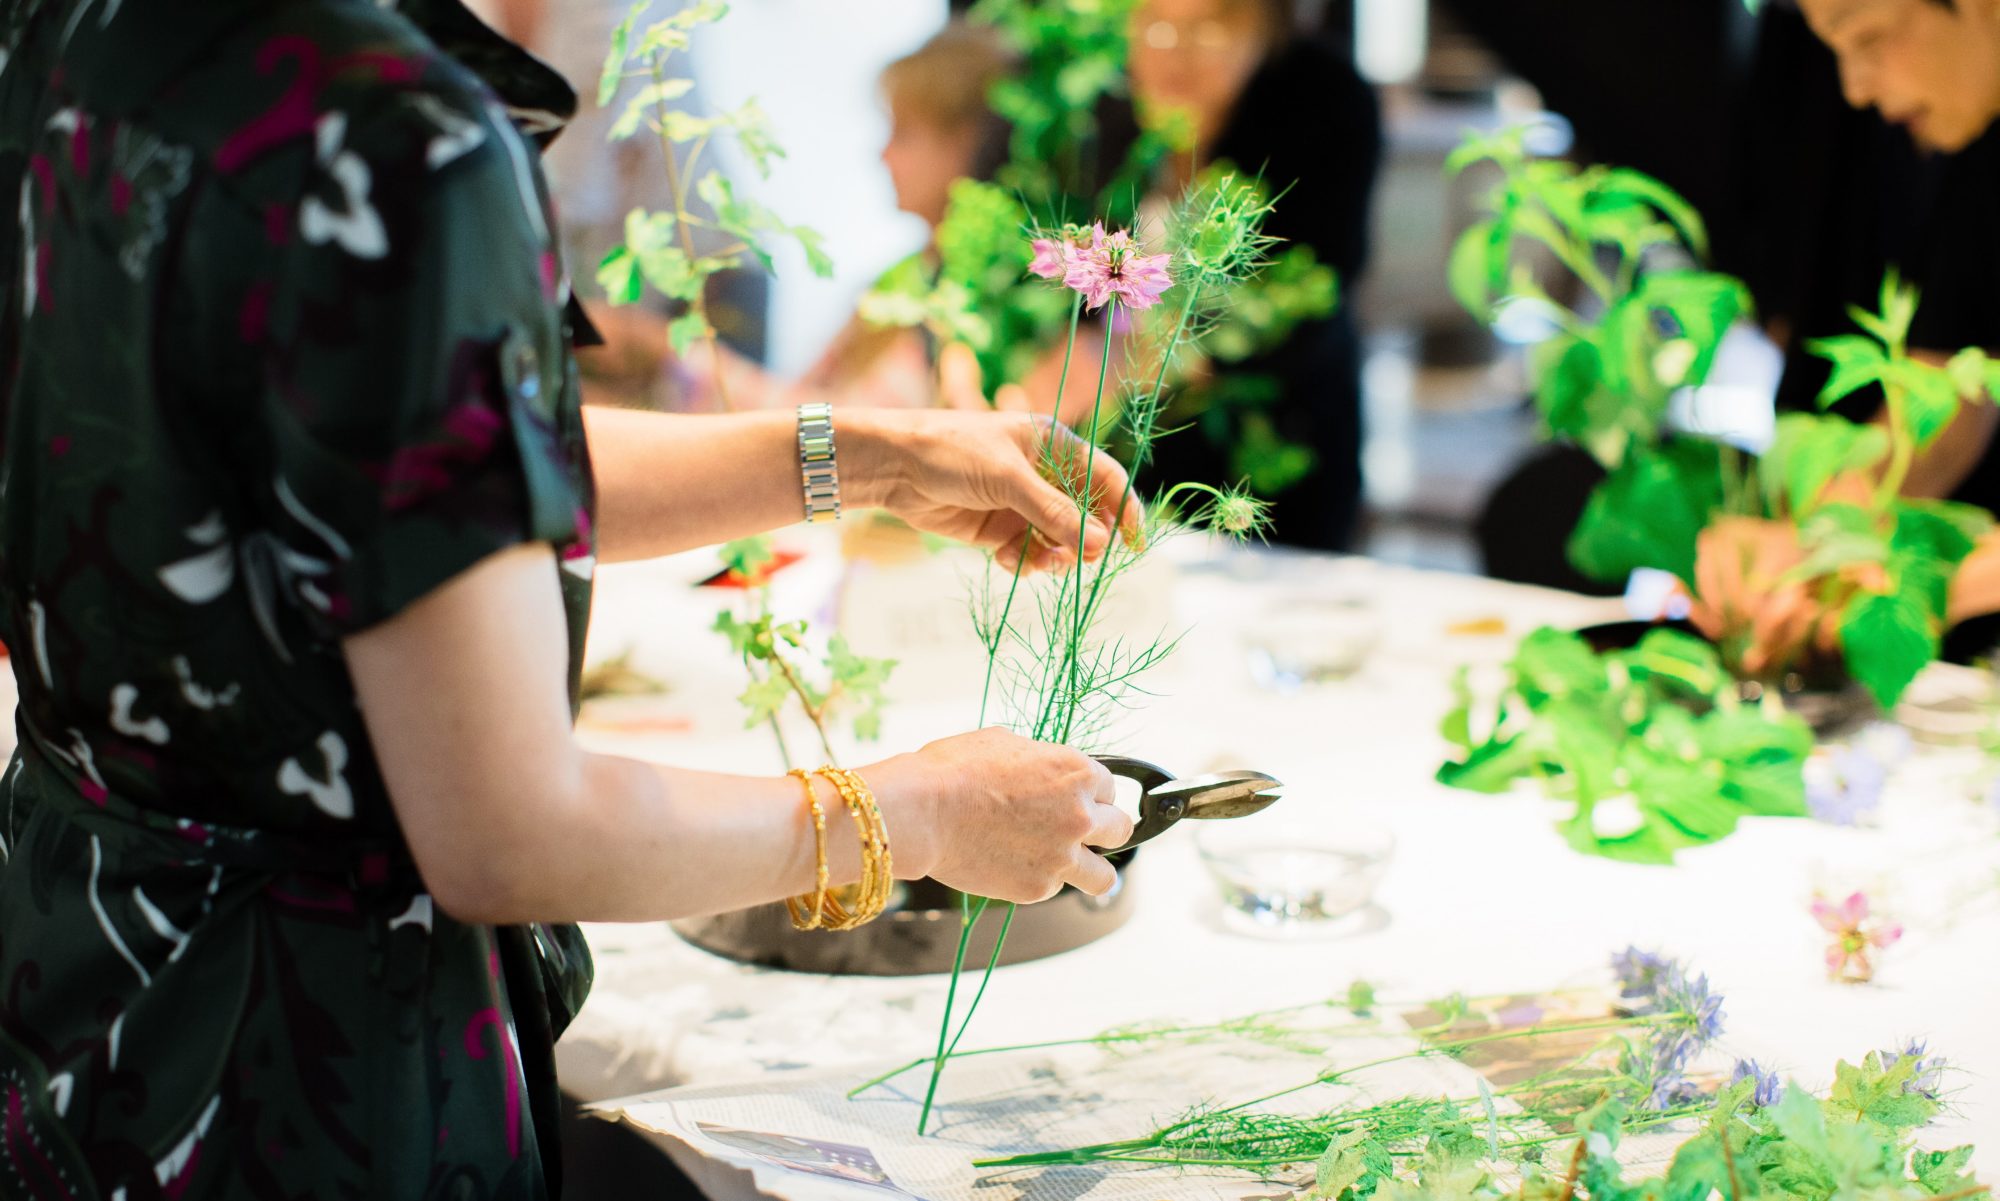
Step 1: Remove unnecessary twigs and leaves
We will provide you with branches and flowers. These materials, however, need some thinning before you can use for your arrangement. Using a pair of scissors, you first remove unnecessary twigs and leaves.
Before

After

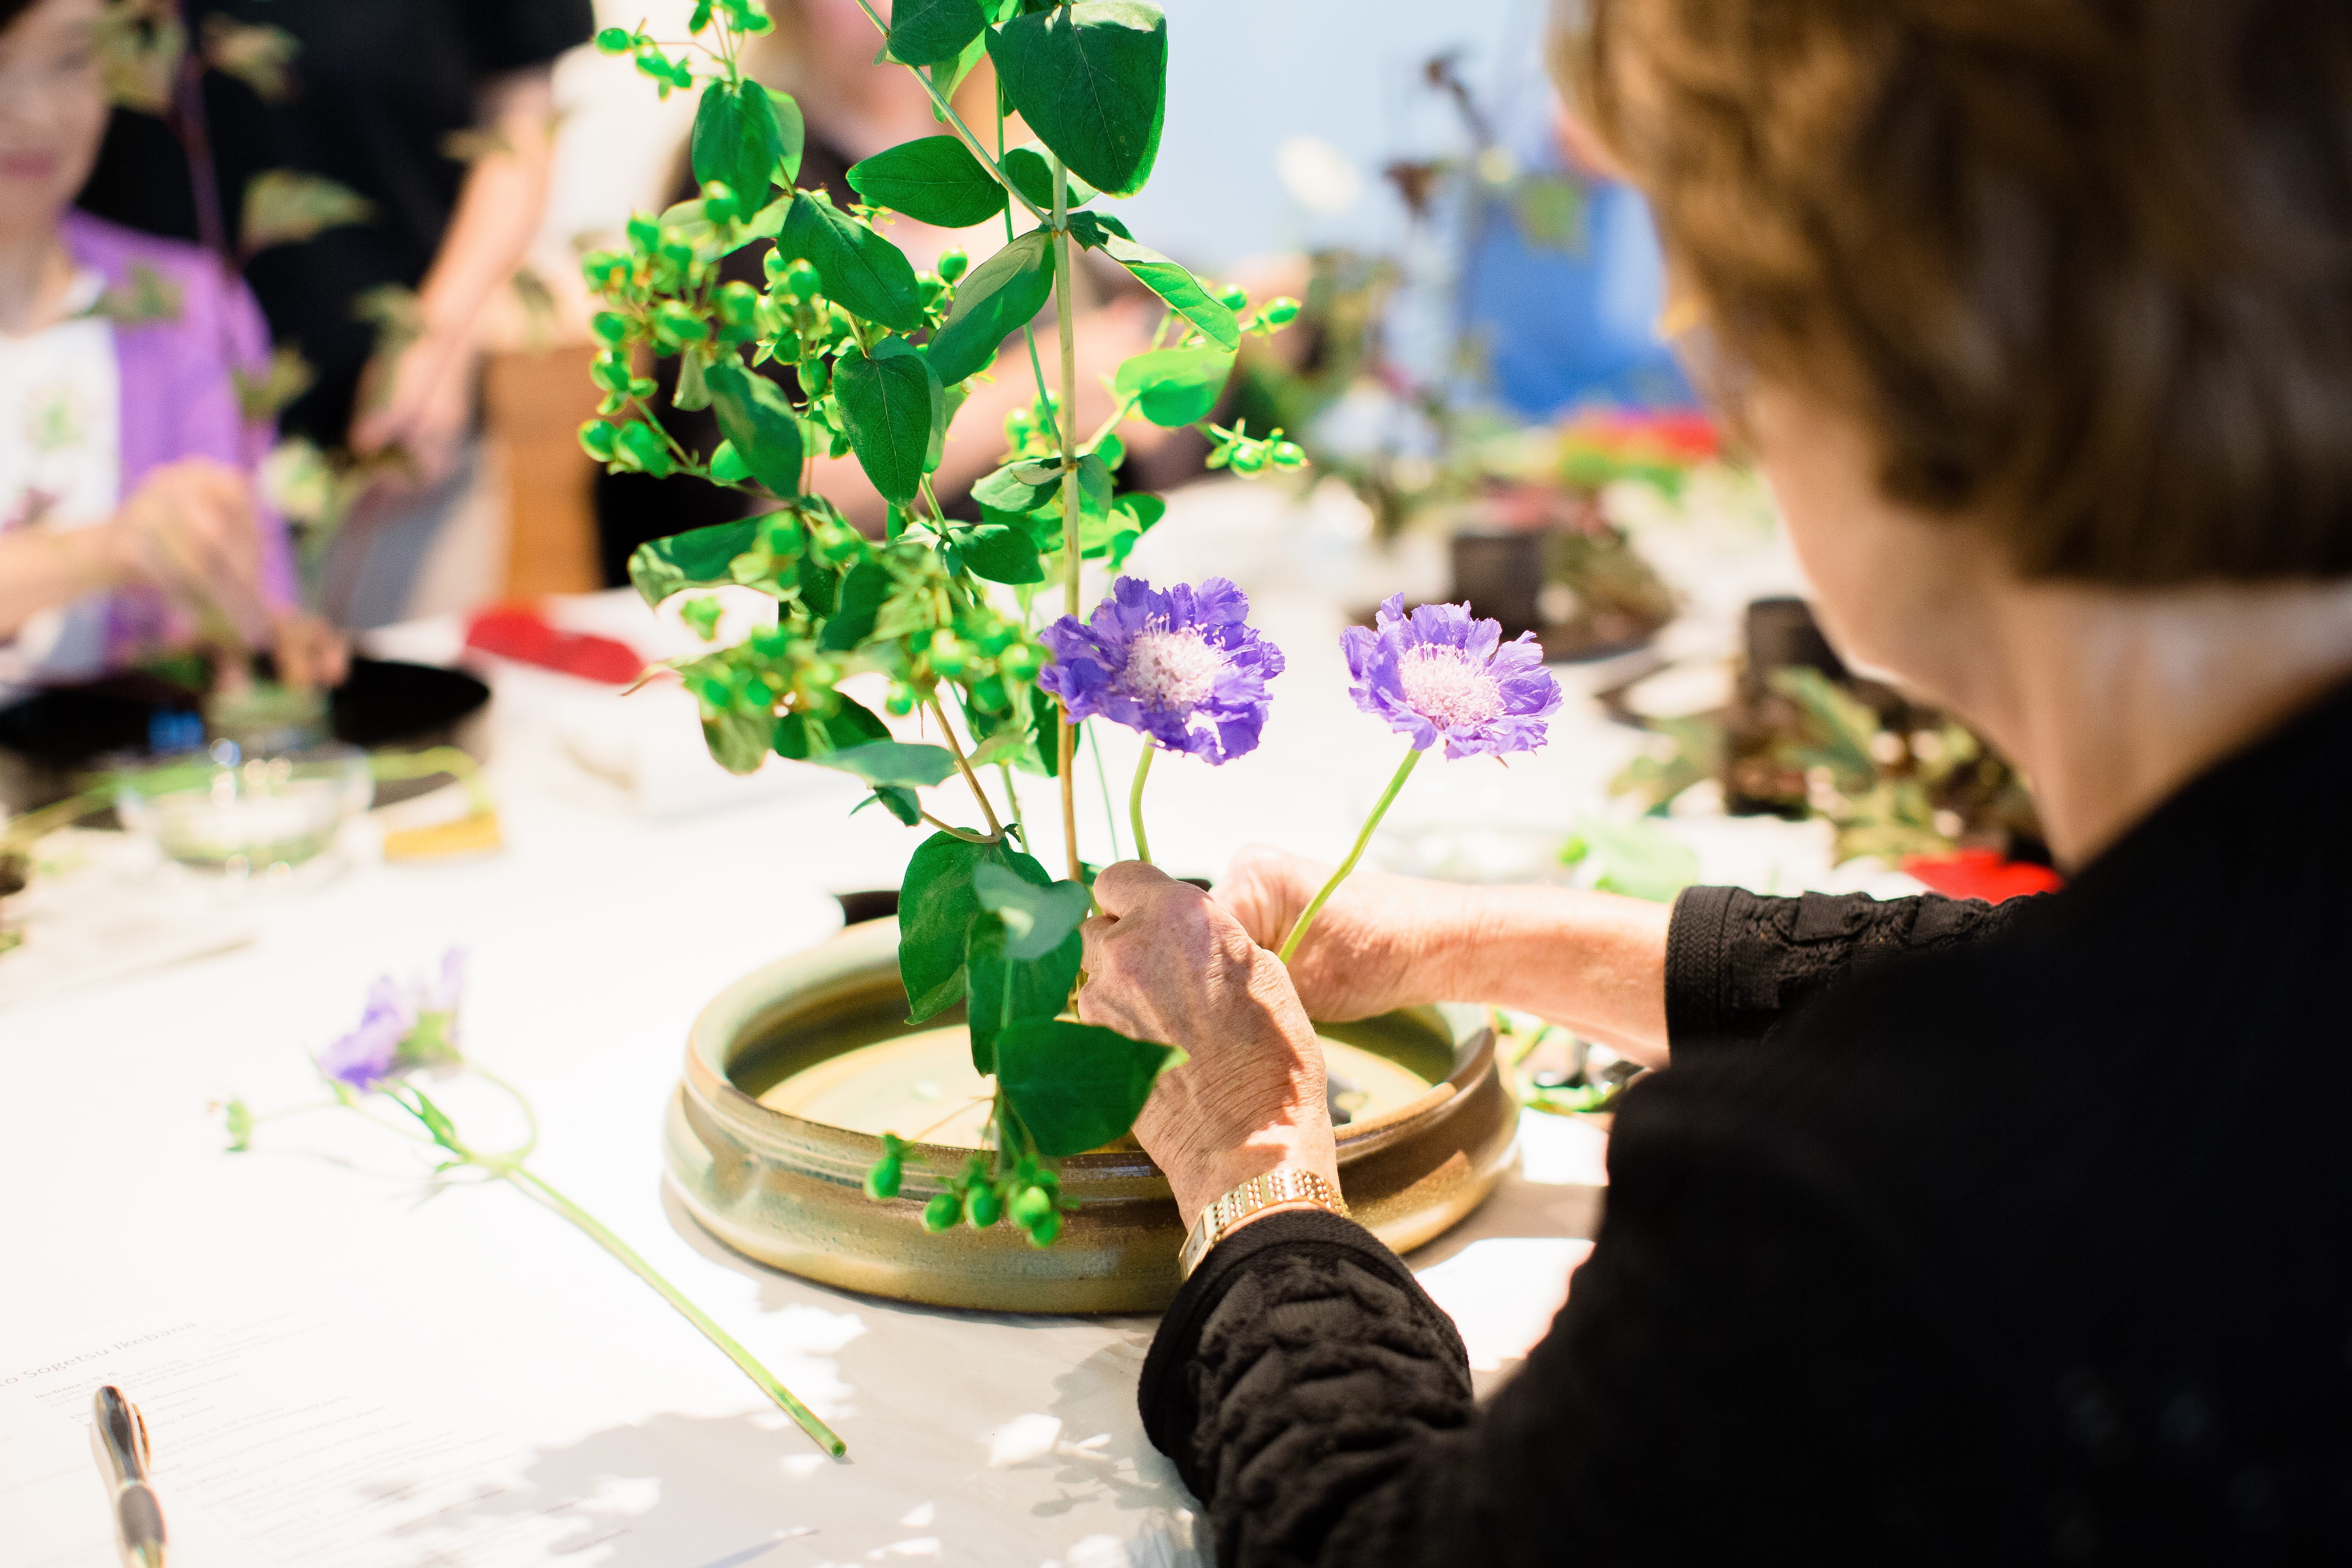
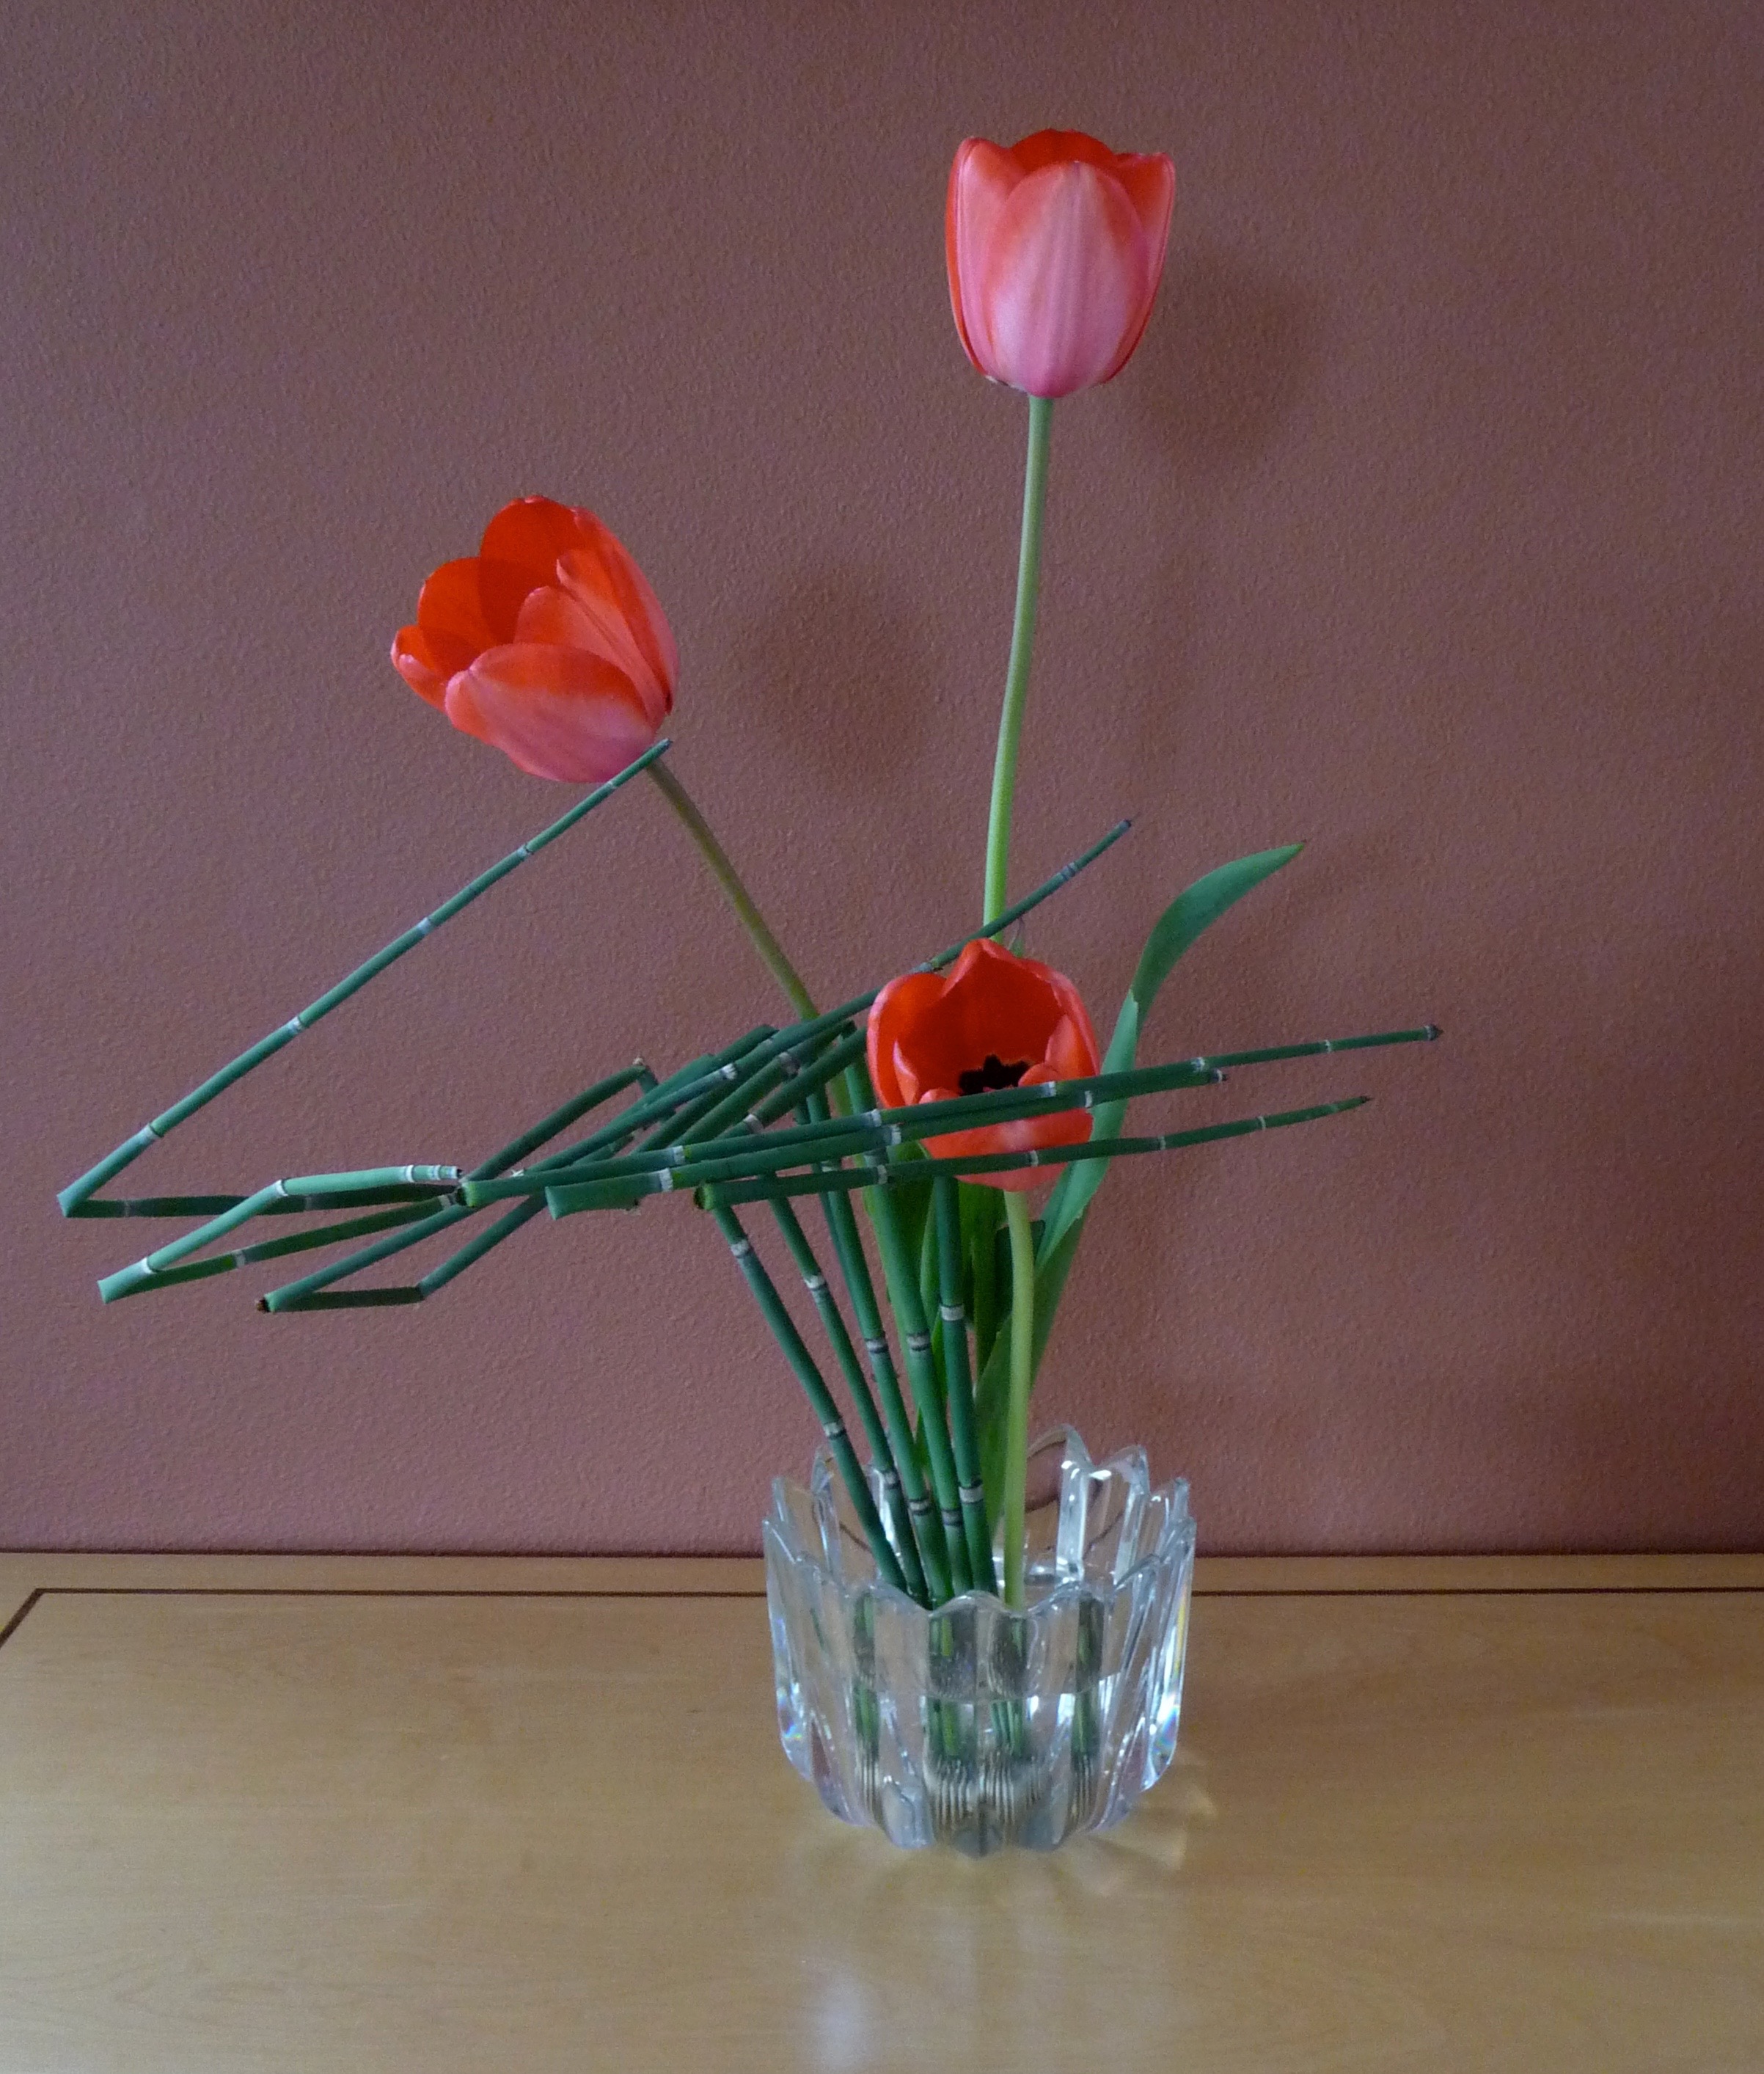
Step 2: Cut each stem to appropriate length
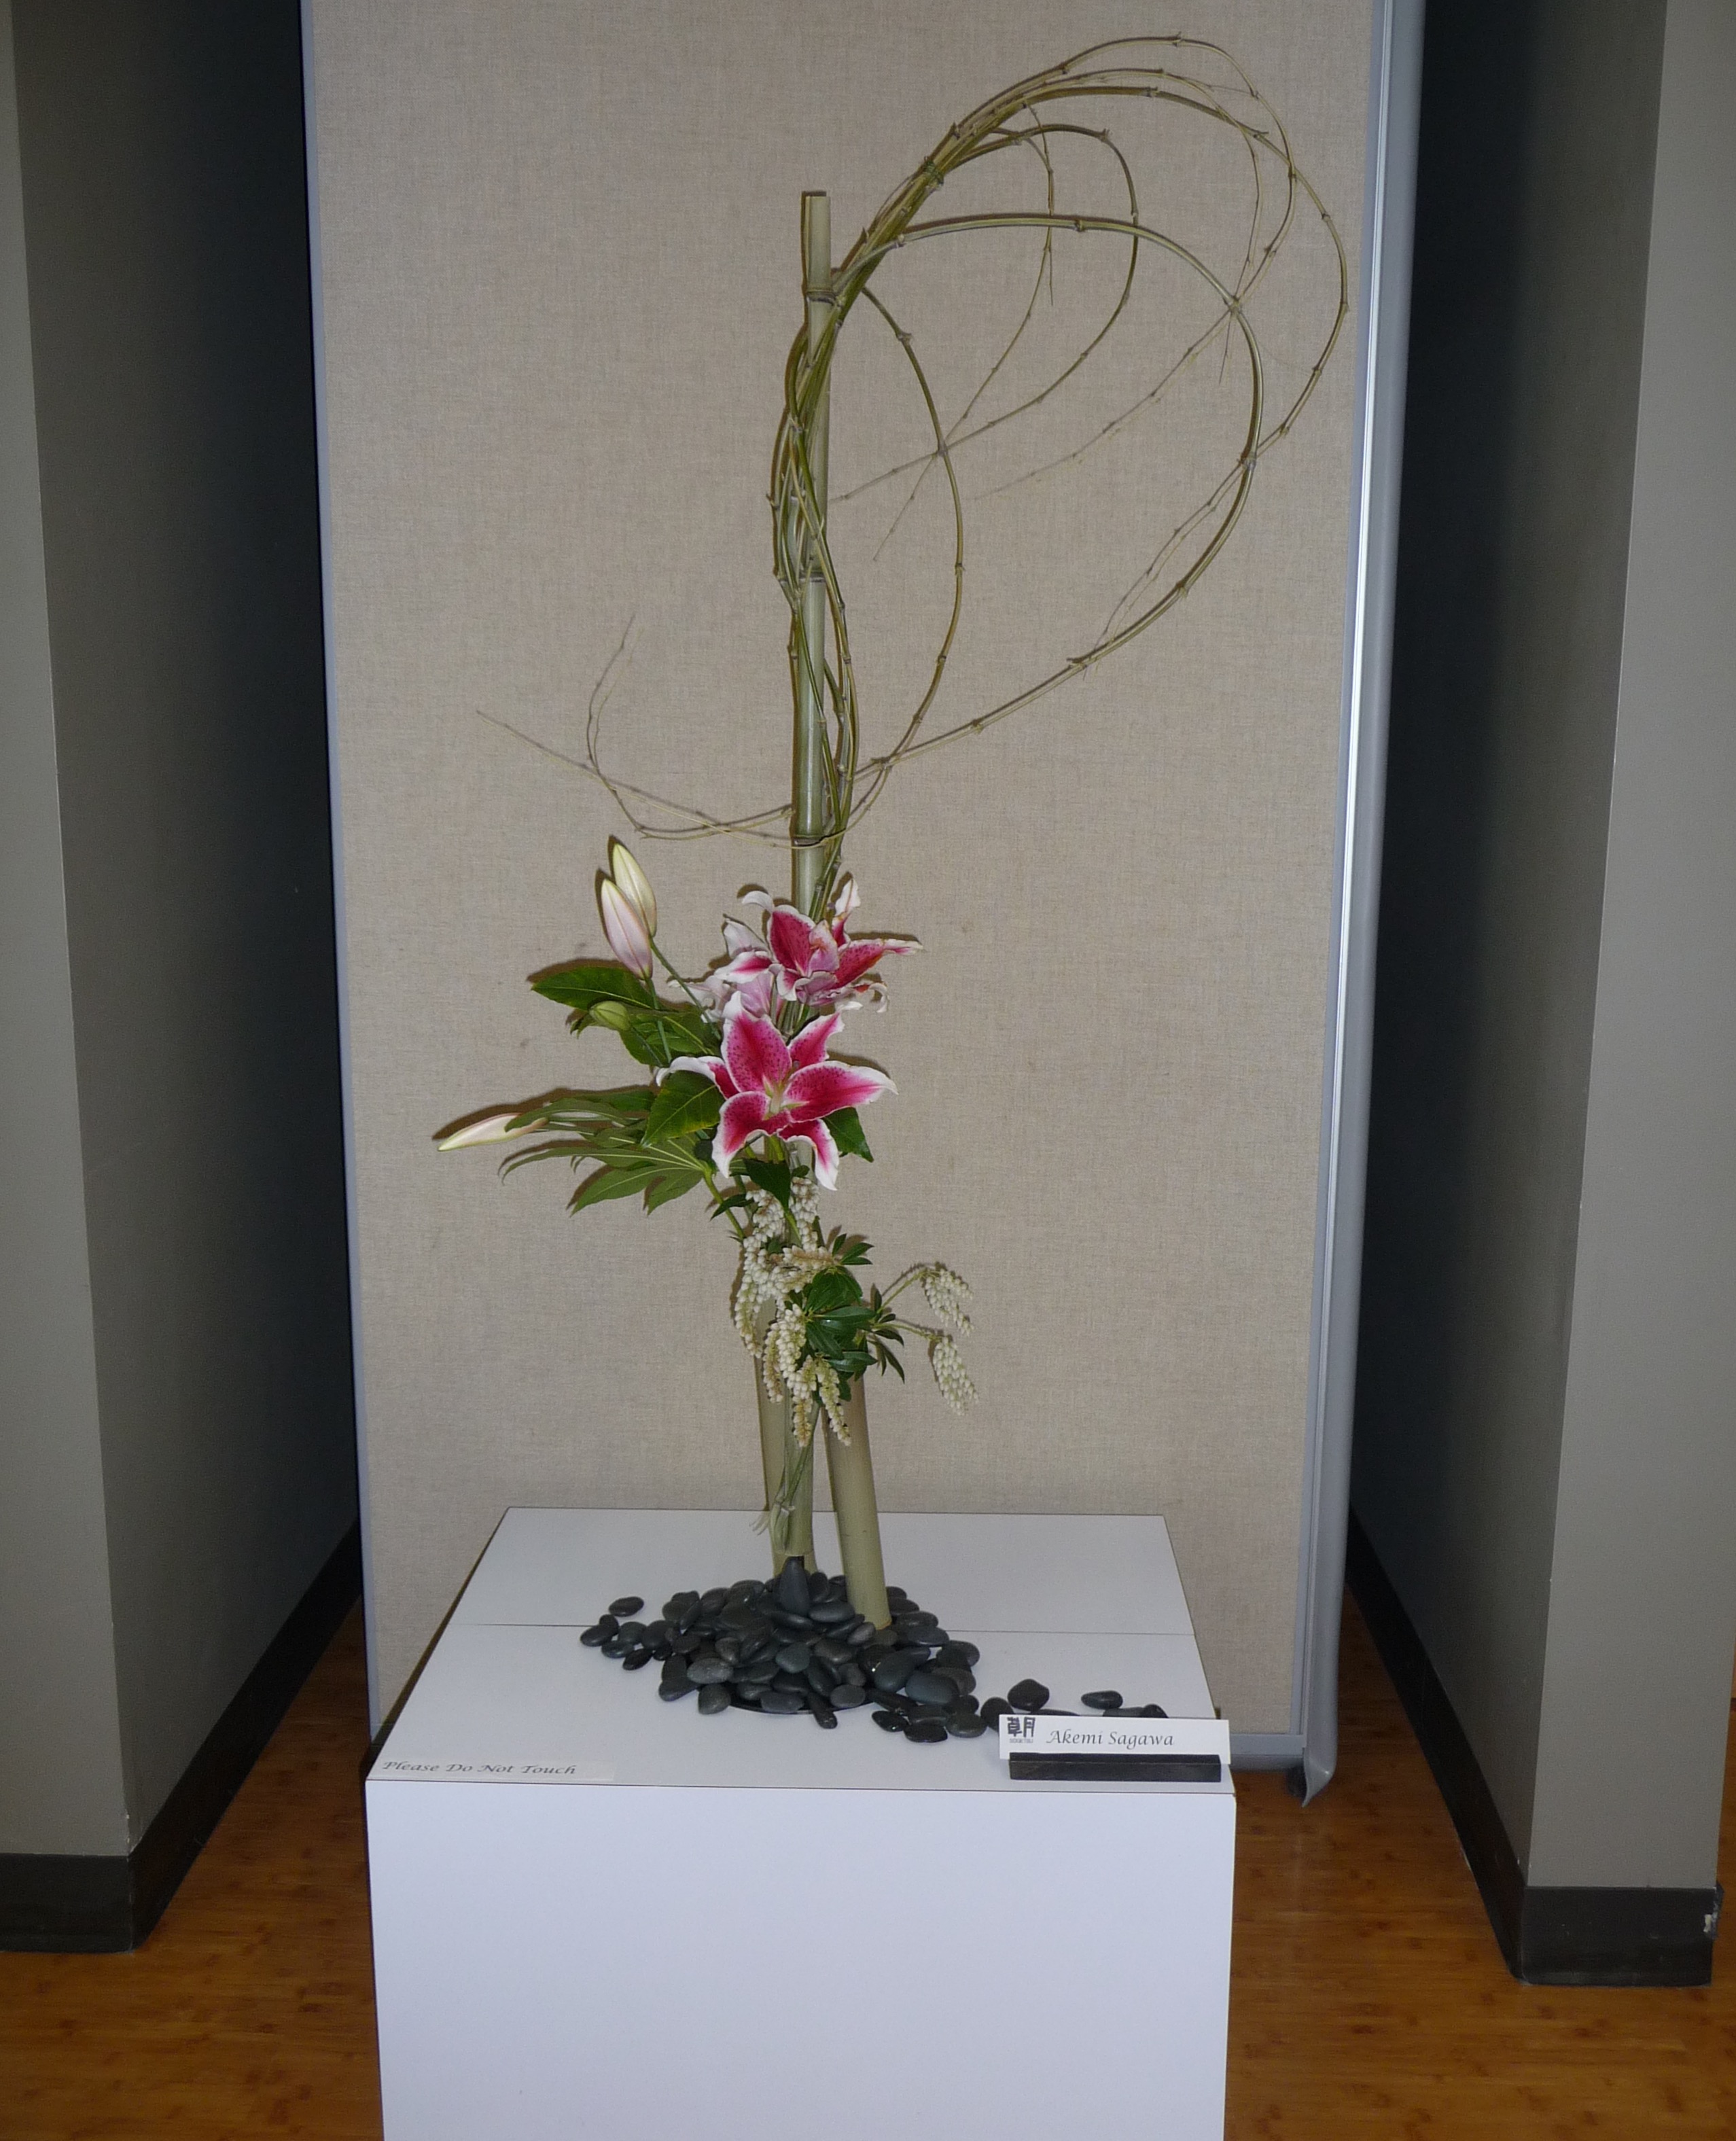
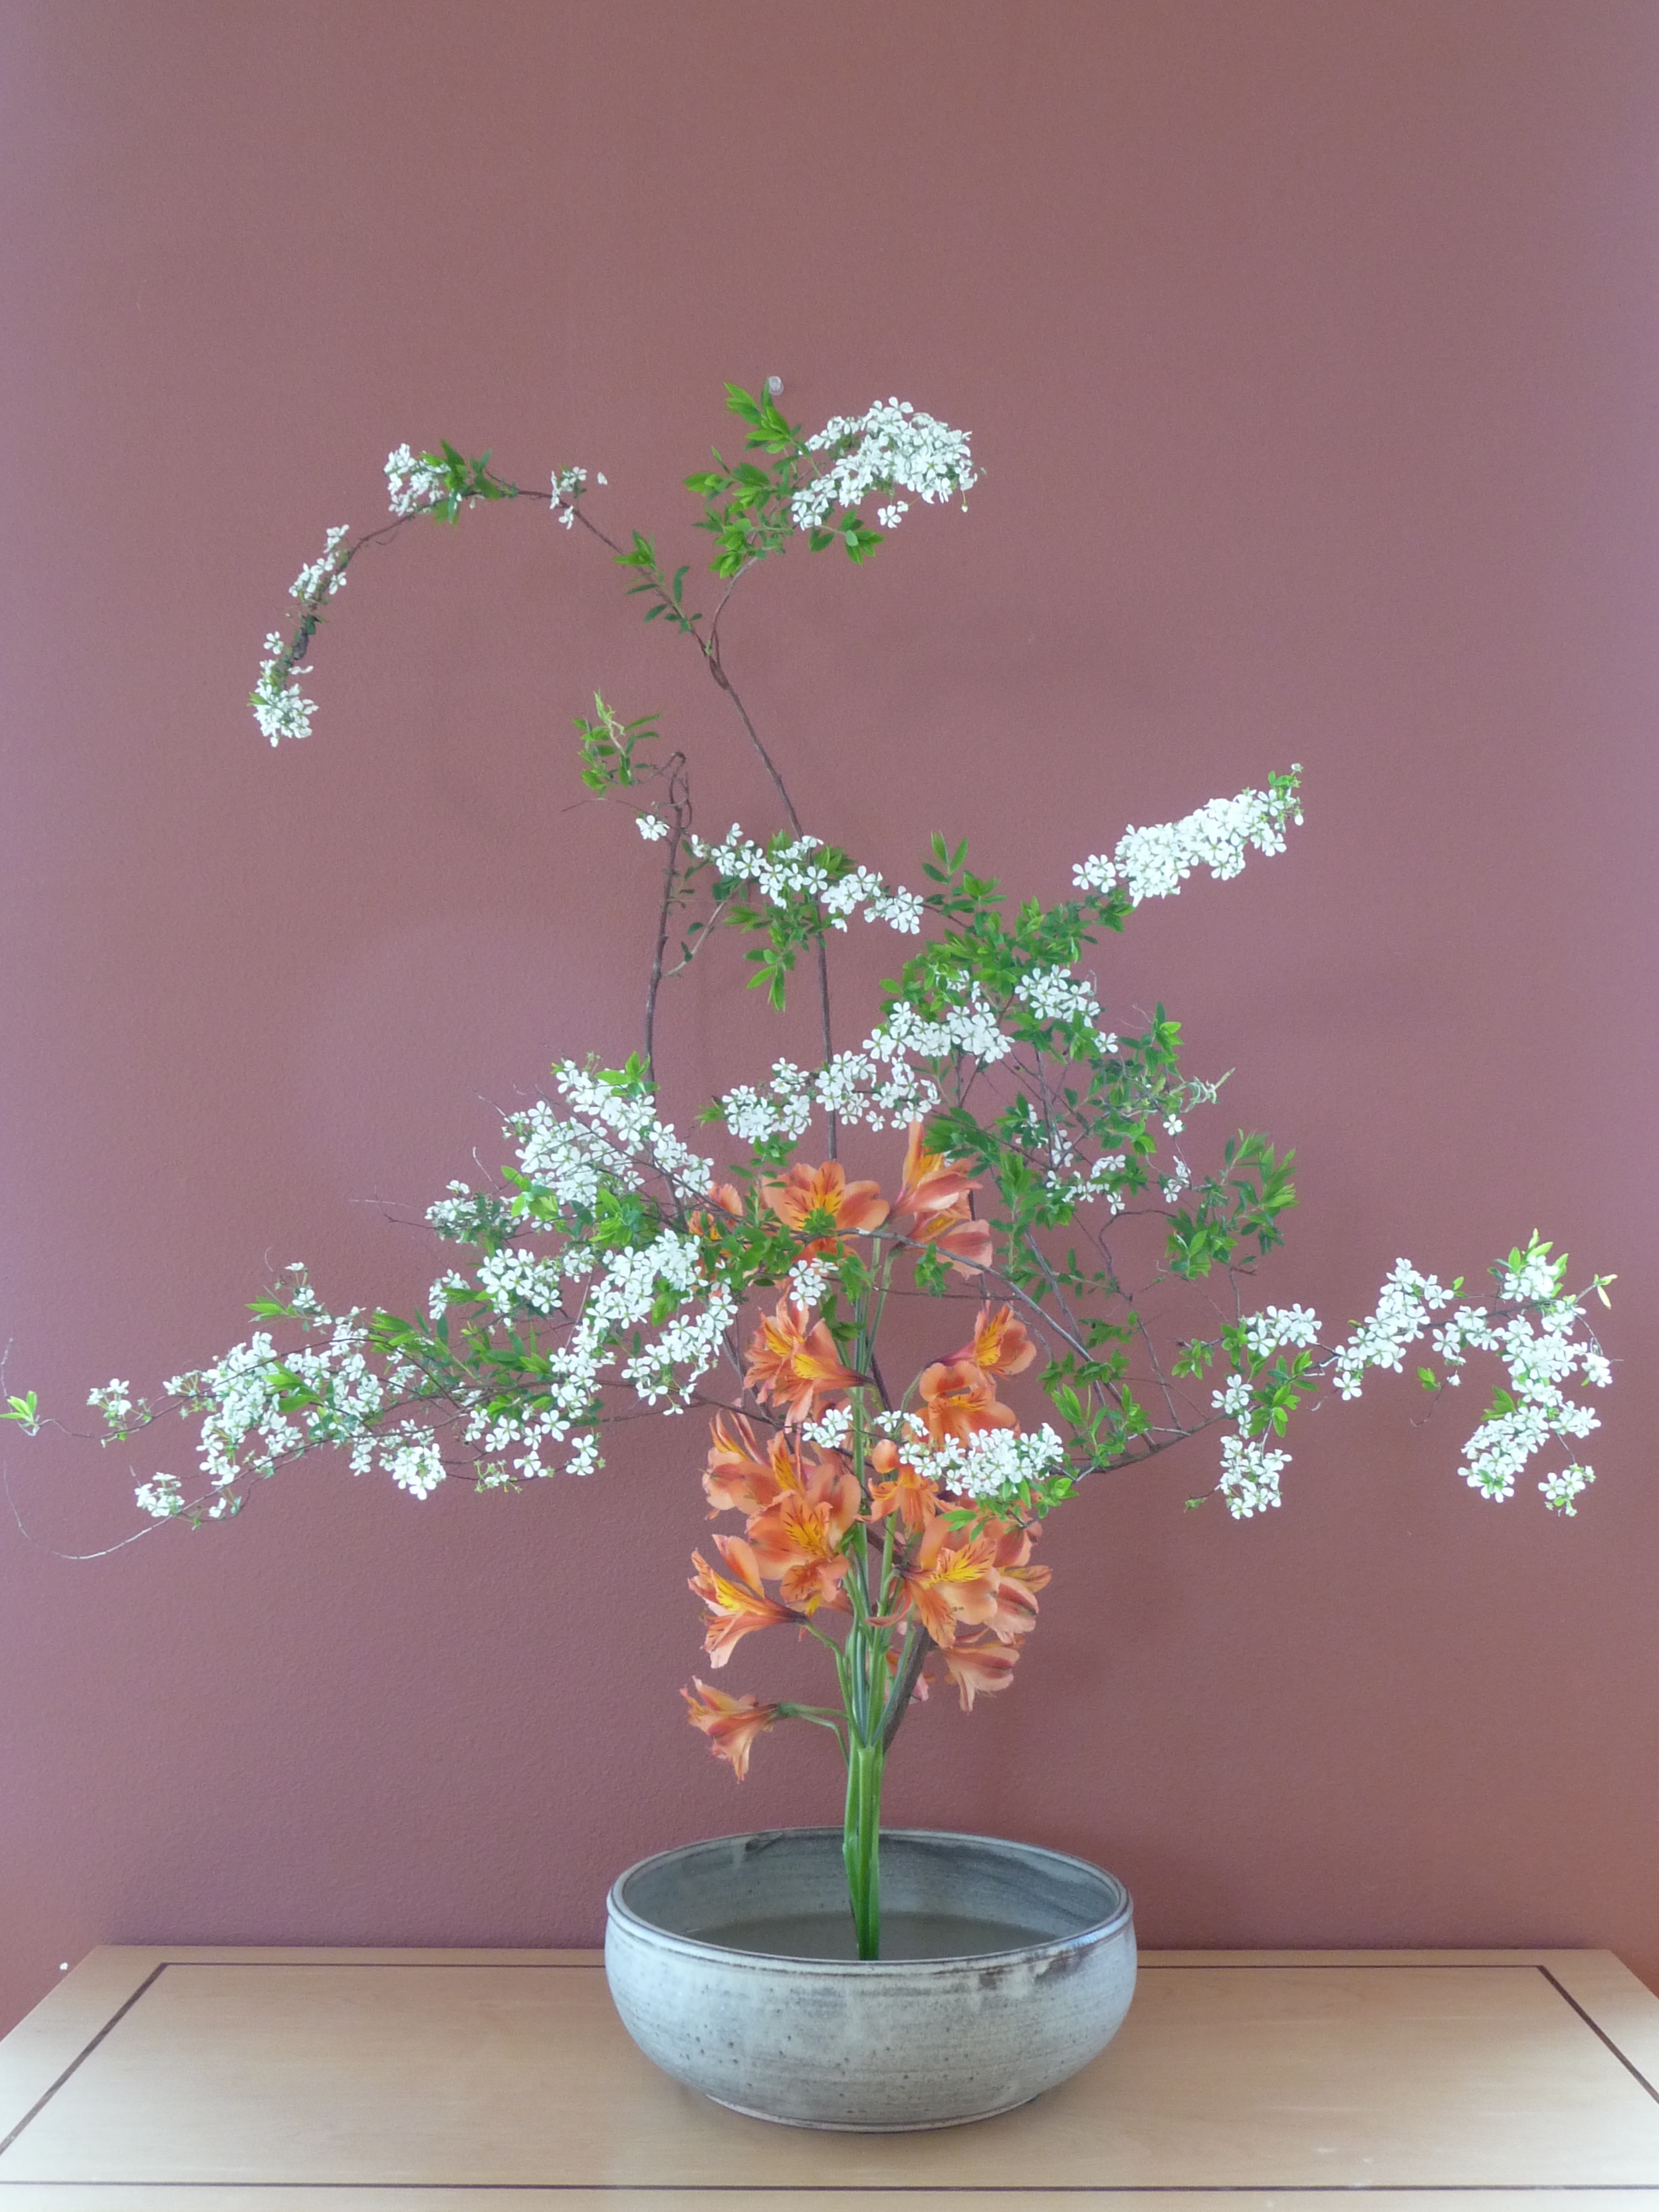
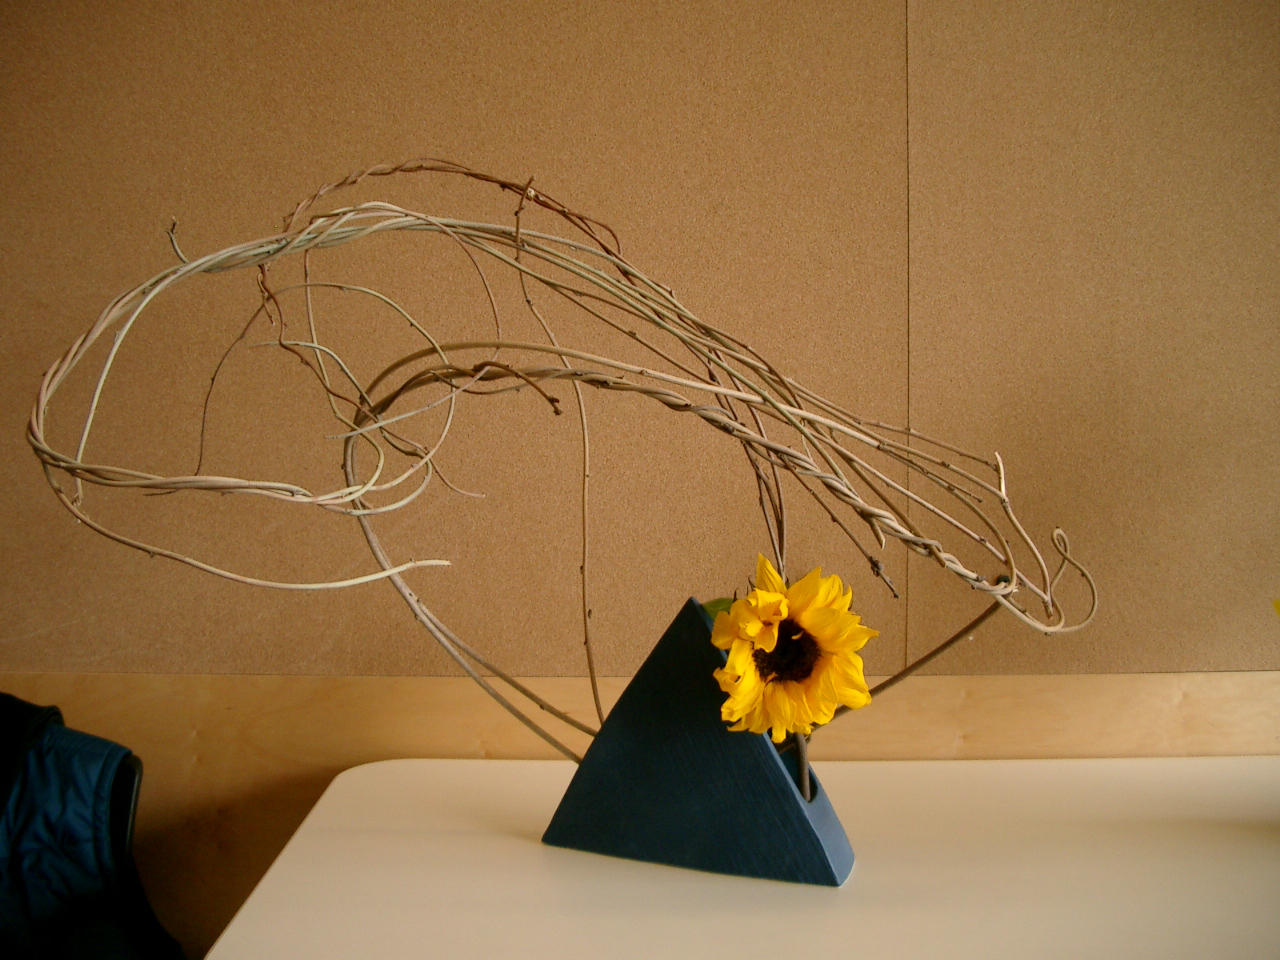
Ikebana is a three dimensional art. With three lines, you construct the basic shape of your arrangement. The stems used for these lines are called Shushi (main stems). The longest Shushi is called Shin, the second longest is called Soe, and the third Hikae.
Then you have several Jushi, which are supporting stems. How many Jushi stems you add is totally up to you.

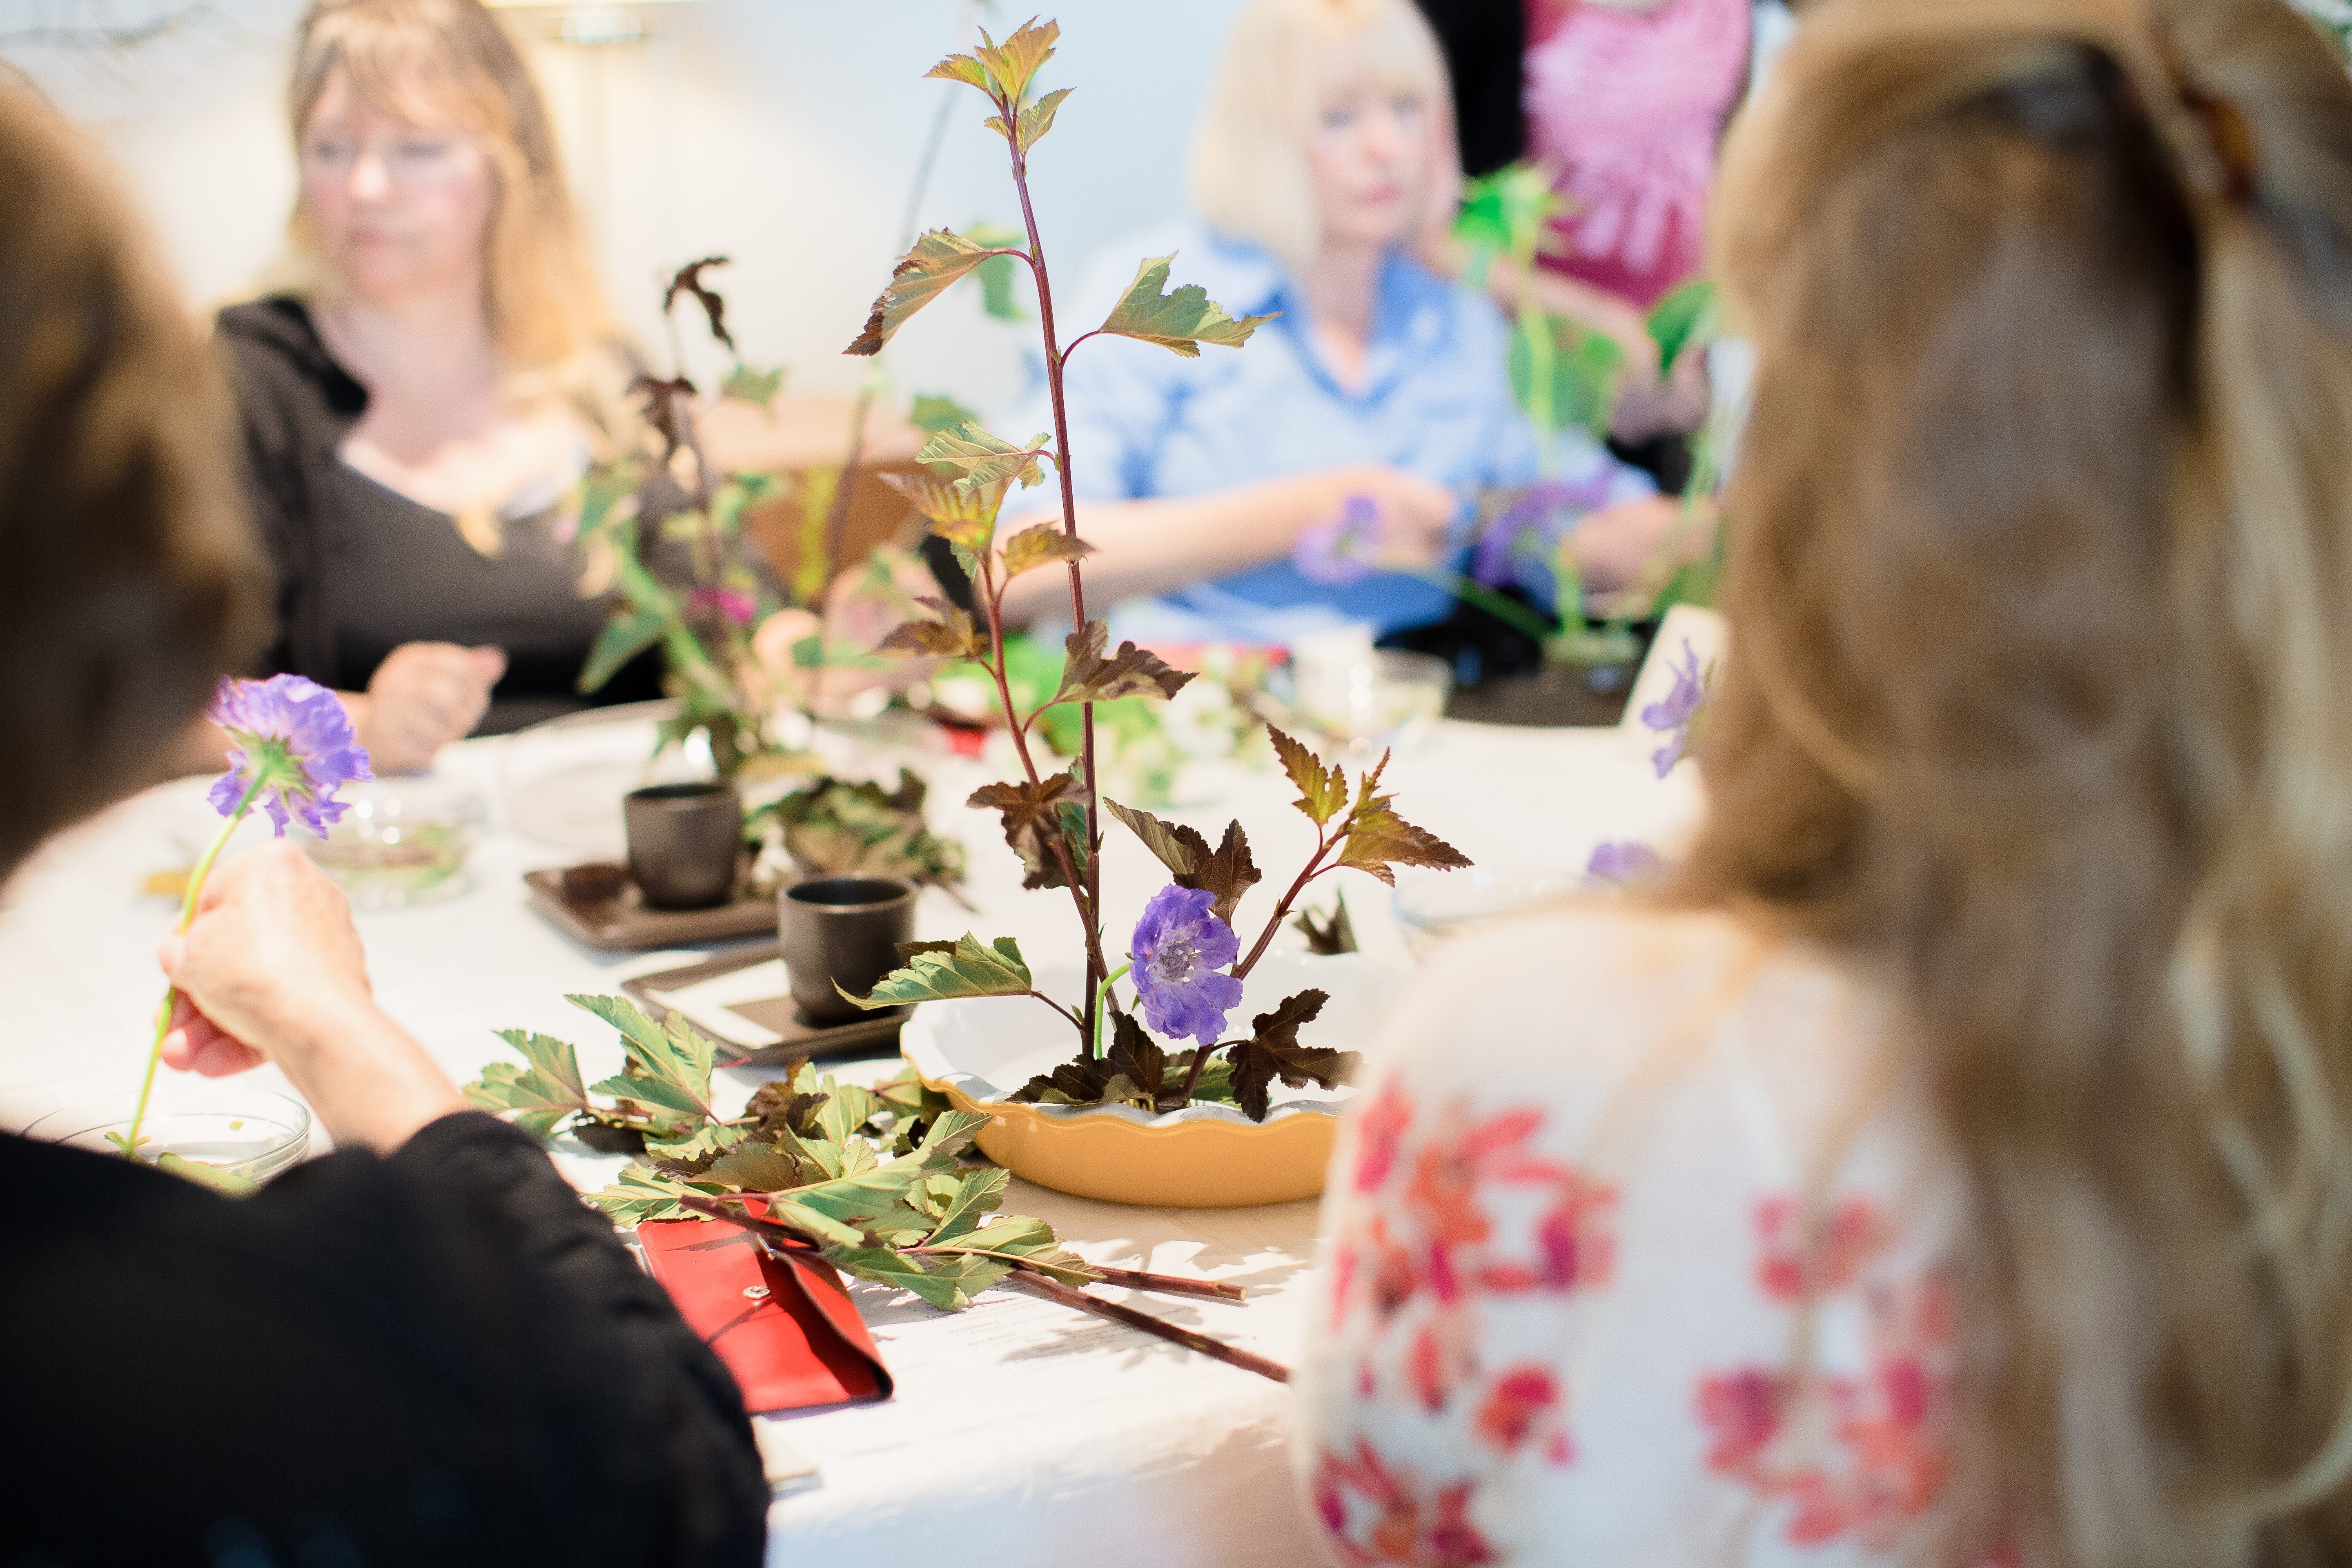
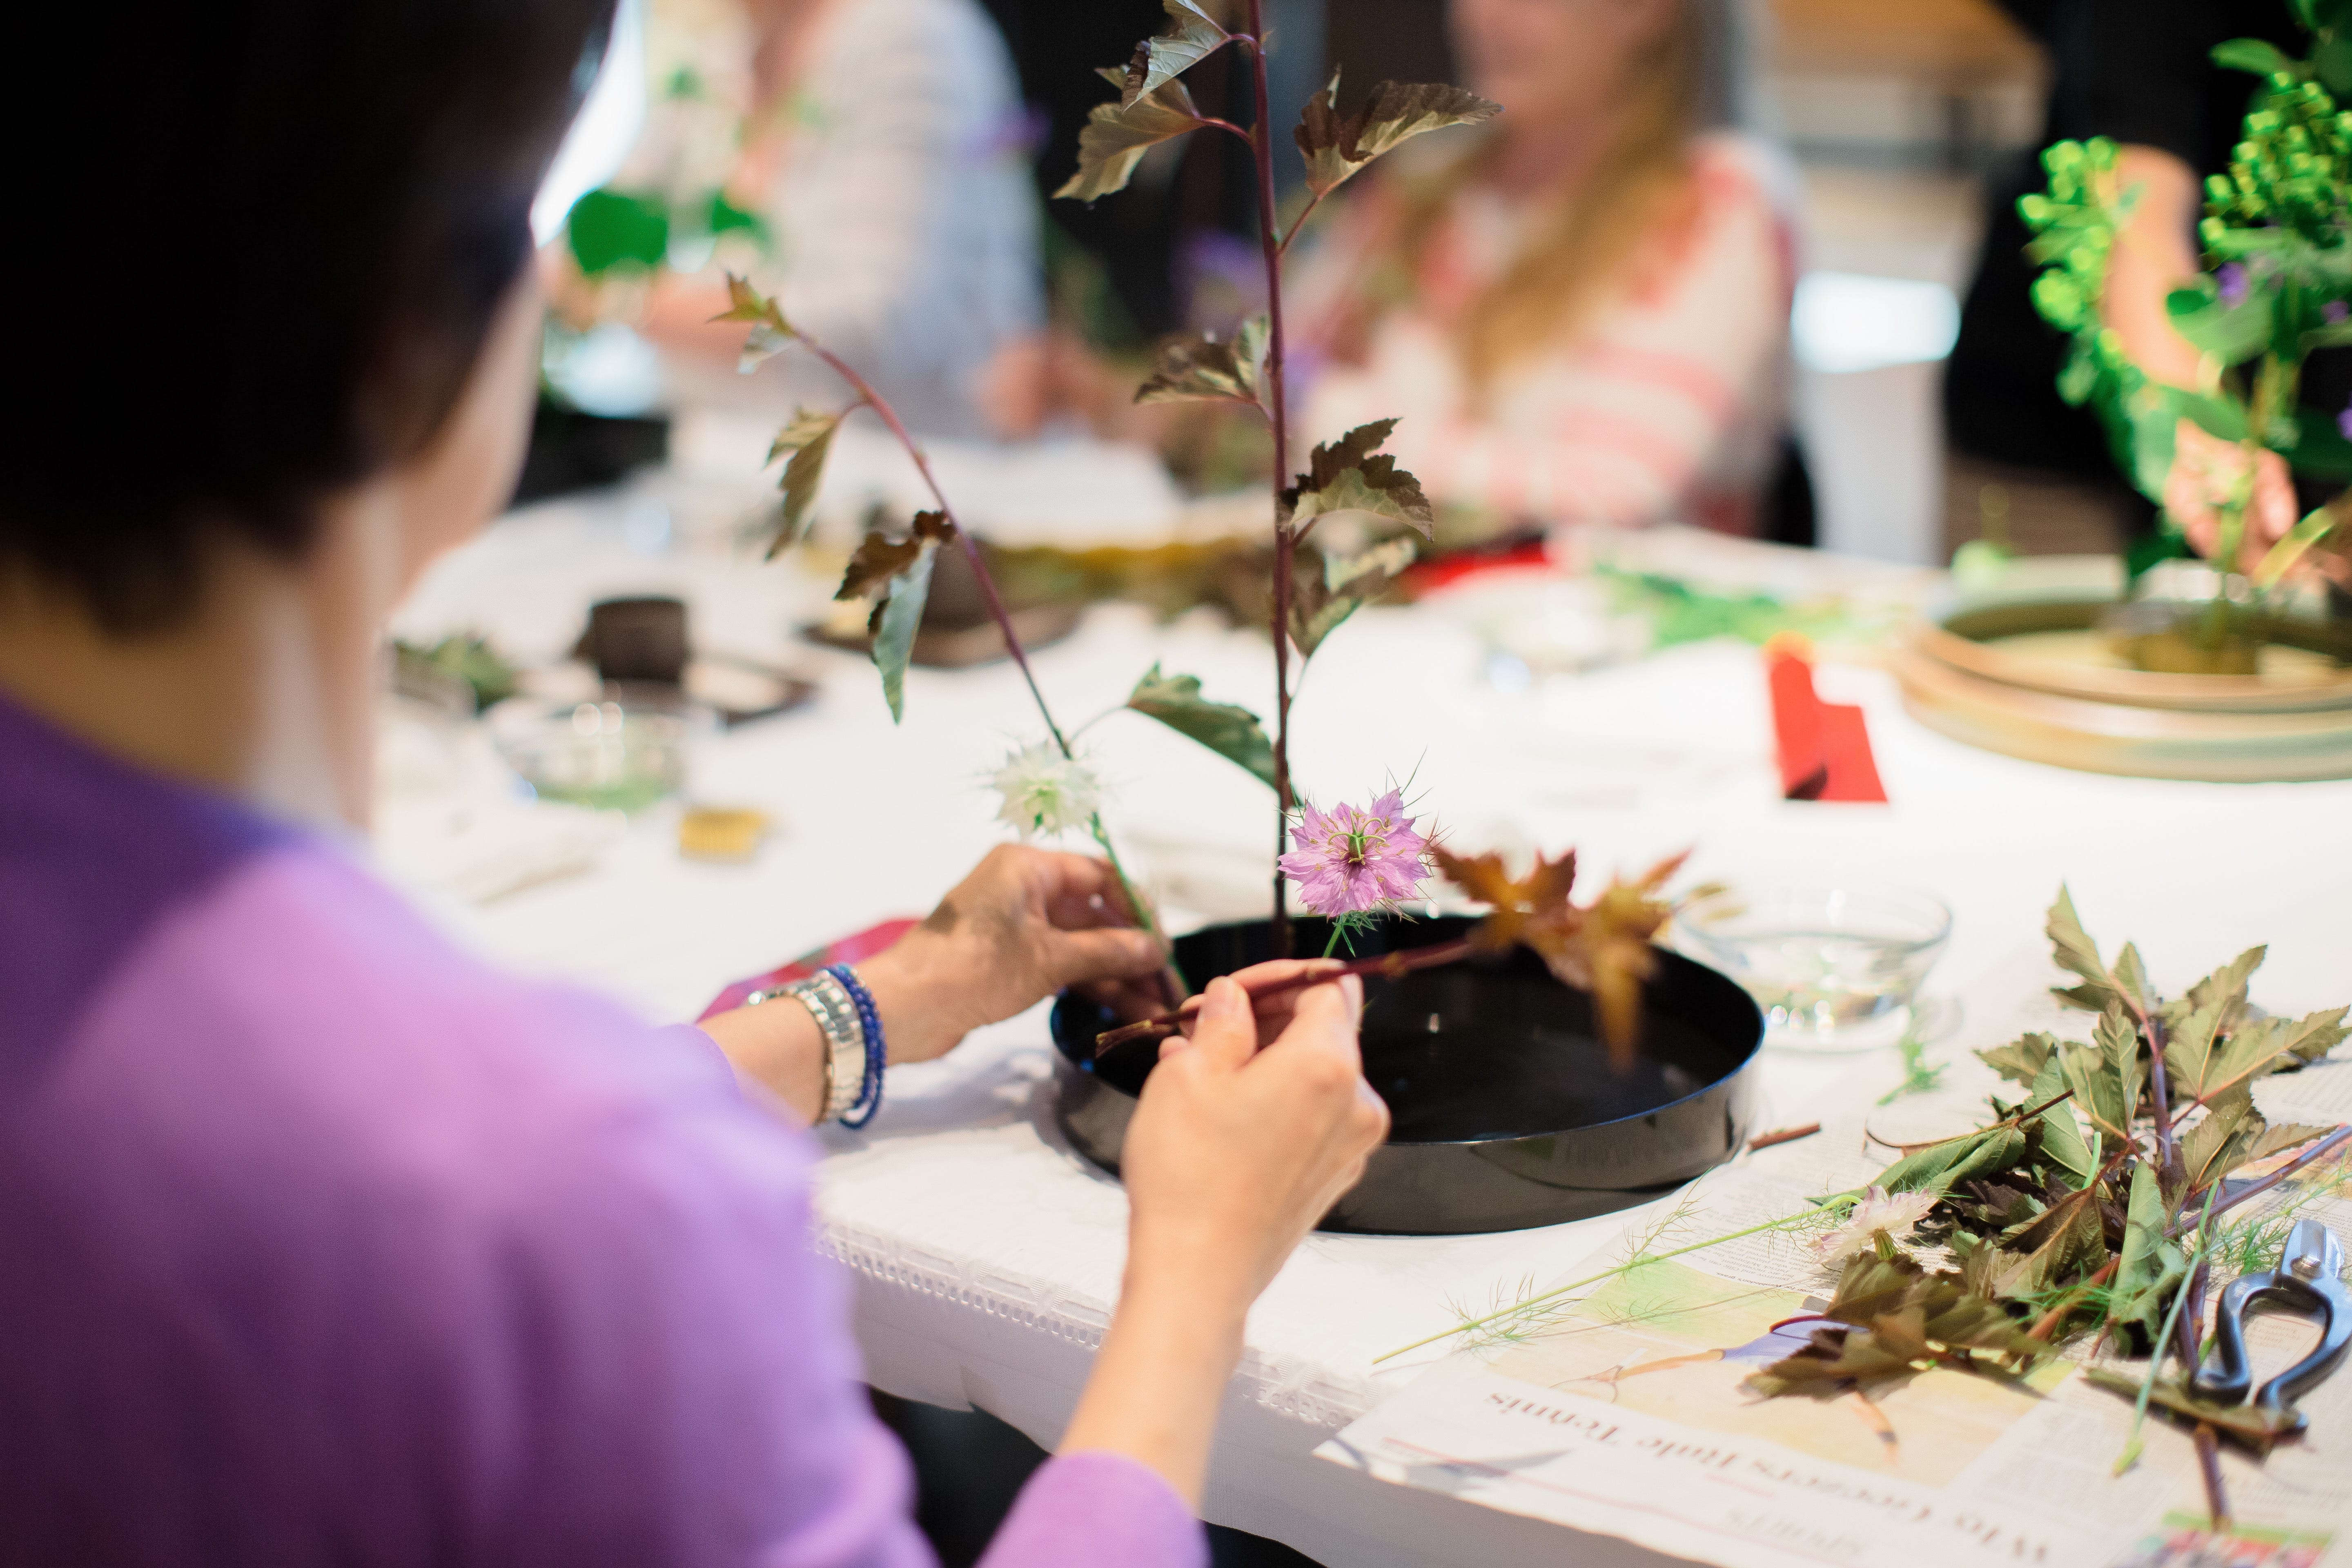
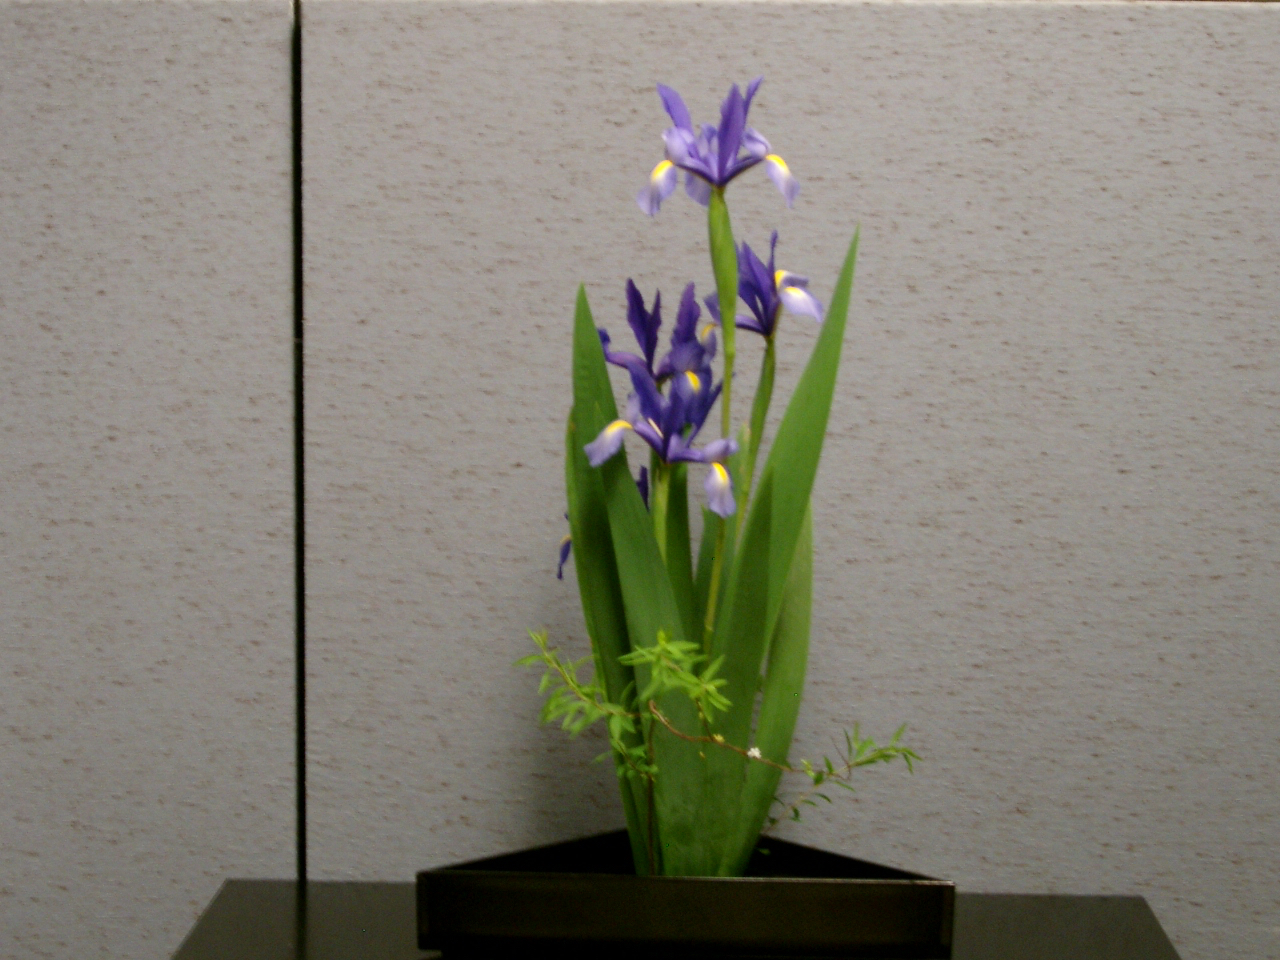
Step 3: Place Shin, Soe and Hikae onto Kenzan
On the first lesson, you place Shin on 10-15 degrees left from upright, Soe on 45 degrees left, and Hikae on 75 degrees right.

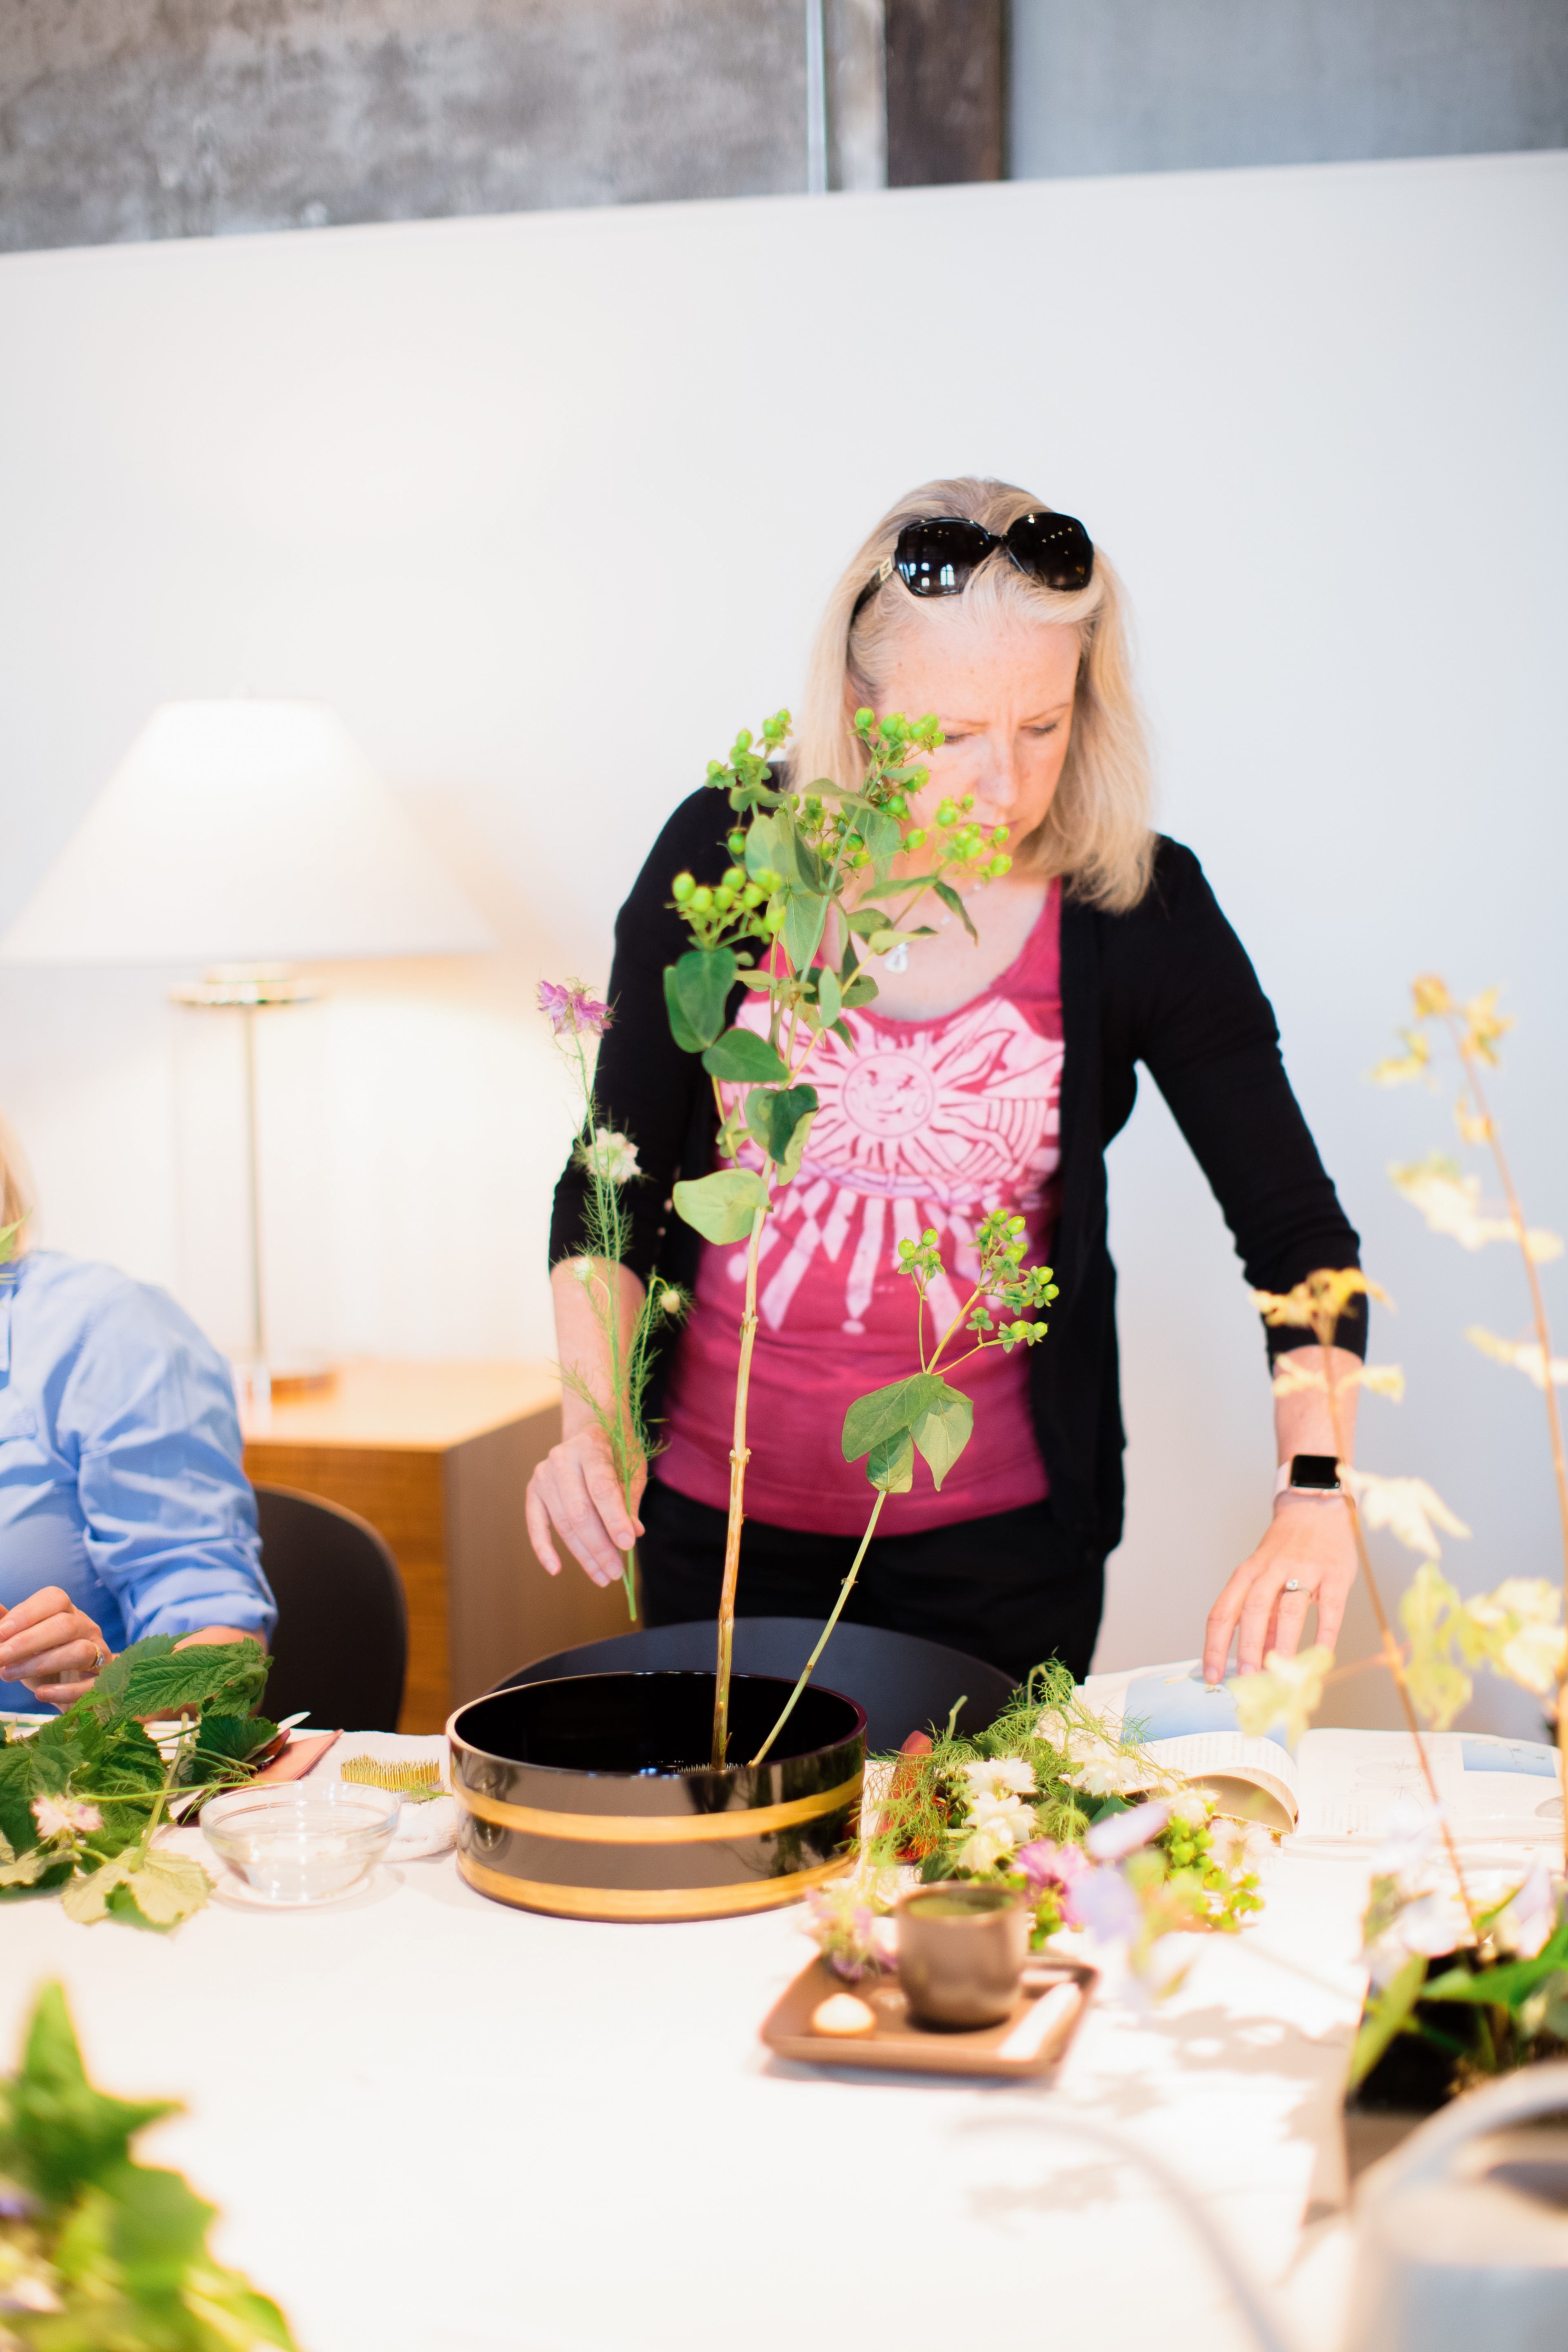
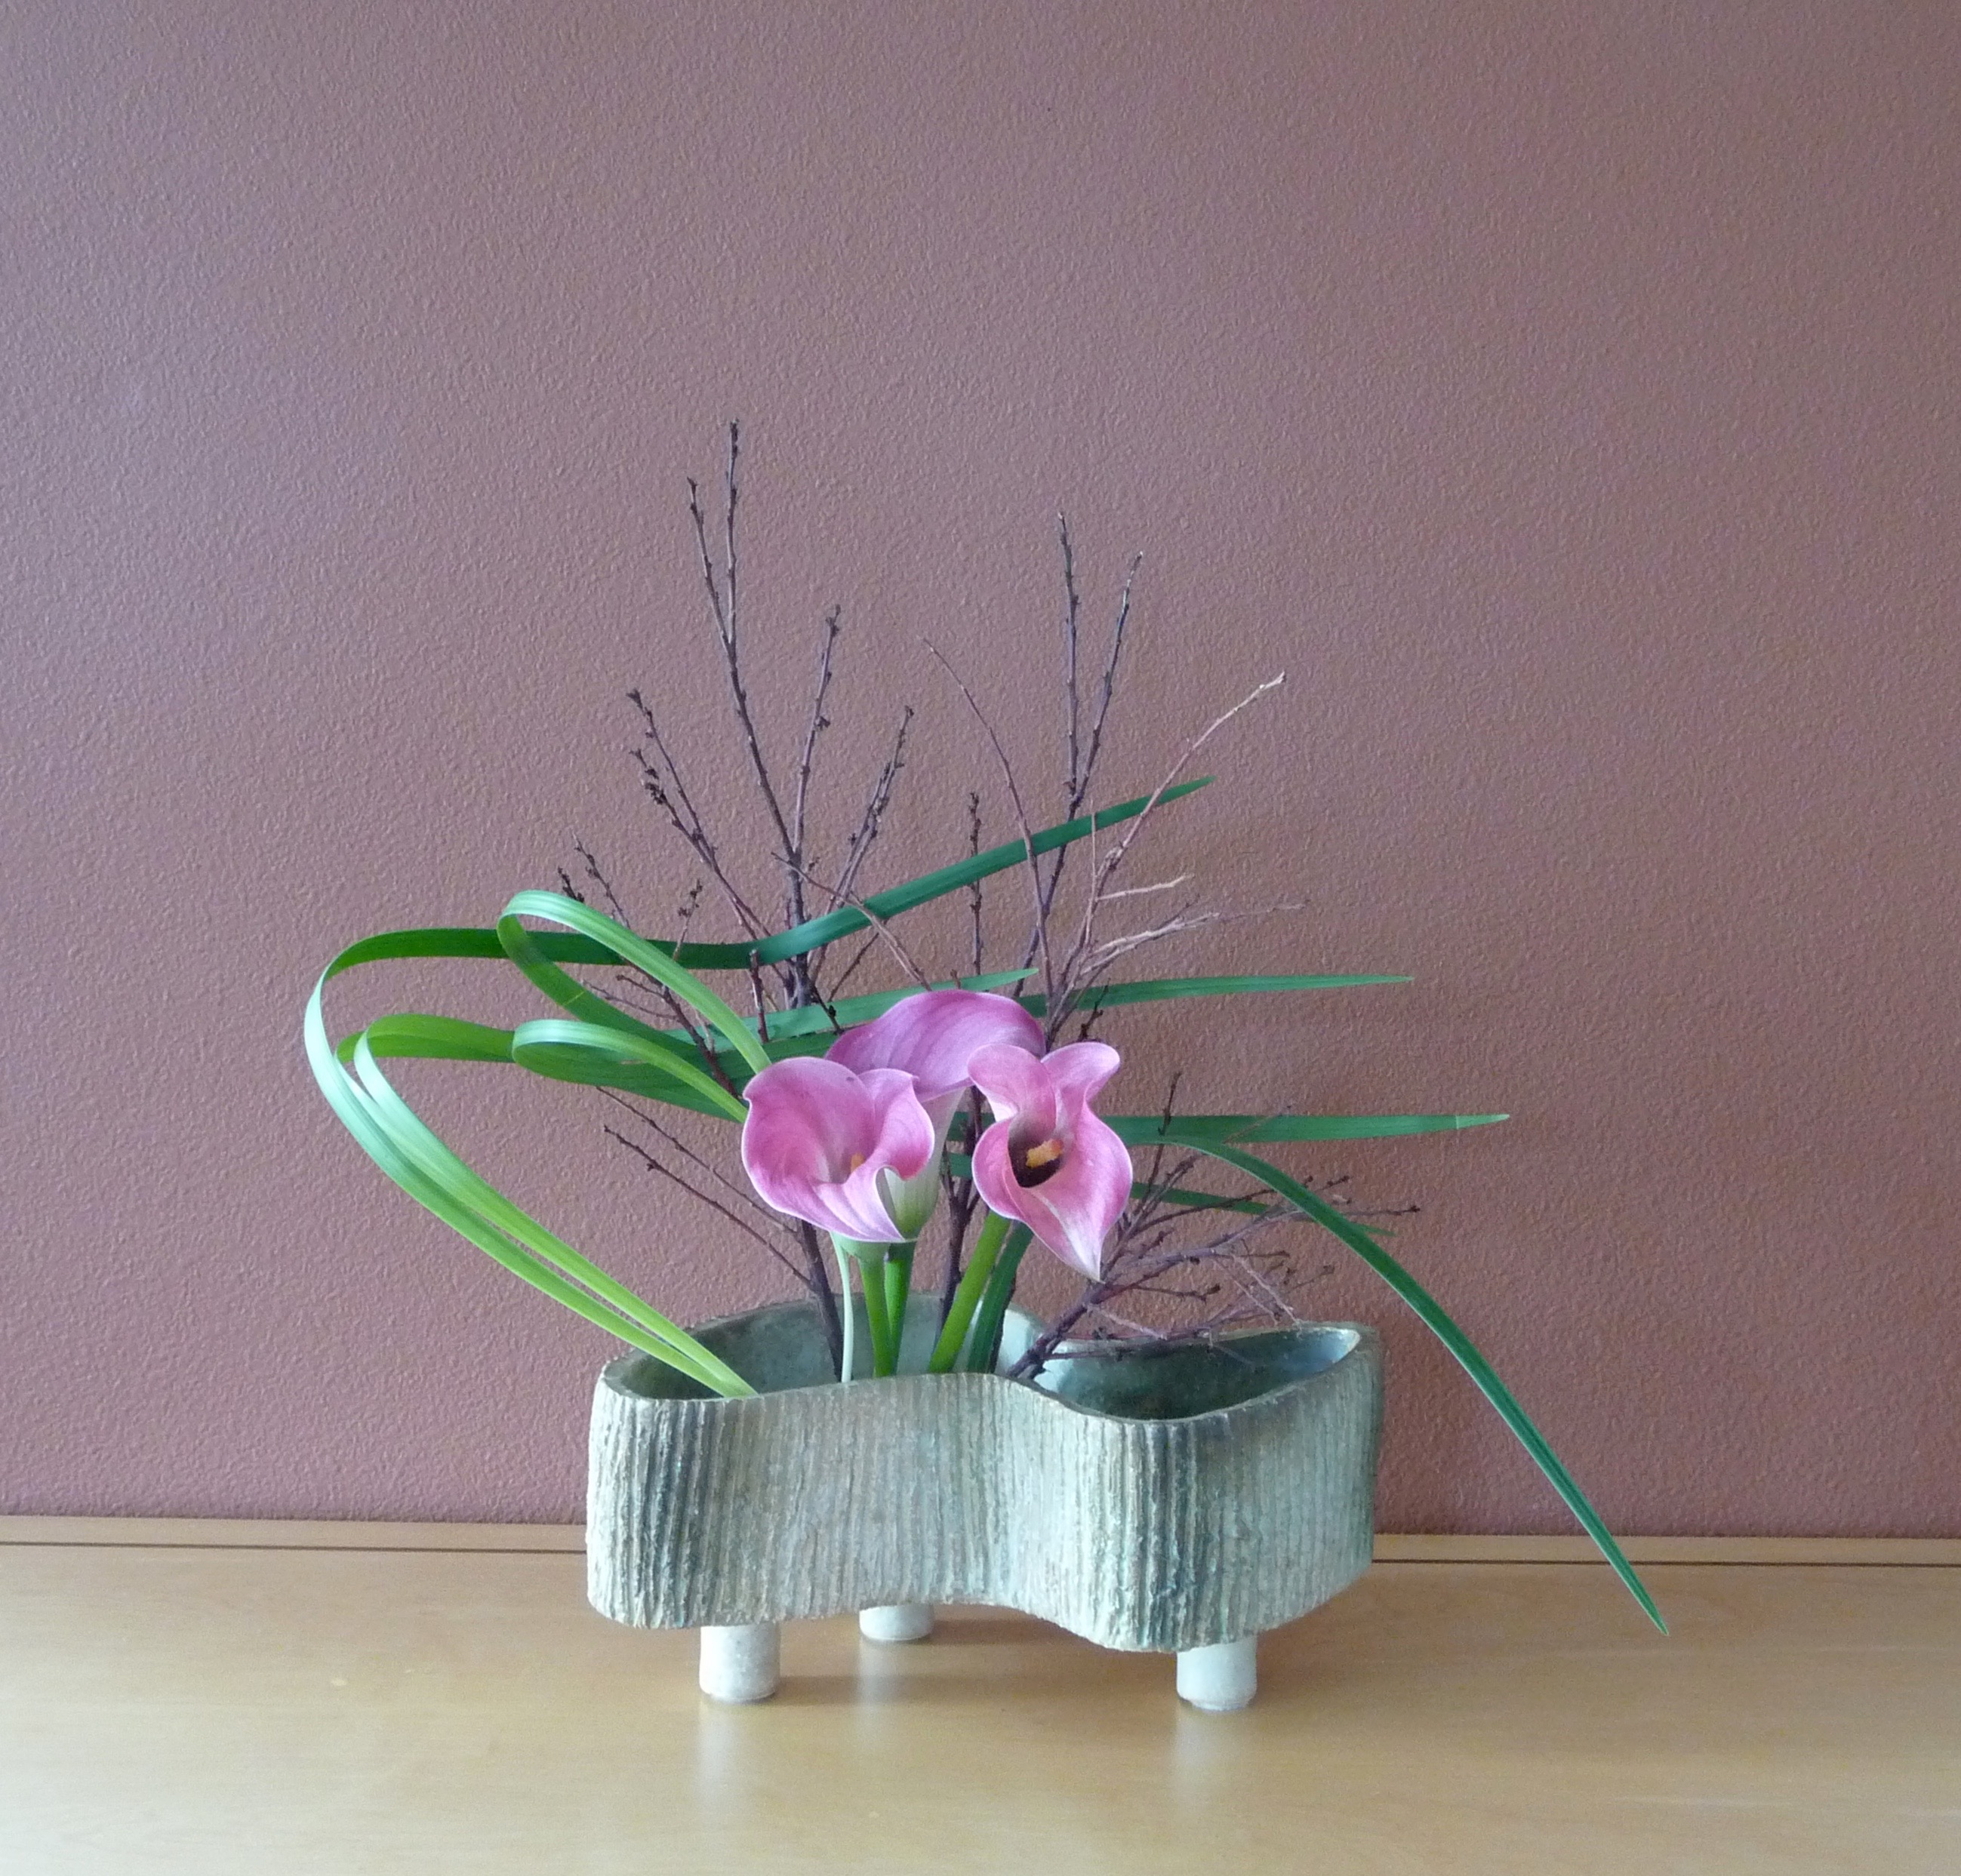
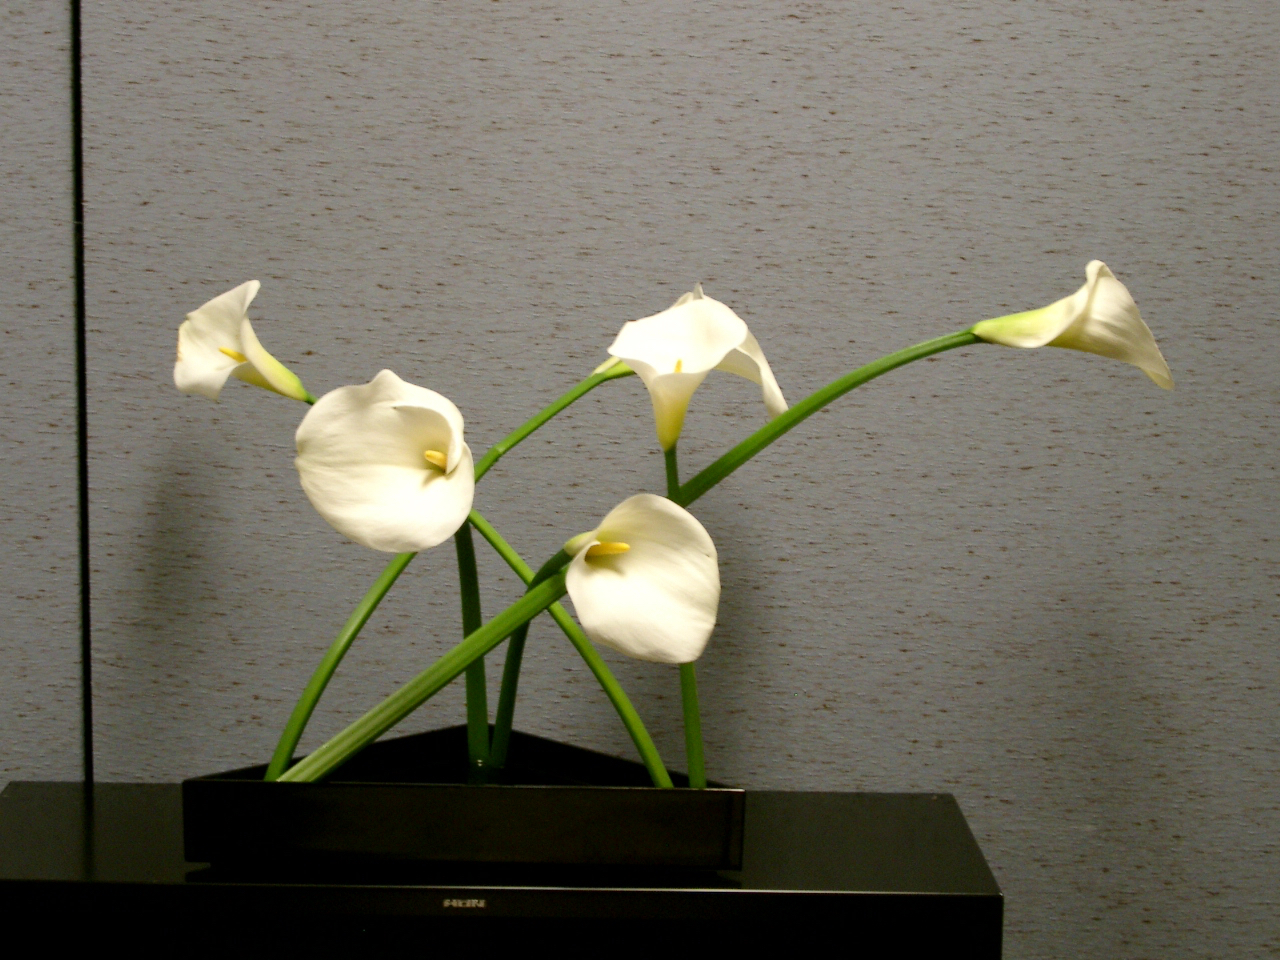
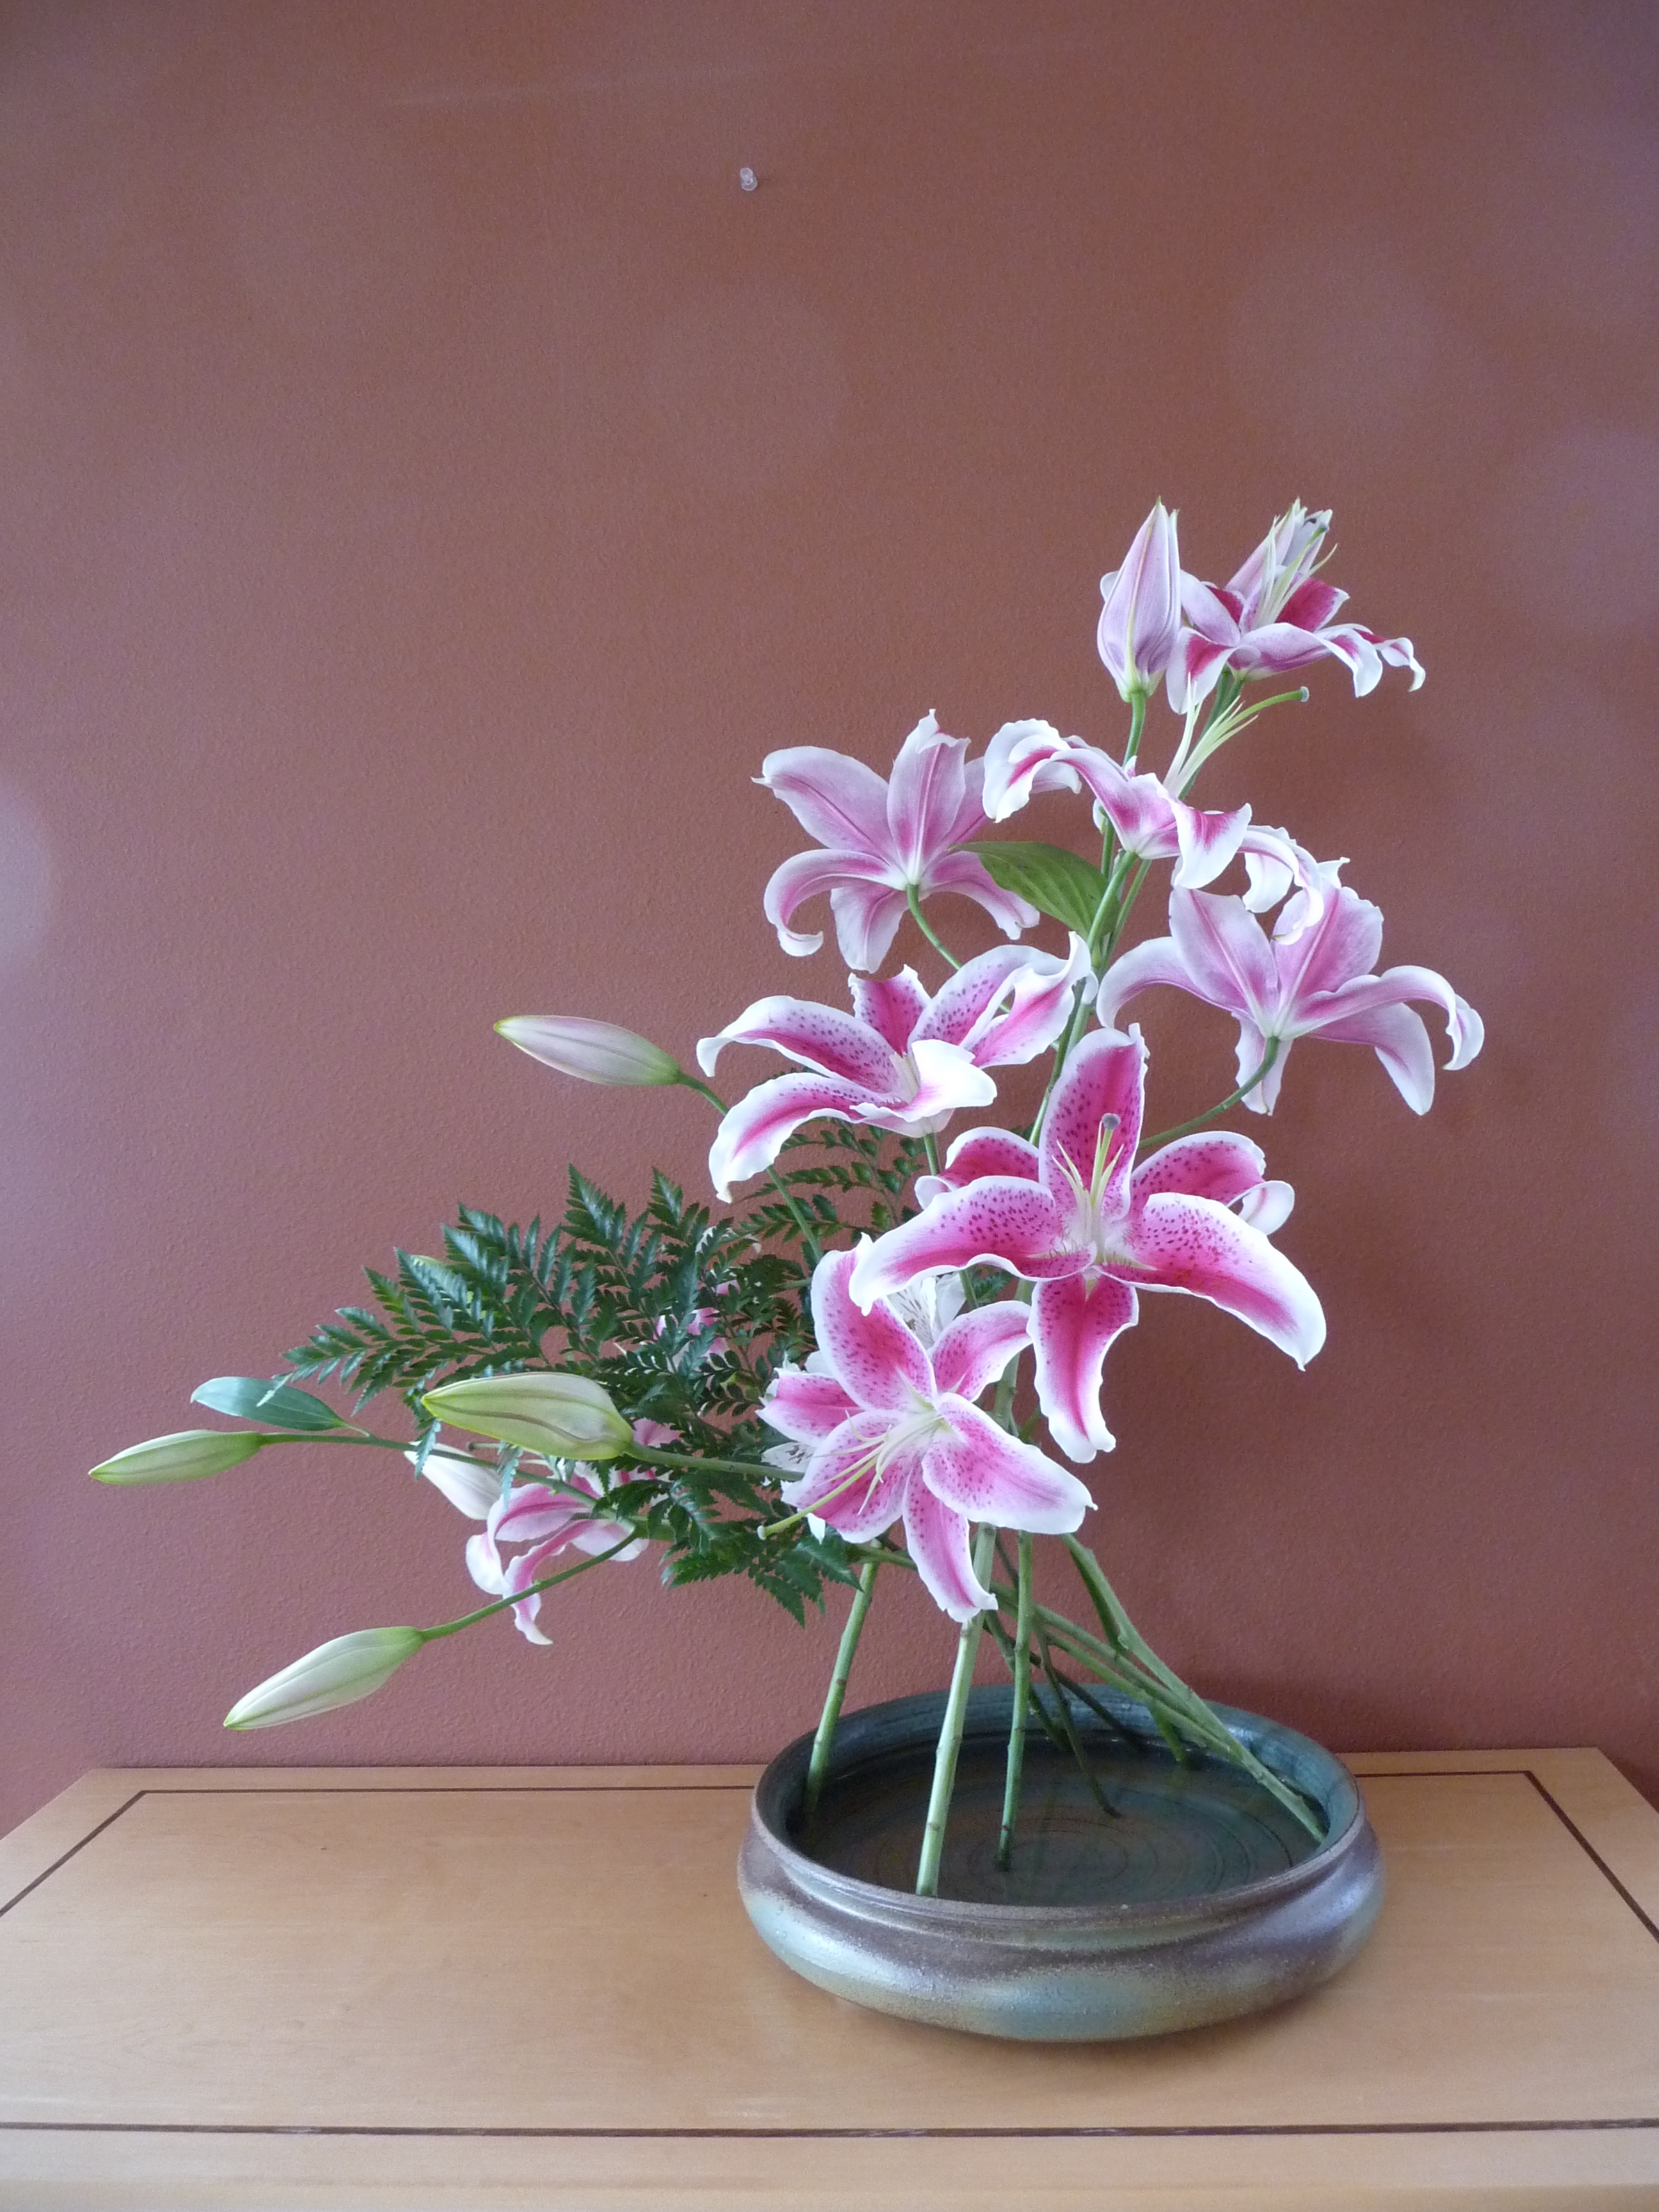
Step 4: Place Jushi to add fulness and depth
Finally, you place Jushi to add fulness and depth to your arrangement. Another point to remember is to hide Kenzan.
")
")


")