Thank you for joining us today!
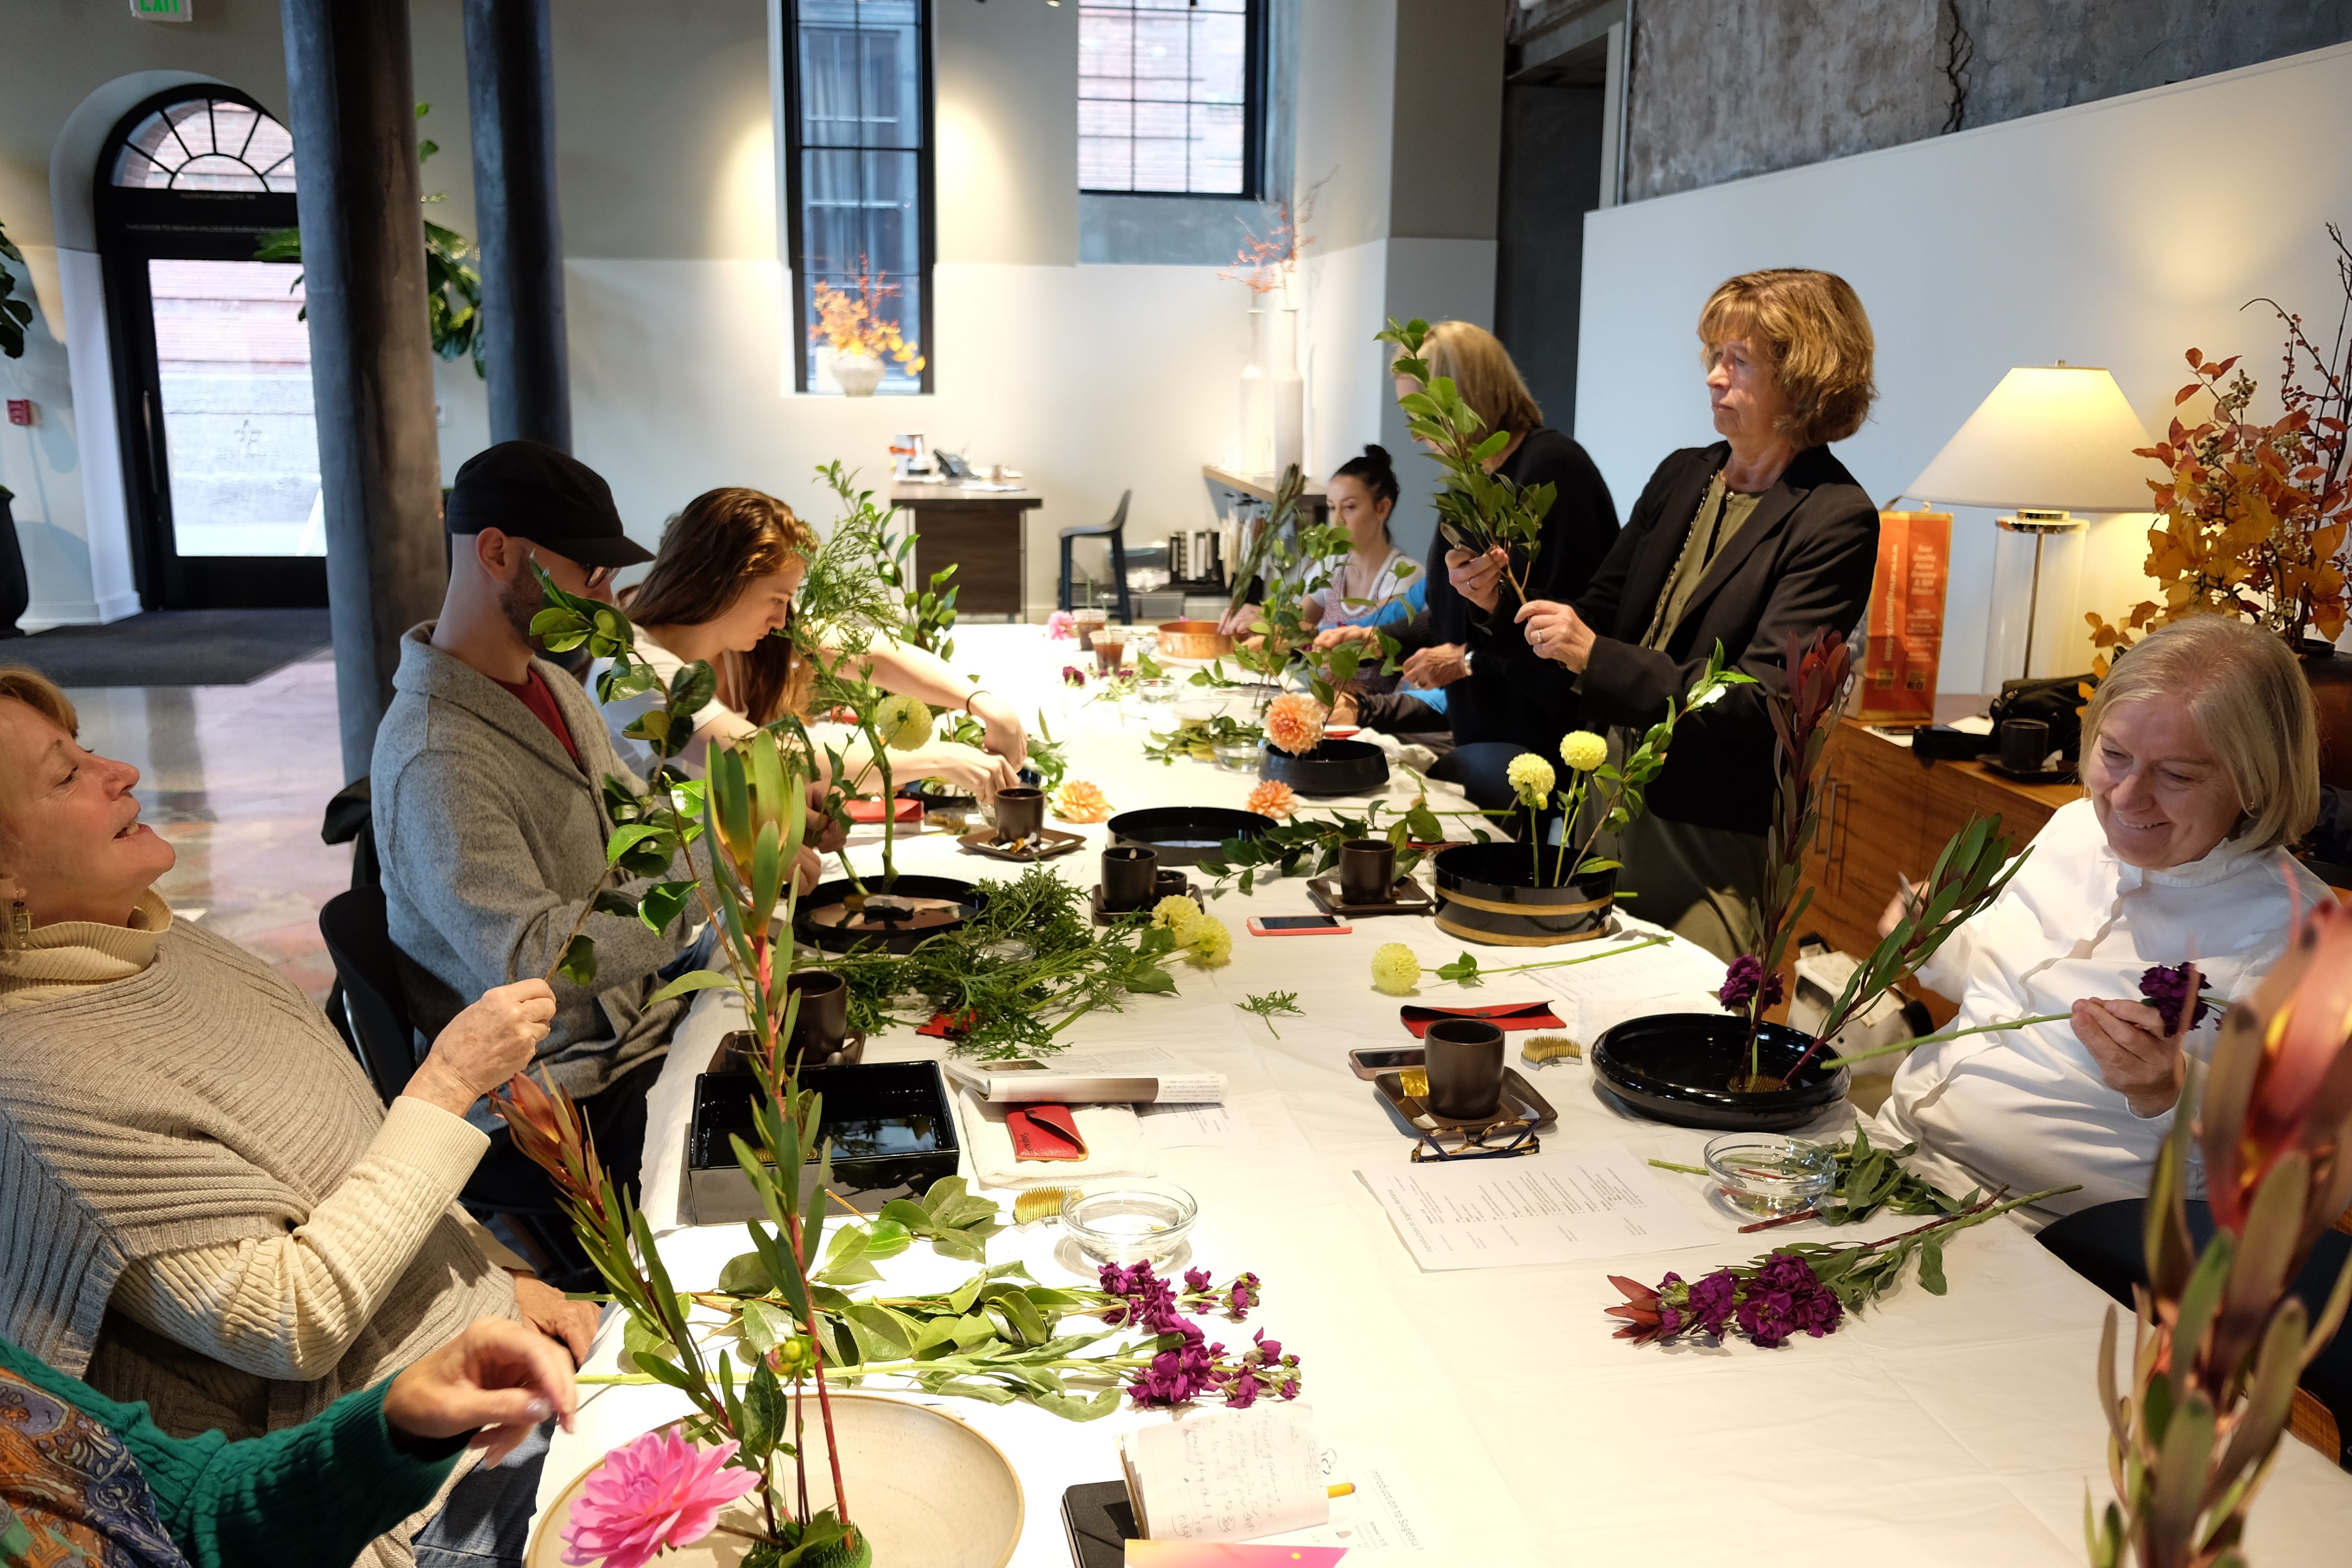
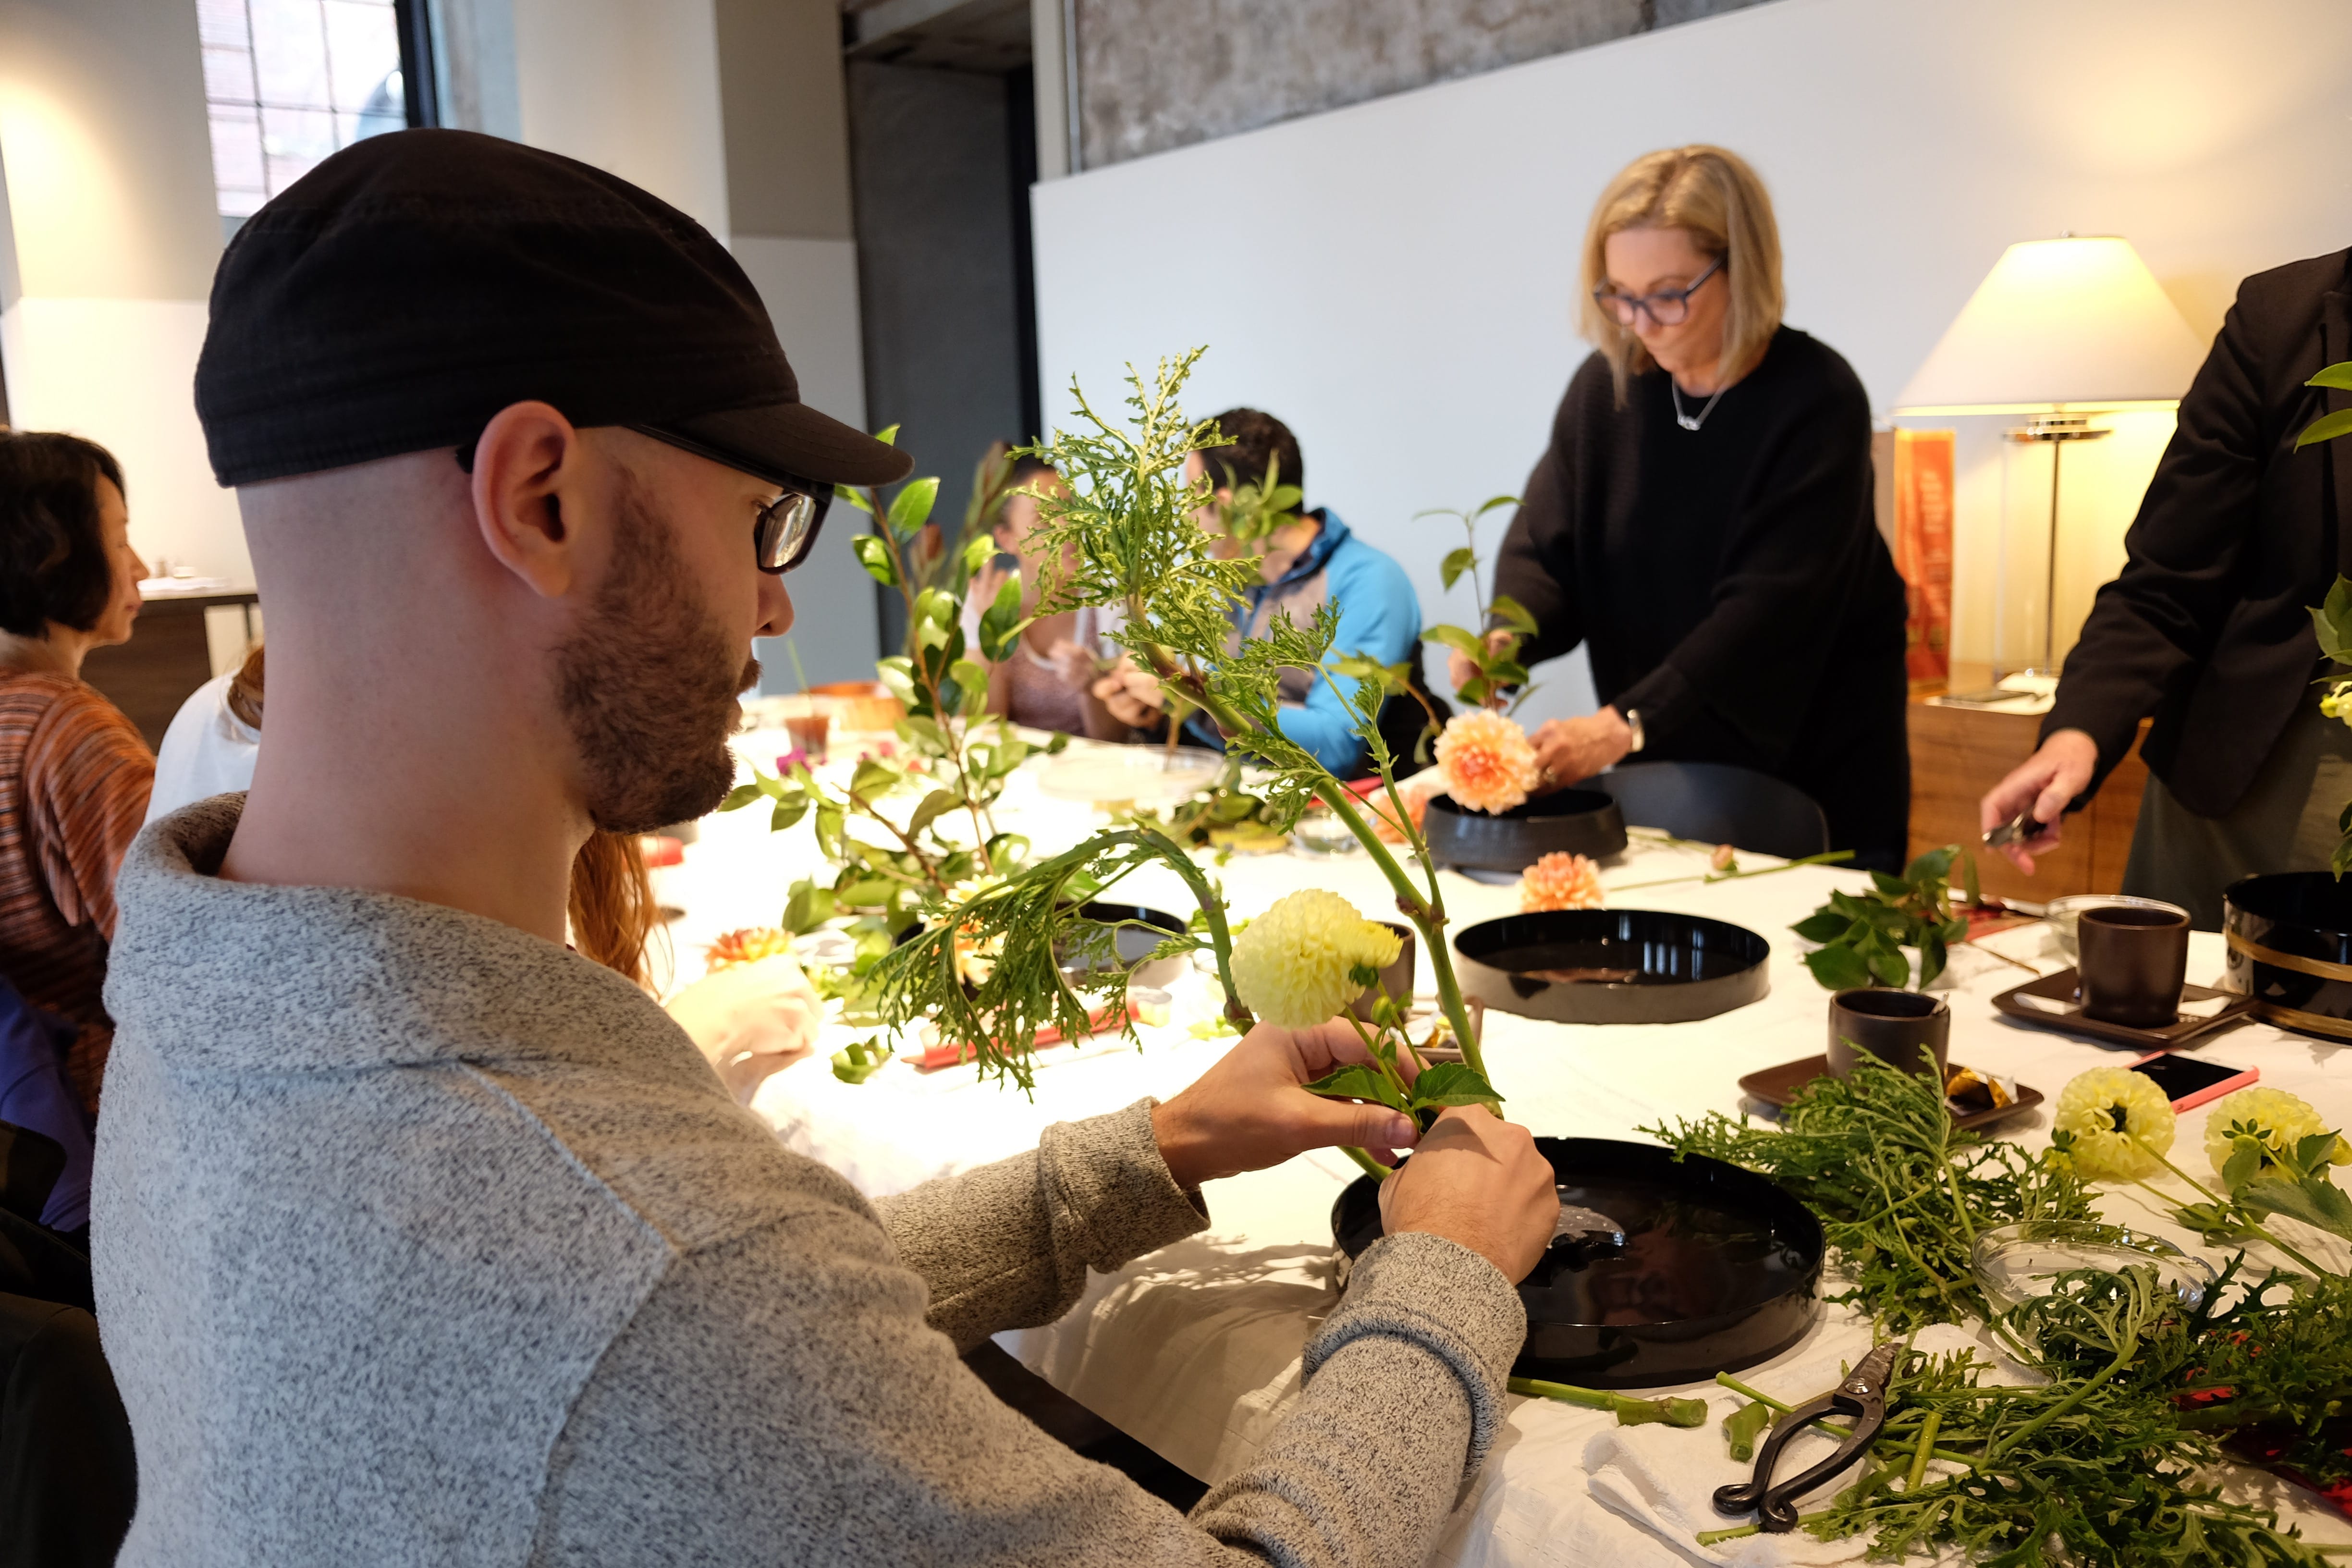
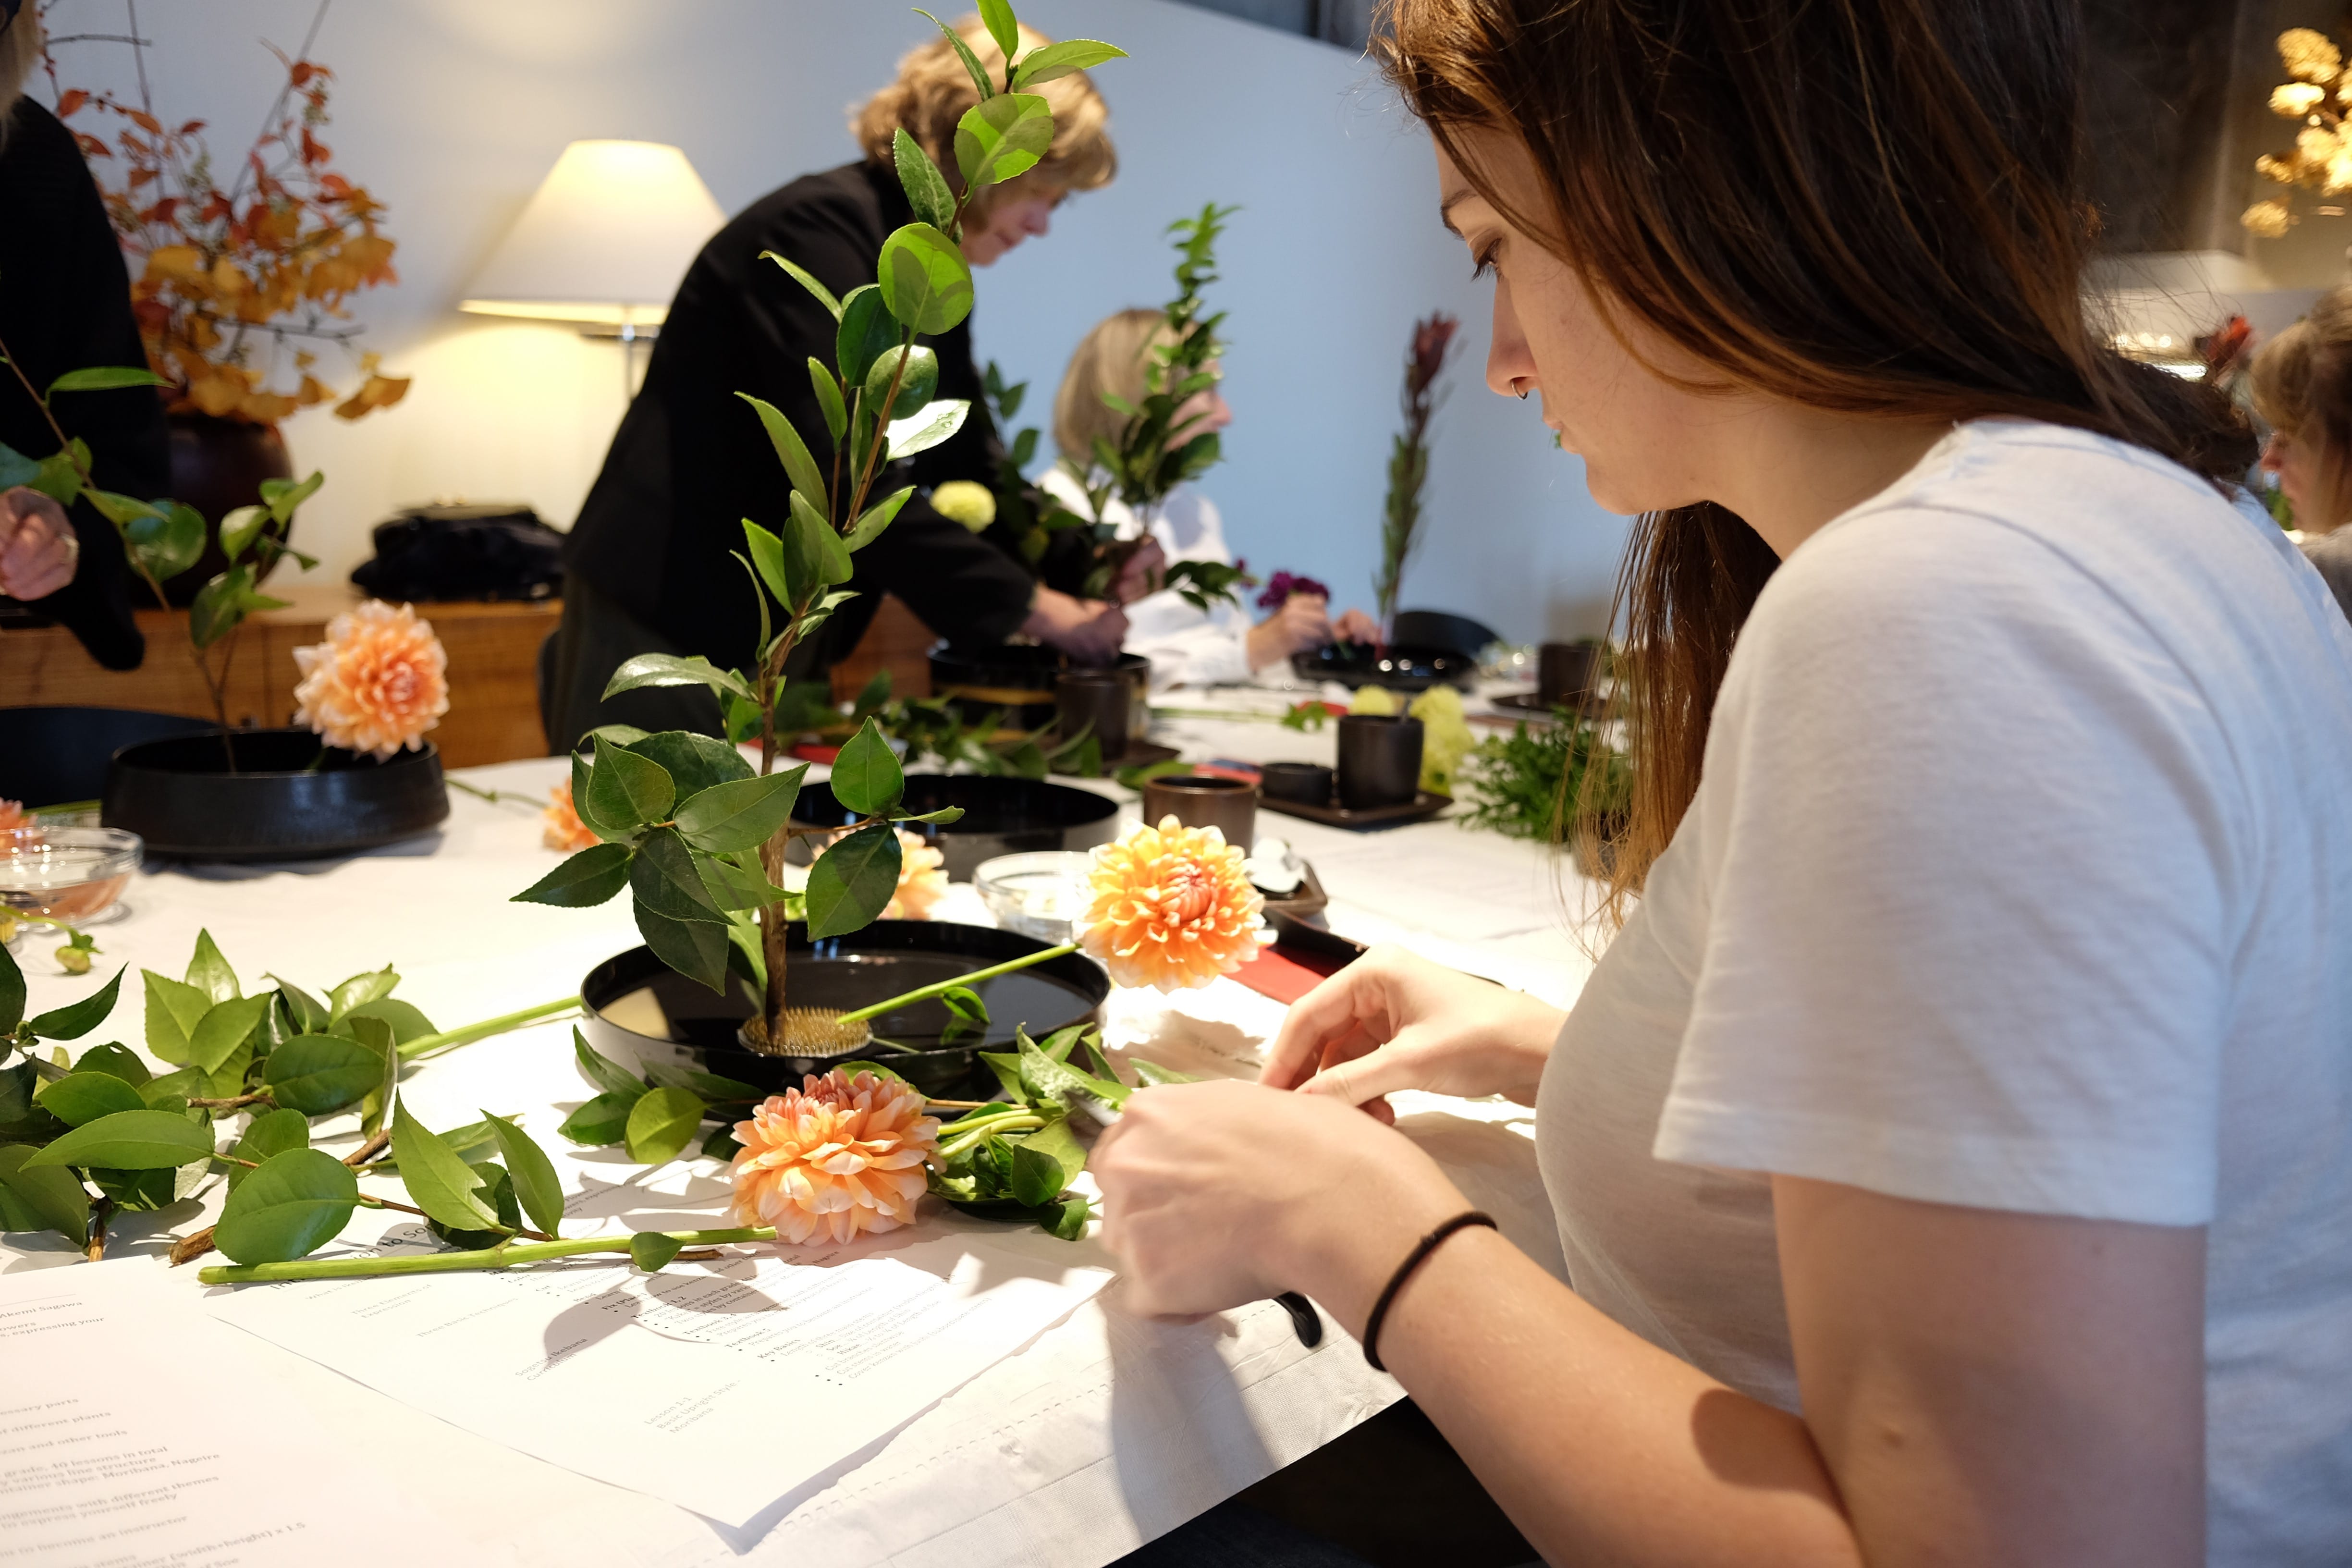
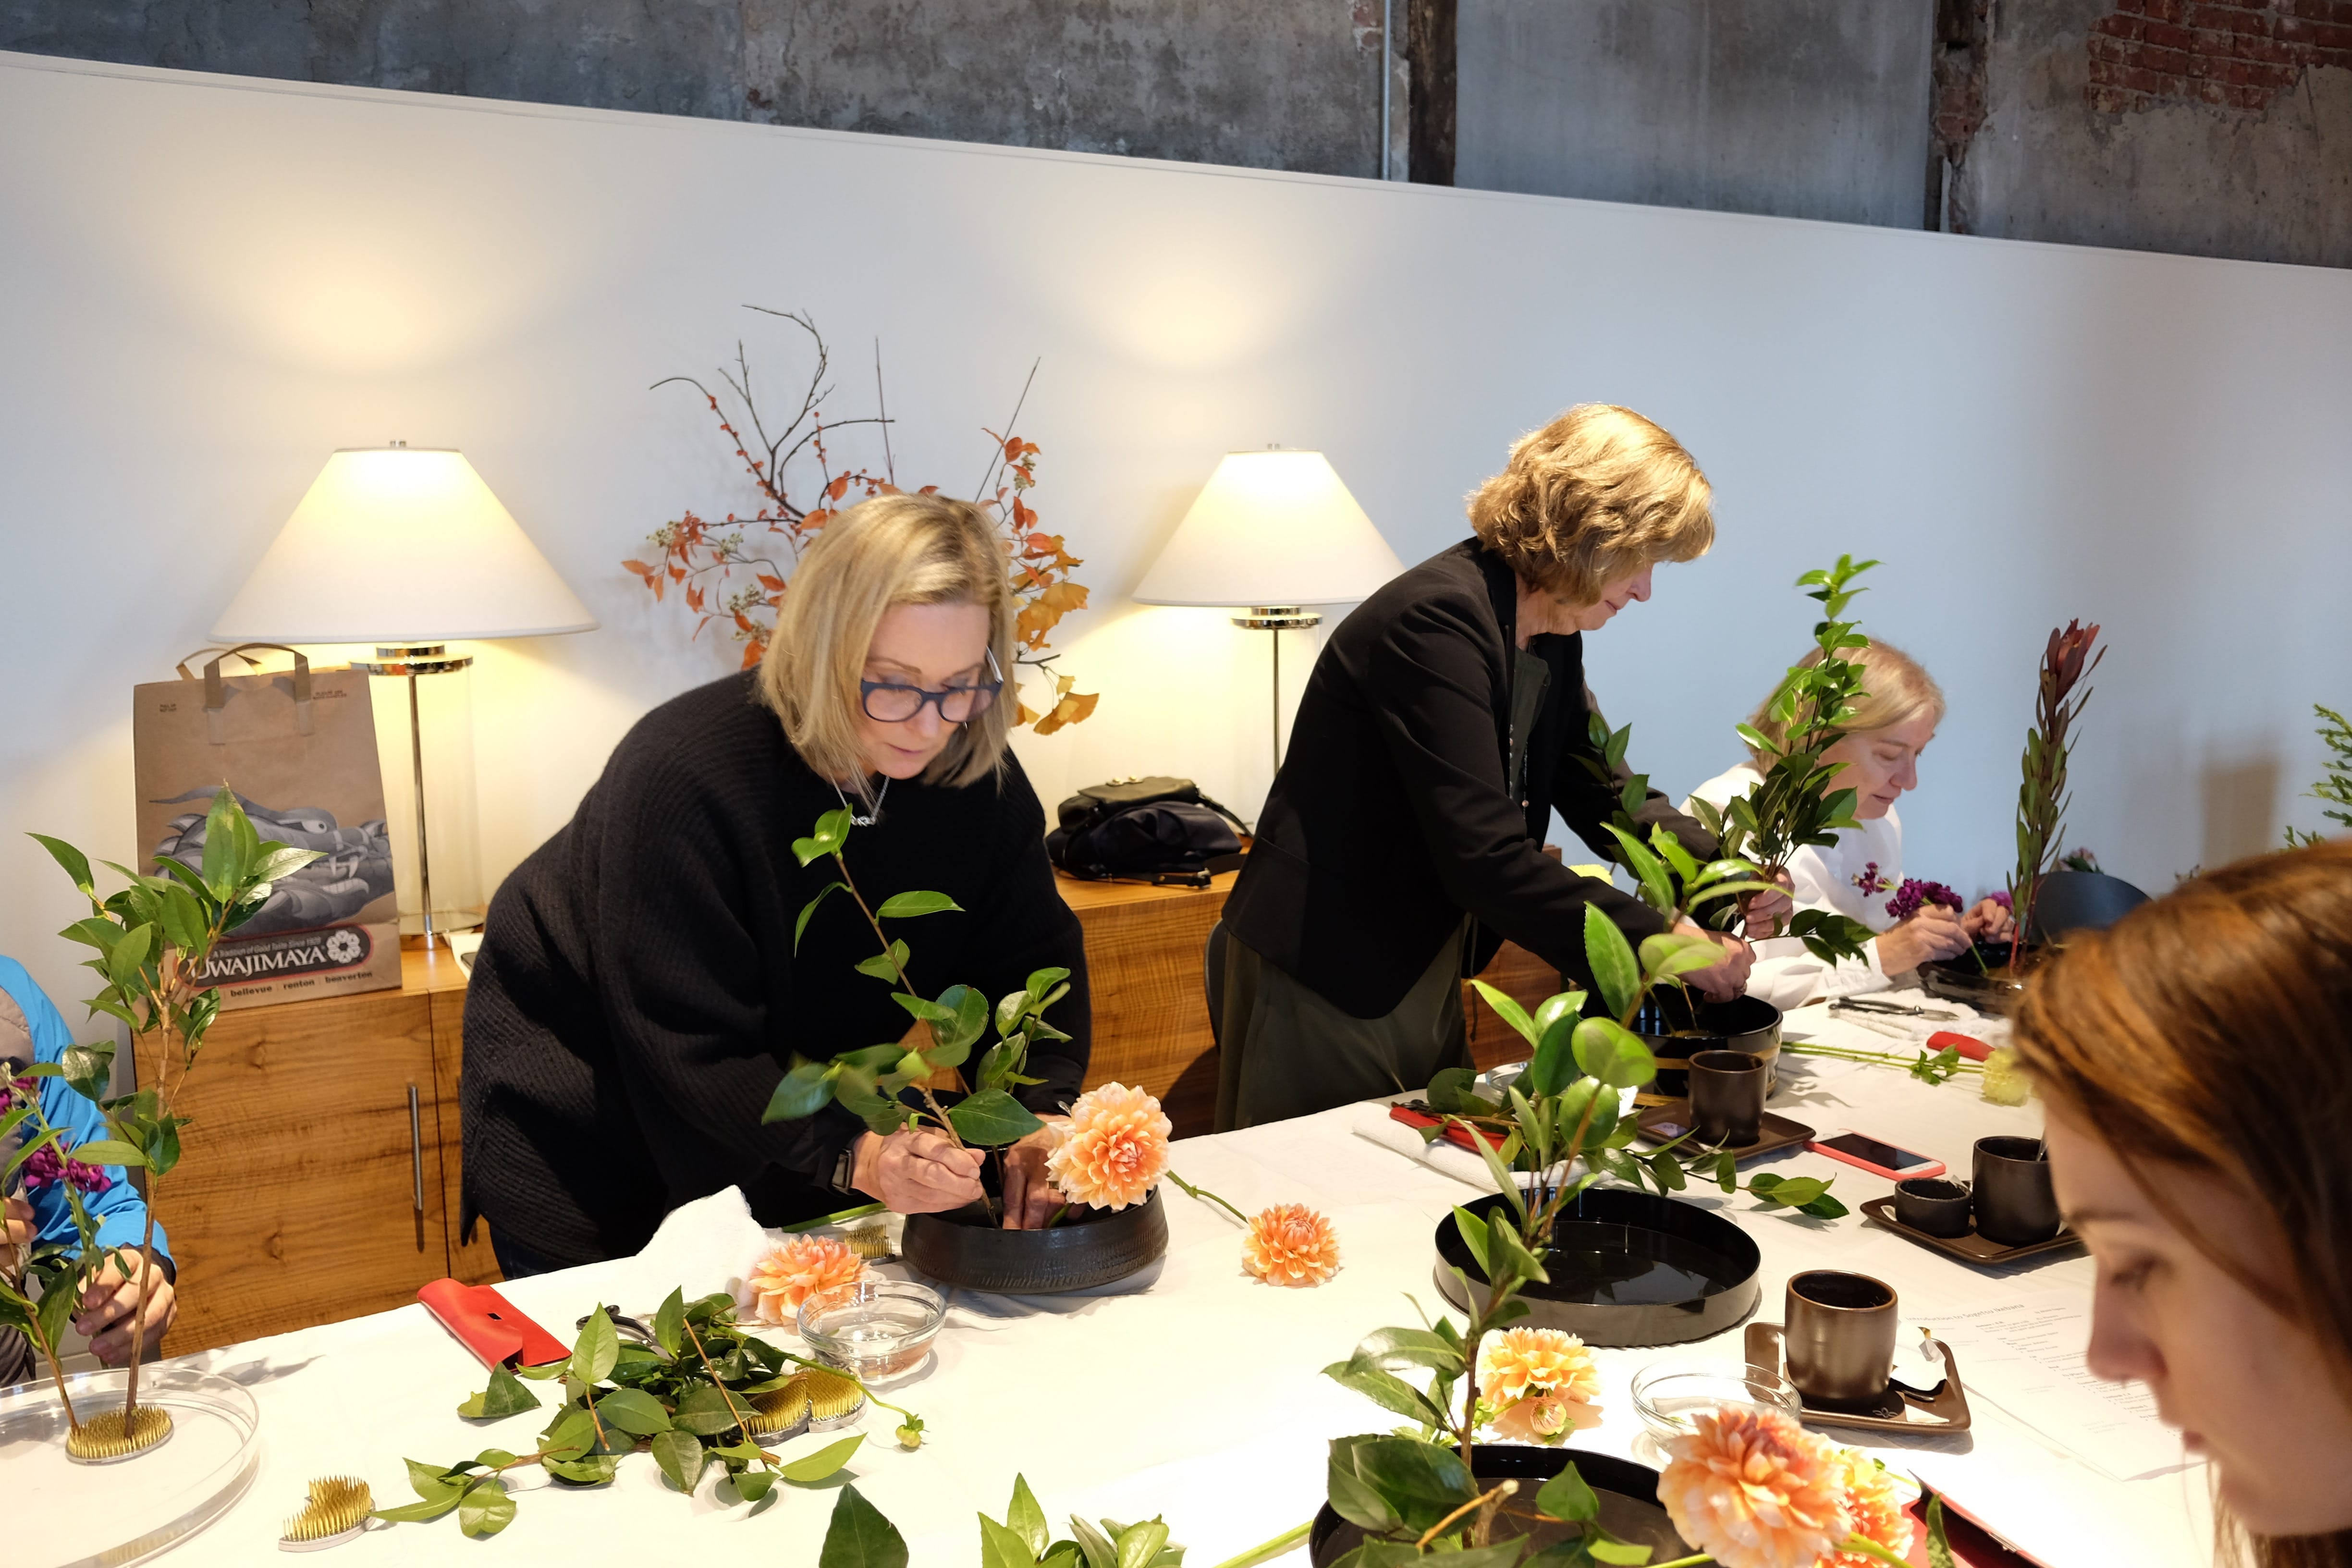
Here are the photos of today’s class. Beautiful arrangements, everyone!
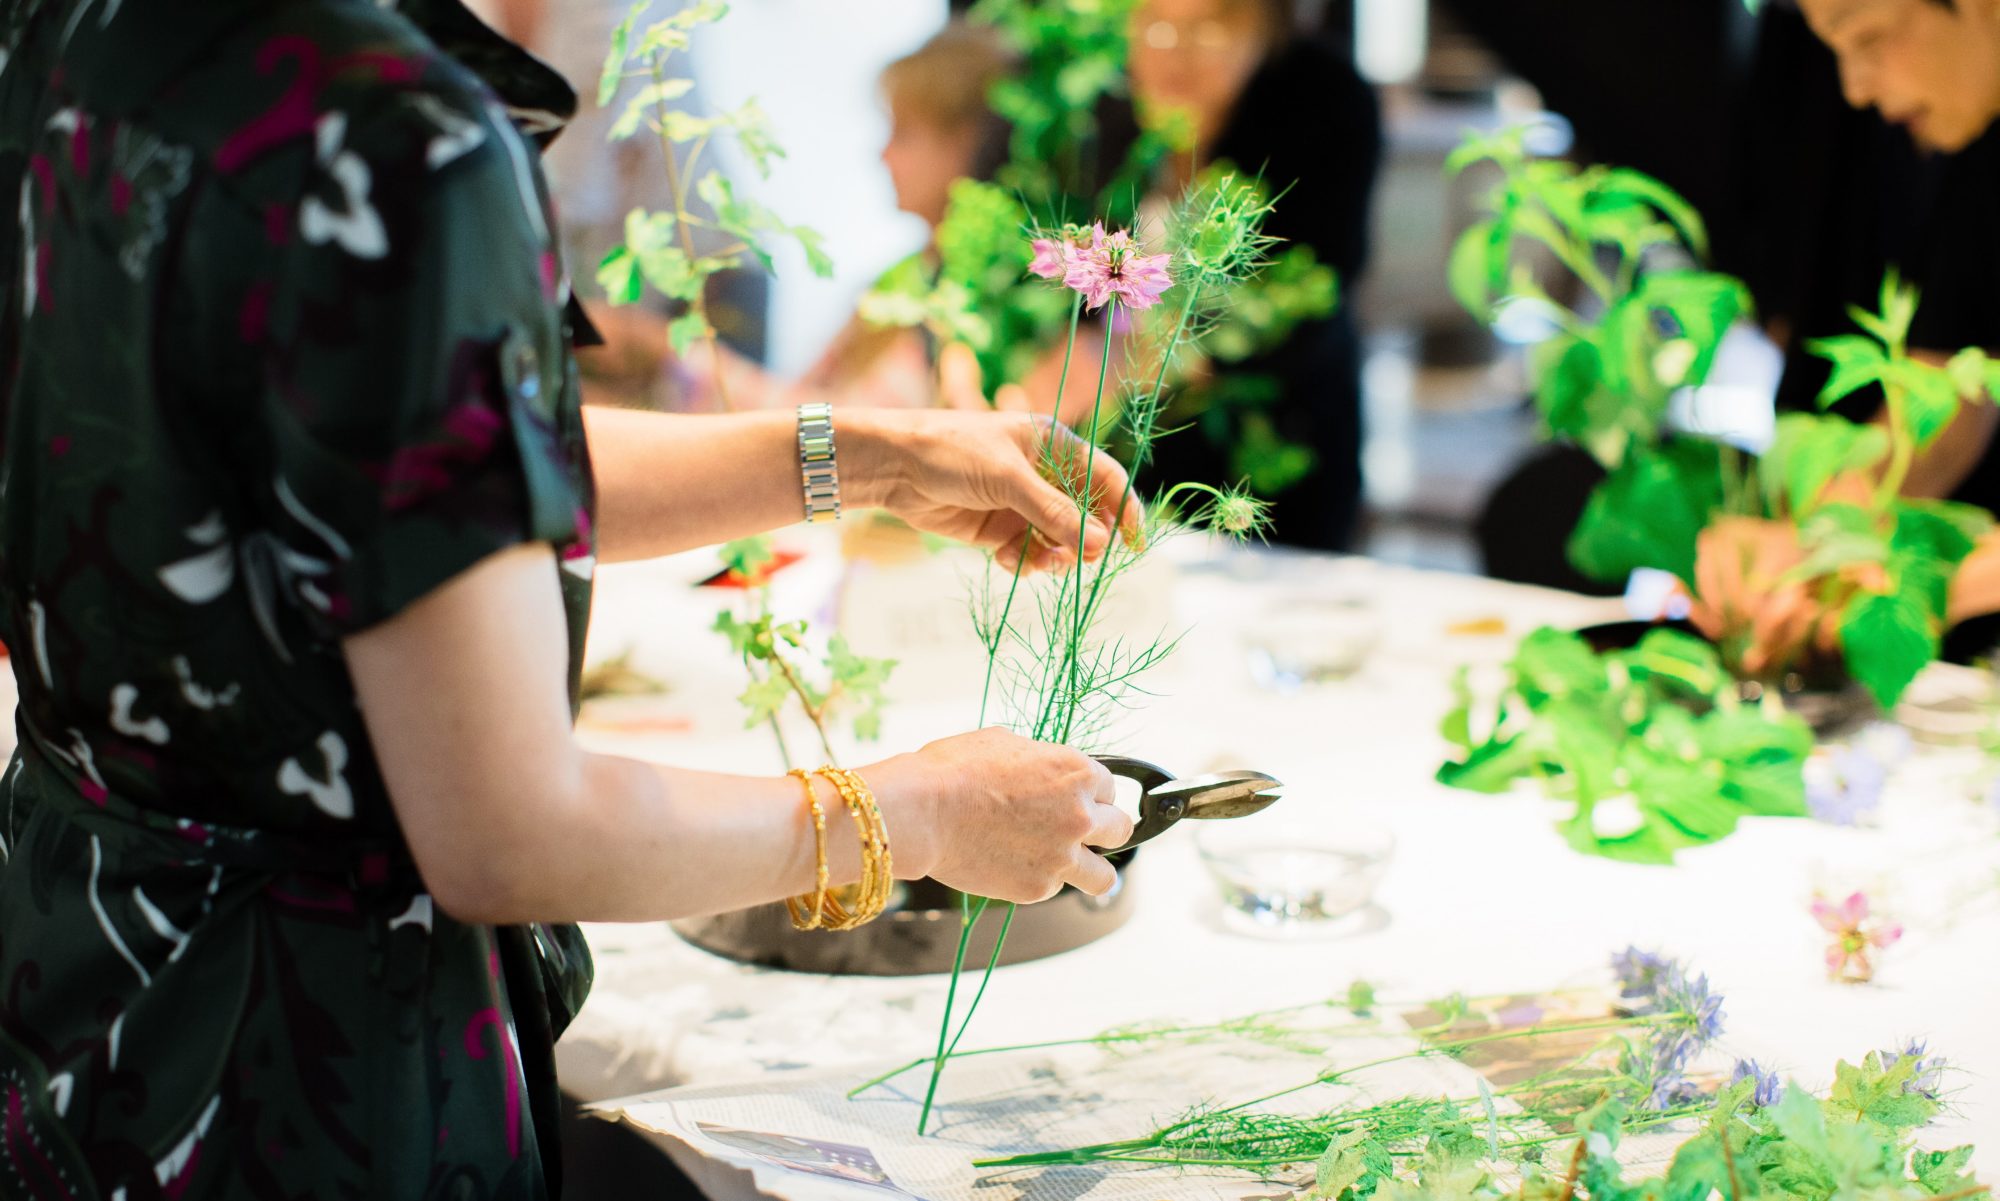
Let's Learn Sogetsu Ikebana!
Thank you for joining us today!
Here are the photos of today’s class. Beautiful arrangements, everyone!
Ever since the human beings have existed on earth, we have been surrounded by plants. Blessed with relatively moderate climate with distinct four seasons, people in Japan have enjoyed various kinds of plants and flowers all year round.
In the winter, most of the trees lose leaves and many plants disappear. Pines trees, however, remain green. The vivid green in the winter must represent the resilient life. So Shito, Japan’s native religion, has used pine branches for its rituals, including the New Year’s decoration.
Plants were also used for in Buddhist rituals. The typical flowers used in India, where Buddhism was originated, were lotus. In Japan, the rituals were adapted to use various seasonal flowers.
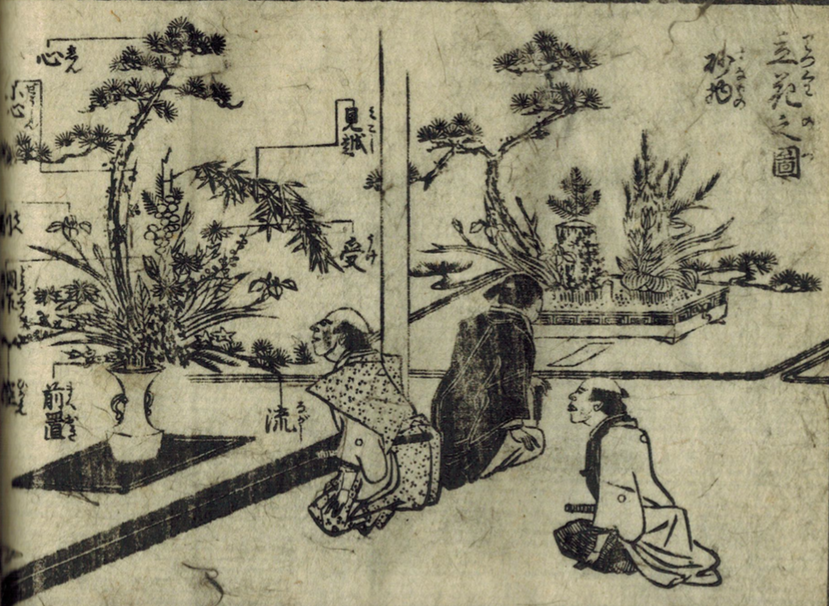
The origin of Ikebana as we see today dates back to Muromachi period in the 15th century. Ruling samurai clan started to build gorgeous houses with an alcove called “tokonoma”, a special space to display their precious treasures. The samurai showed off their ornate vases originated from China by decorating them on tokonoma. It was one of the tasks of “Dohoshu,” usually Buddhist monks who served Muromachi shogunate and other powerful samurai, to decorate the tokonoma with beautiful flowers and plants.
One day, Ikenobo Senkei (池坊専慶), a Buddhist monk of Rokkakudo Temple in Kyoto was invited to a samurai’s residence and made a gorgeous flower decoration. It was so well received that one of the contemporary Buddhist monks wrote about the decoration in his journal! Thanks to this monk, we know that it was precisely in 1462.
Hence Rokkakudo Temple is said to be the birth place of Ikebana, and Ikenobo School is said to be the origin of Ikebana.
When I first learned about Samurai in school, they were simply “professional worrier class.” Ikebana patronized by samurai clan…. Isn’t it interesting to find out new things in history?
Thank you for joining the class today. Here are the class photos!


Last week I introduced three Ikebana-related events. Did you go to see any of them?
I was fortunate to enjoy all of them. For those of you who missed them, I will share the photos. Enjoy!
This weekend is exciting, because three Ikebana events are scheduled in Seattle area! Events are all admission free. I hope you will enjoy at least one of them. All the more exciting if you get to enjoy all of them!
Every fall Mercer Island Sogetsu Branch participates in the 1st Thursday Art Walk in Pioneer Square. This year the event will be at 9 participating galleries in Pioneer Square on Thursday, October 5 through Saturday, October 7.
Obviously, the word “Flowalk” is made up with flower and walk. Meander around art galleries in Pioneer Square, and you will run into Ikebana arrangements on the show window, on the counter, or on the pedestal. This combination of fine art and Ikebana art is a fun experience so typical of Pioneer Square! Admission is free.

Seattle Sogetsu Branch will hold its annual exhibition at Olympic Sculpture Park. This year they are especially celebrating the 90th anniversary of the Sogetsu School in Tokyo, Japan. Here, too, you will get to enjoy the wonderful combination of sculpture and Ikebana art.
The exhibition will be held on Saturday, October 7 10am – 5pm, and Sunday, October 8 10am – 4pm. Ikebana demonstration will be held at 1pm and 2pm on each day. There will also be opportunities for attendees to create their own Ikebana!
Location:
Seattle Art Museum Olympic Sculpture Park Paccar Pavilion
2901 Western Ave., Seattle WA 98121
(parking in Pavilion garage)
On Saturday October 7, Japan Week will be celebrated at Bellevue College. Ikebana International Seattle Chapter 19 will be exhibiting Ikebana arrangements.
During the first week in October, Bellevue Colle is having cultural and educational workshops and demonstrations for its students, faculty and staff, hence called Japan “Week.”
The last day (October 7), is open to public, and offers exciting activities, Japanese food, Japanese music and performances, movies, exhibitions and workshops for all ages to enjoy. Ikebana International Seattle Chapter 19 is one of the participants and there will be many Ikebana displays.
Location:
Bellevue College
3000 Landerholm Circle SE, Bellevue, WA 98007
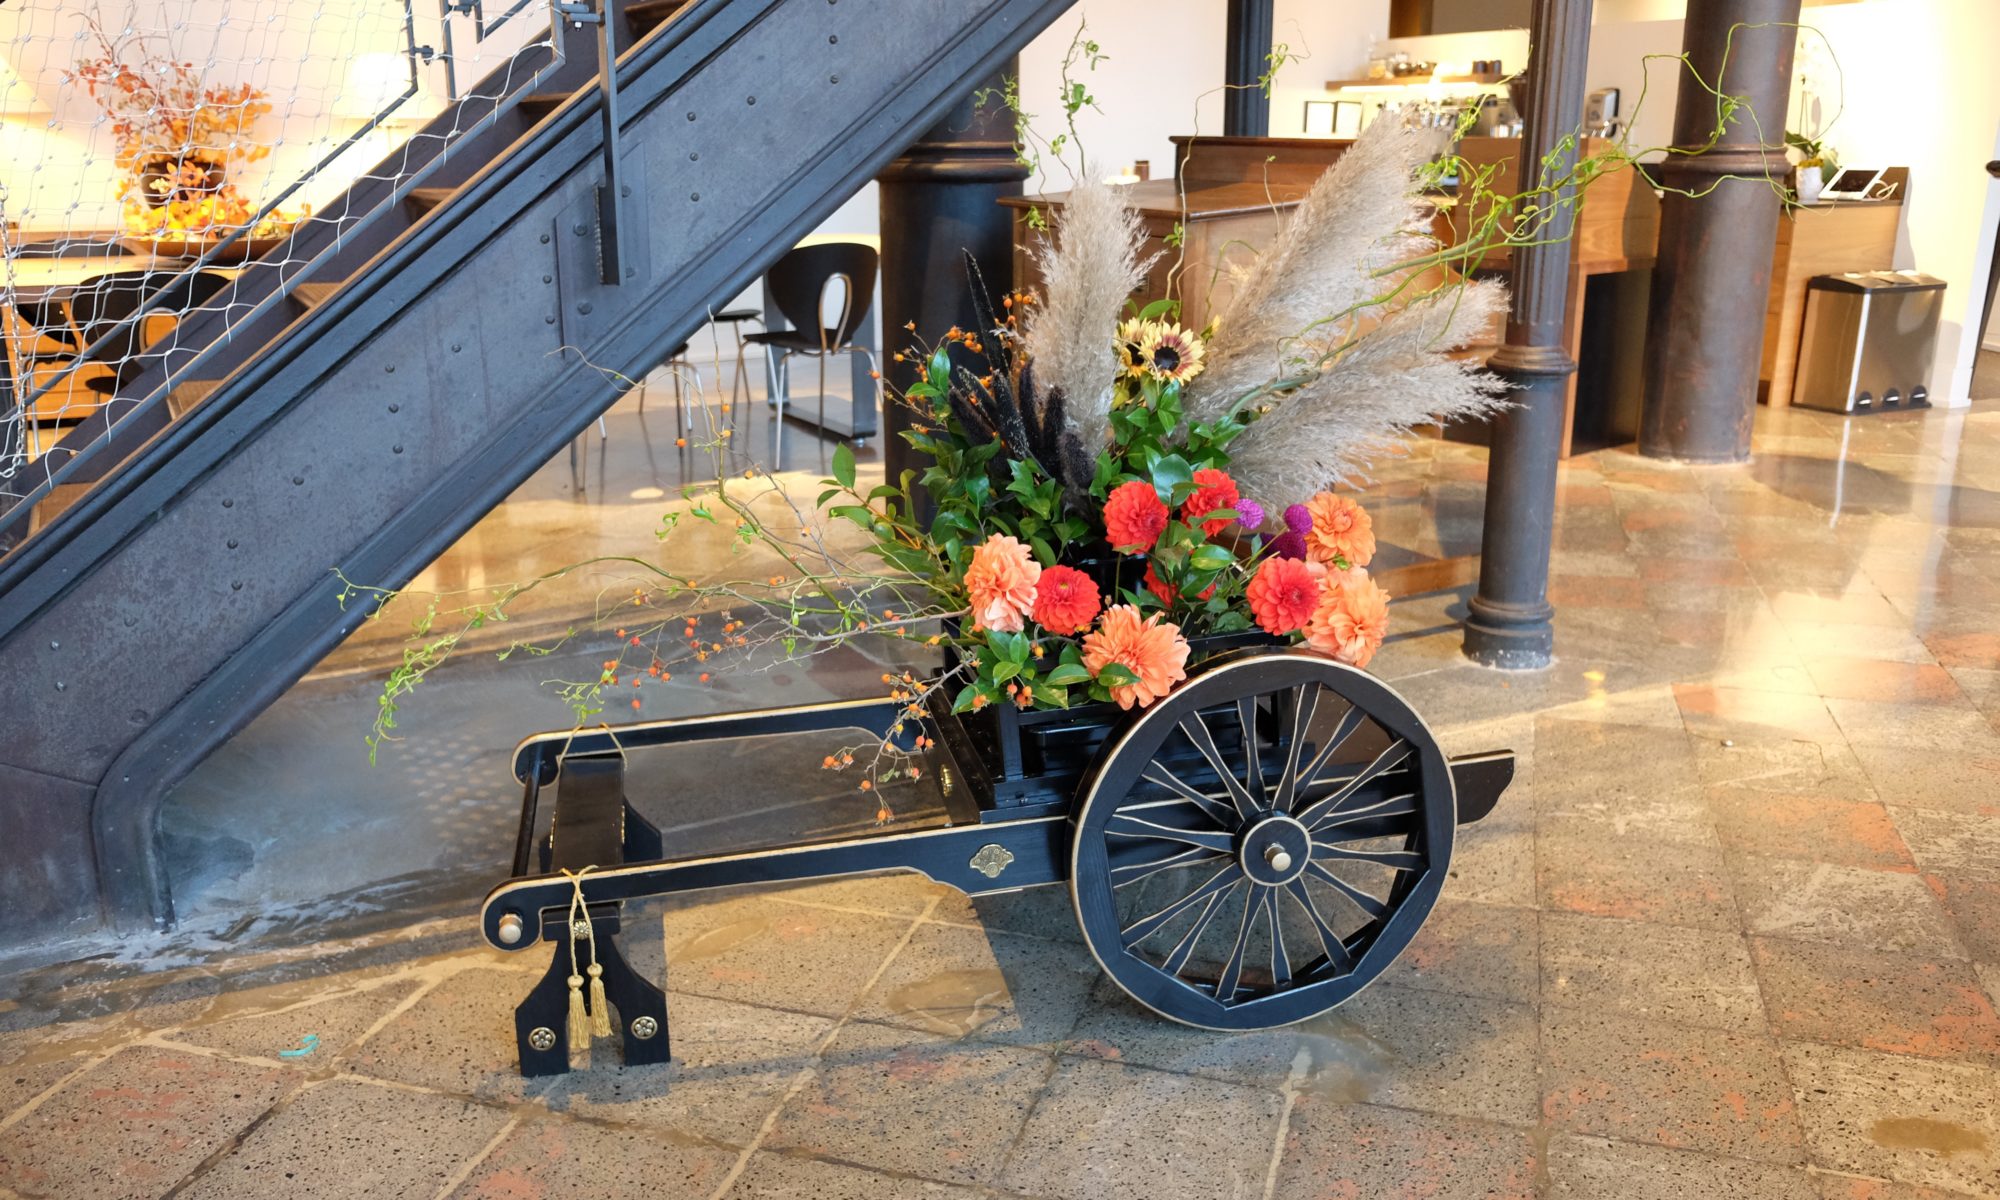
My Ikebana teacher Mrs. Mitsuko Hakomori and I set the Hana Guruma (flower carriage) on the floor, and just completed this large flower installation.
This carriage is a loose replica of the vehicle on which Japan’s aristocracy in the Heian period (8th – 12th century) used to ride. The carriage was led by a bull, not by a horse.
On this carriage, we load lots of flowers instead of the human being. The materials used here are: rosehips, pampas grass, millet, curly willow, sunflowers, and various kinds of dahlias.
This kind of installation is often called “Mukaebana”, which means welcoming flowers.
Please come to see us at Senses from Japan – Fall 2017, the three-day event starting today. This flower installation will welcome you!
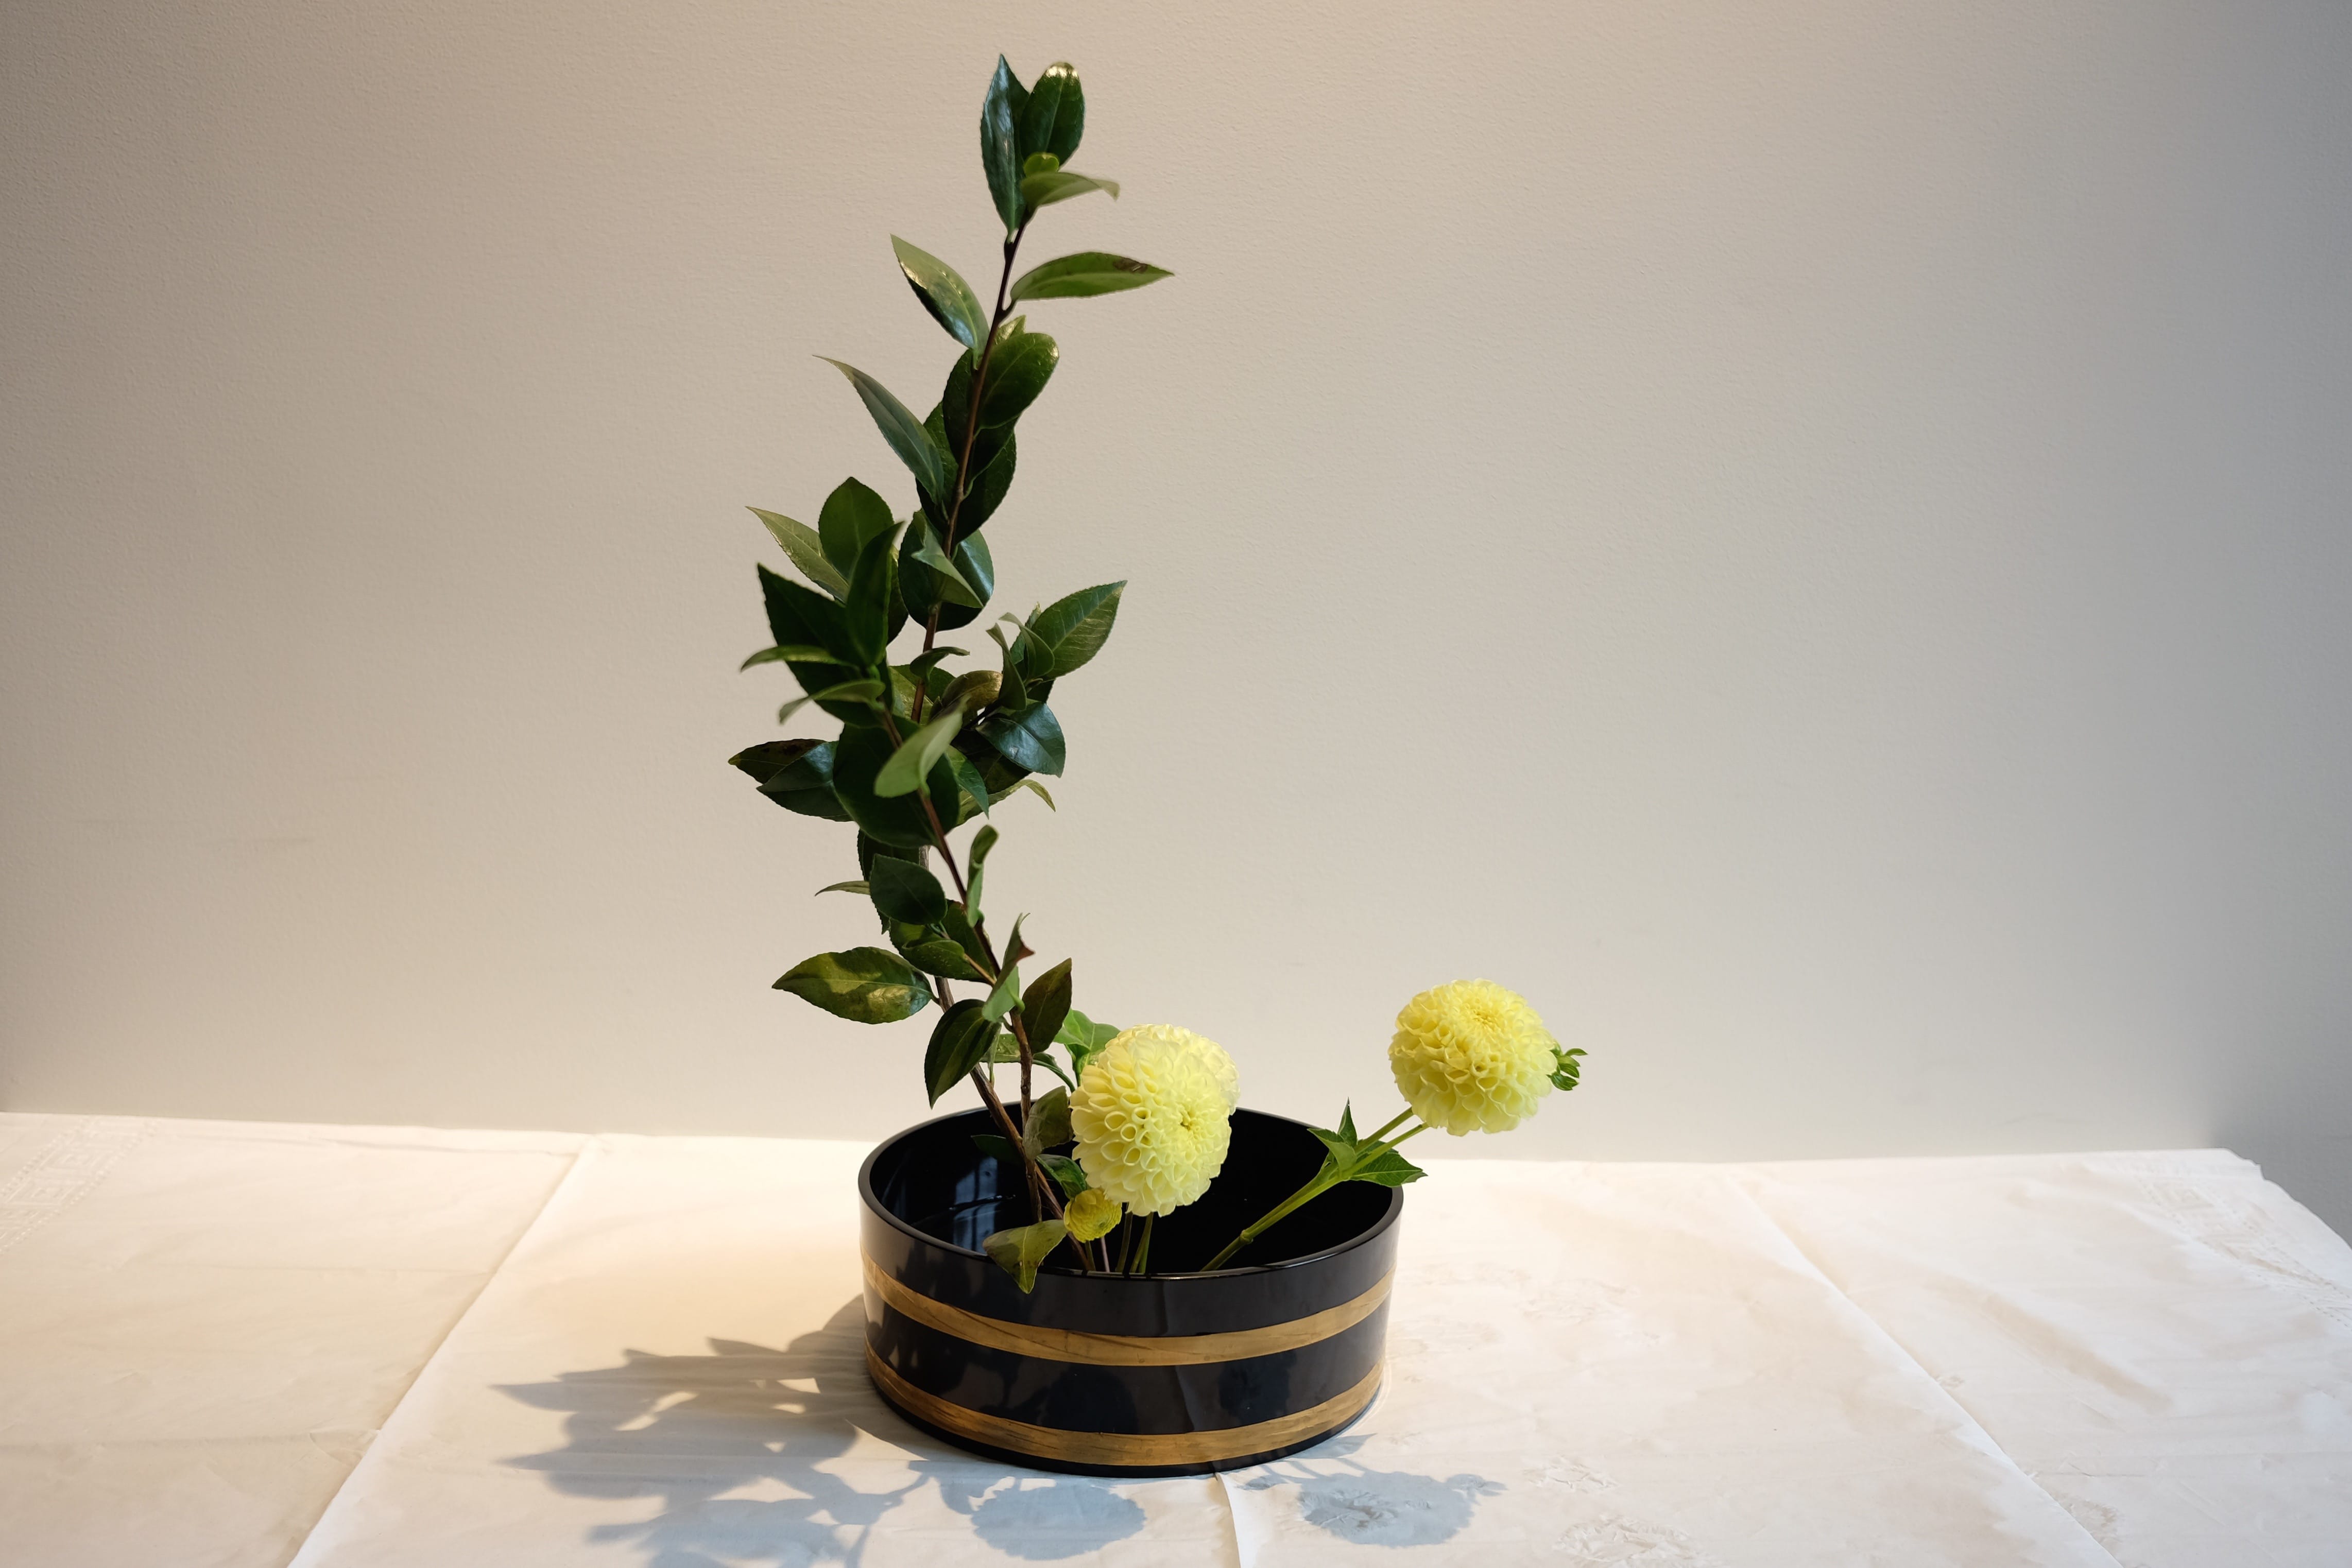
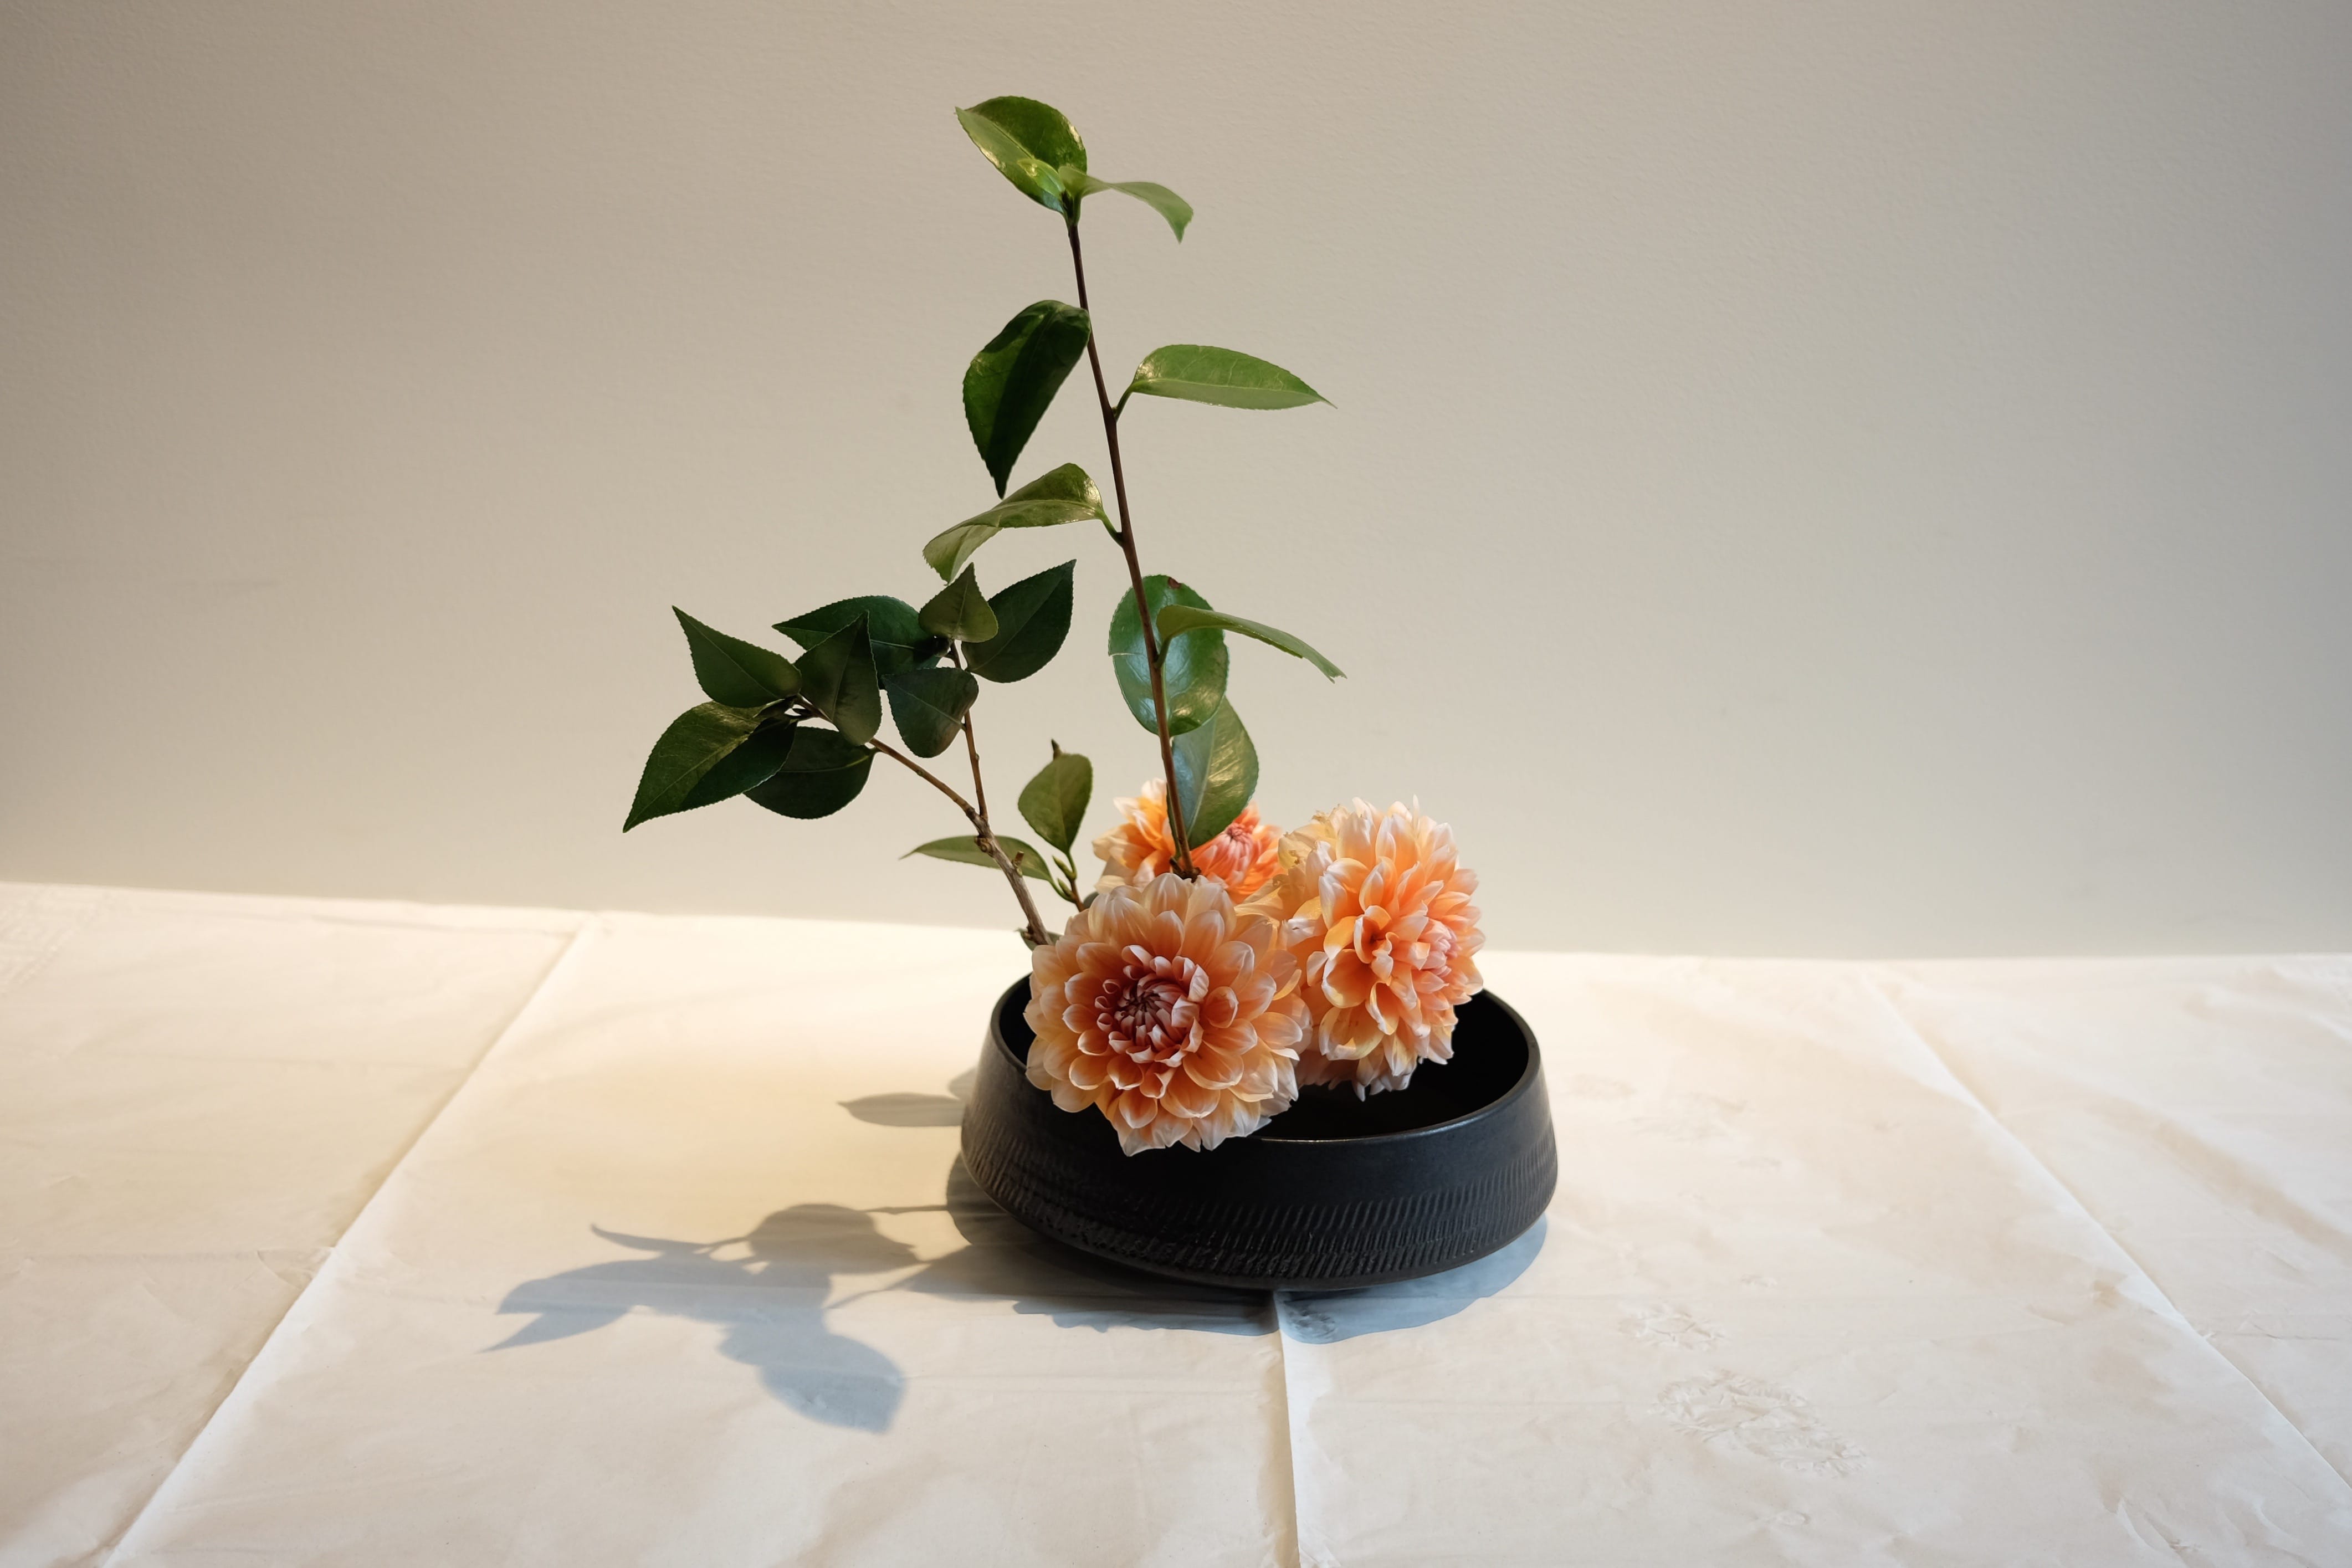
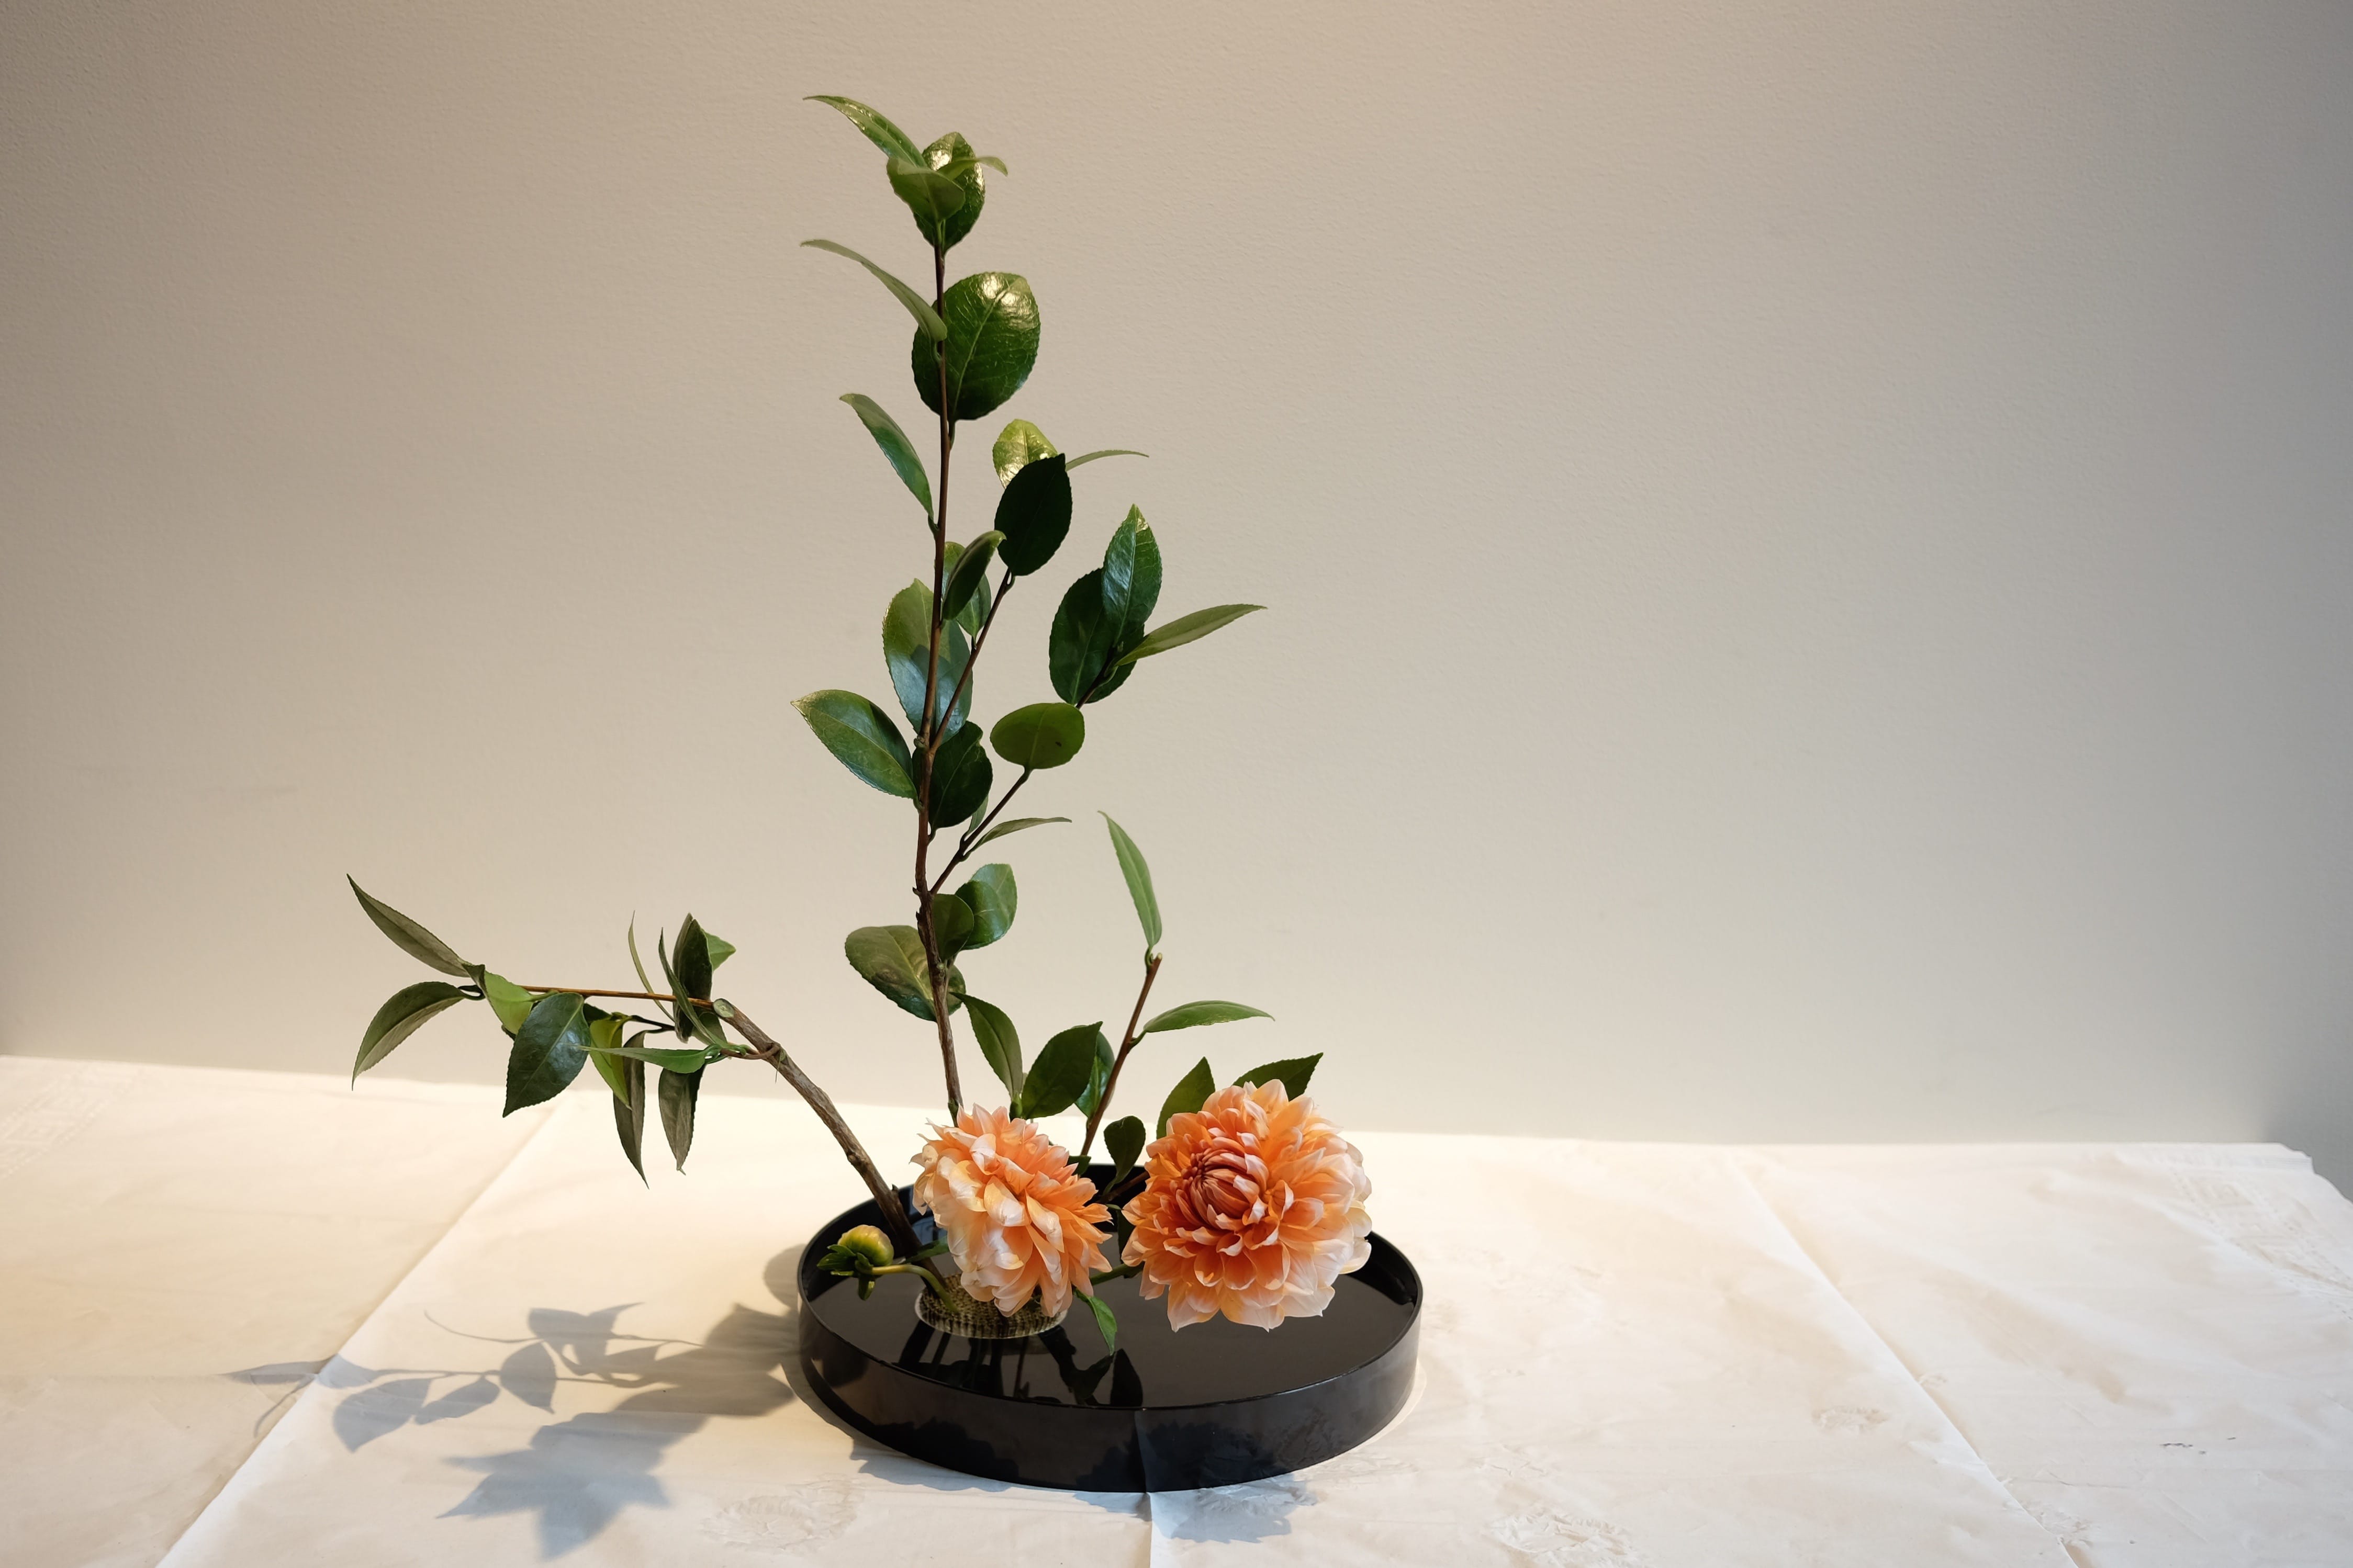
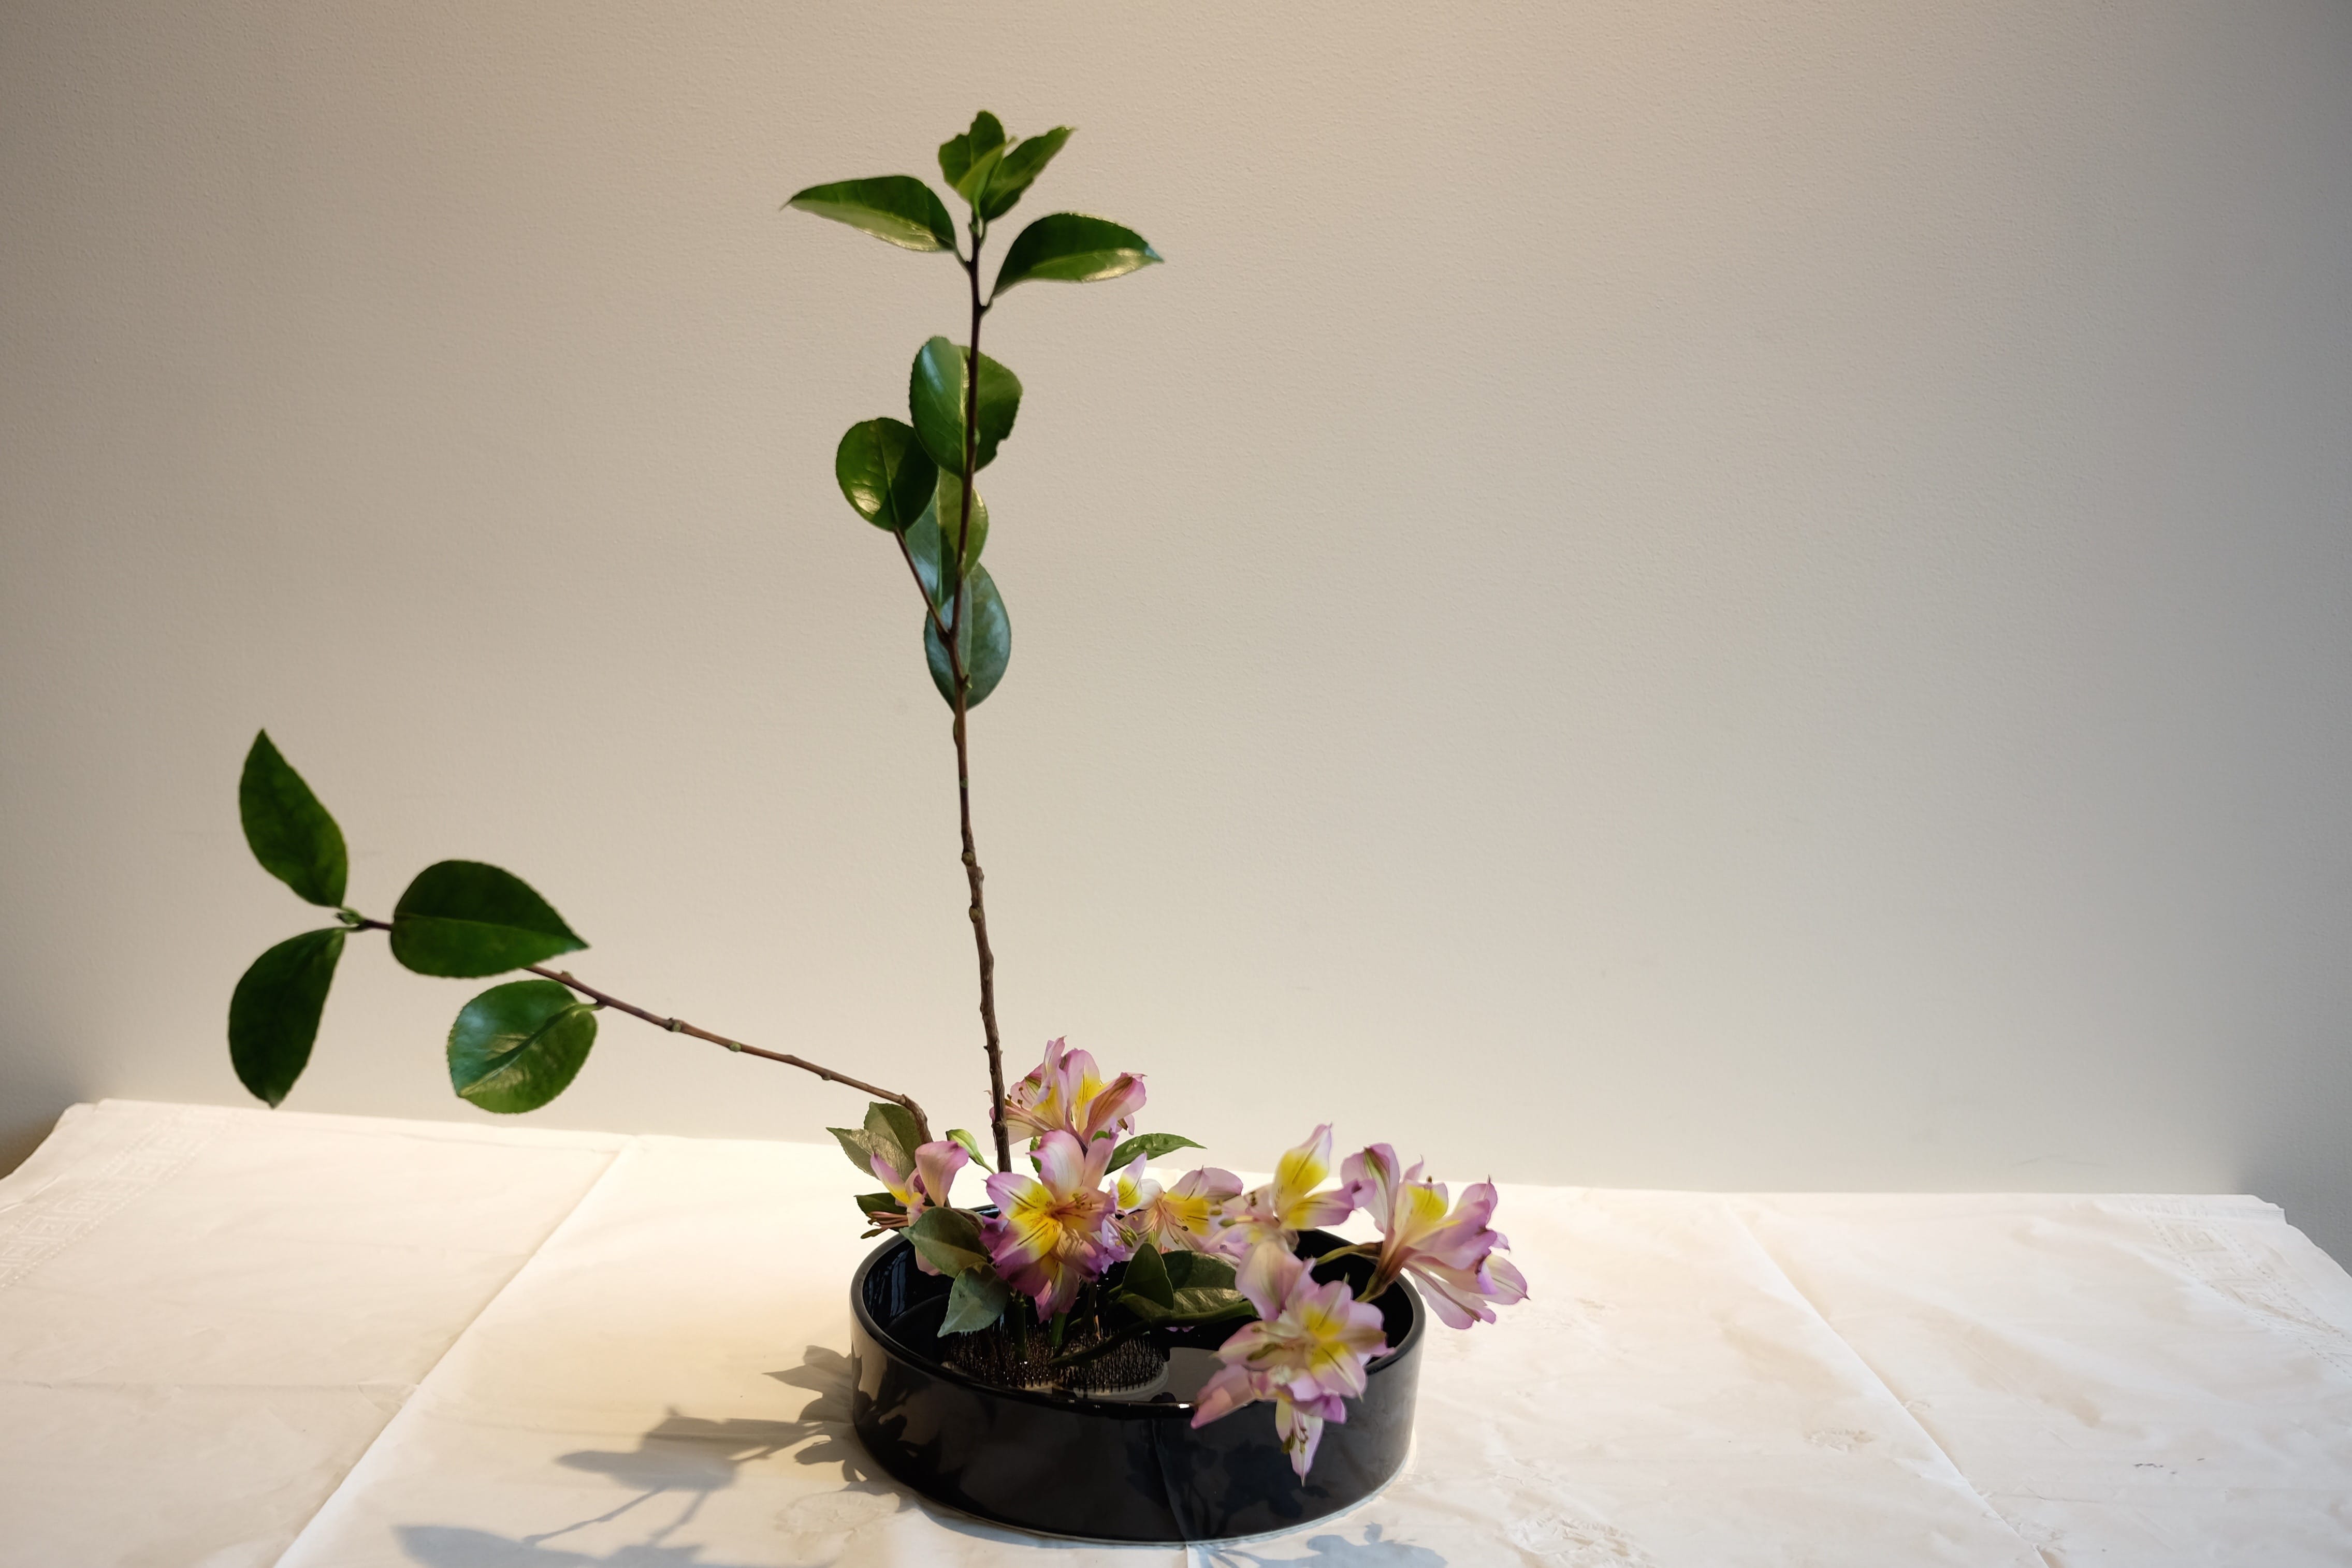
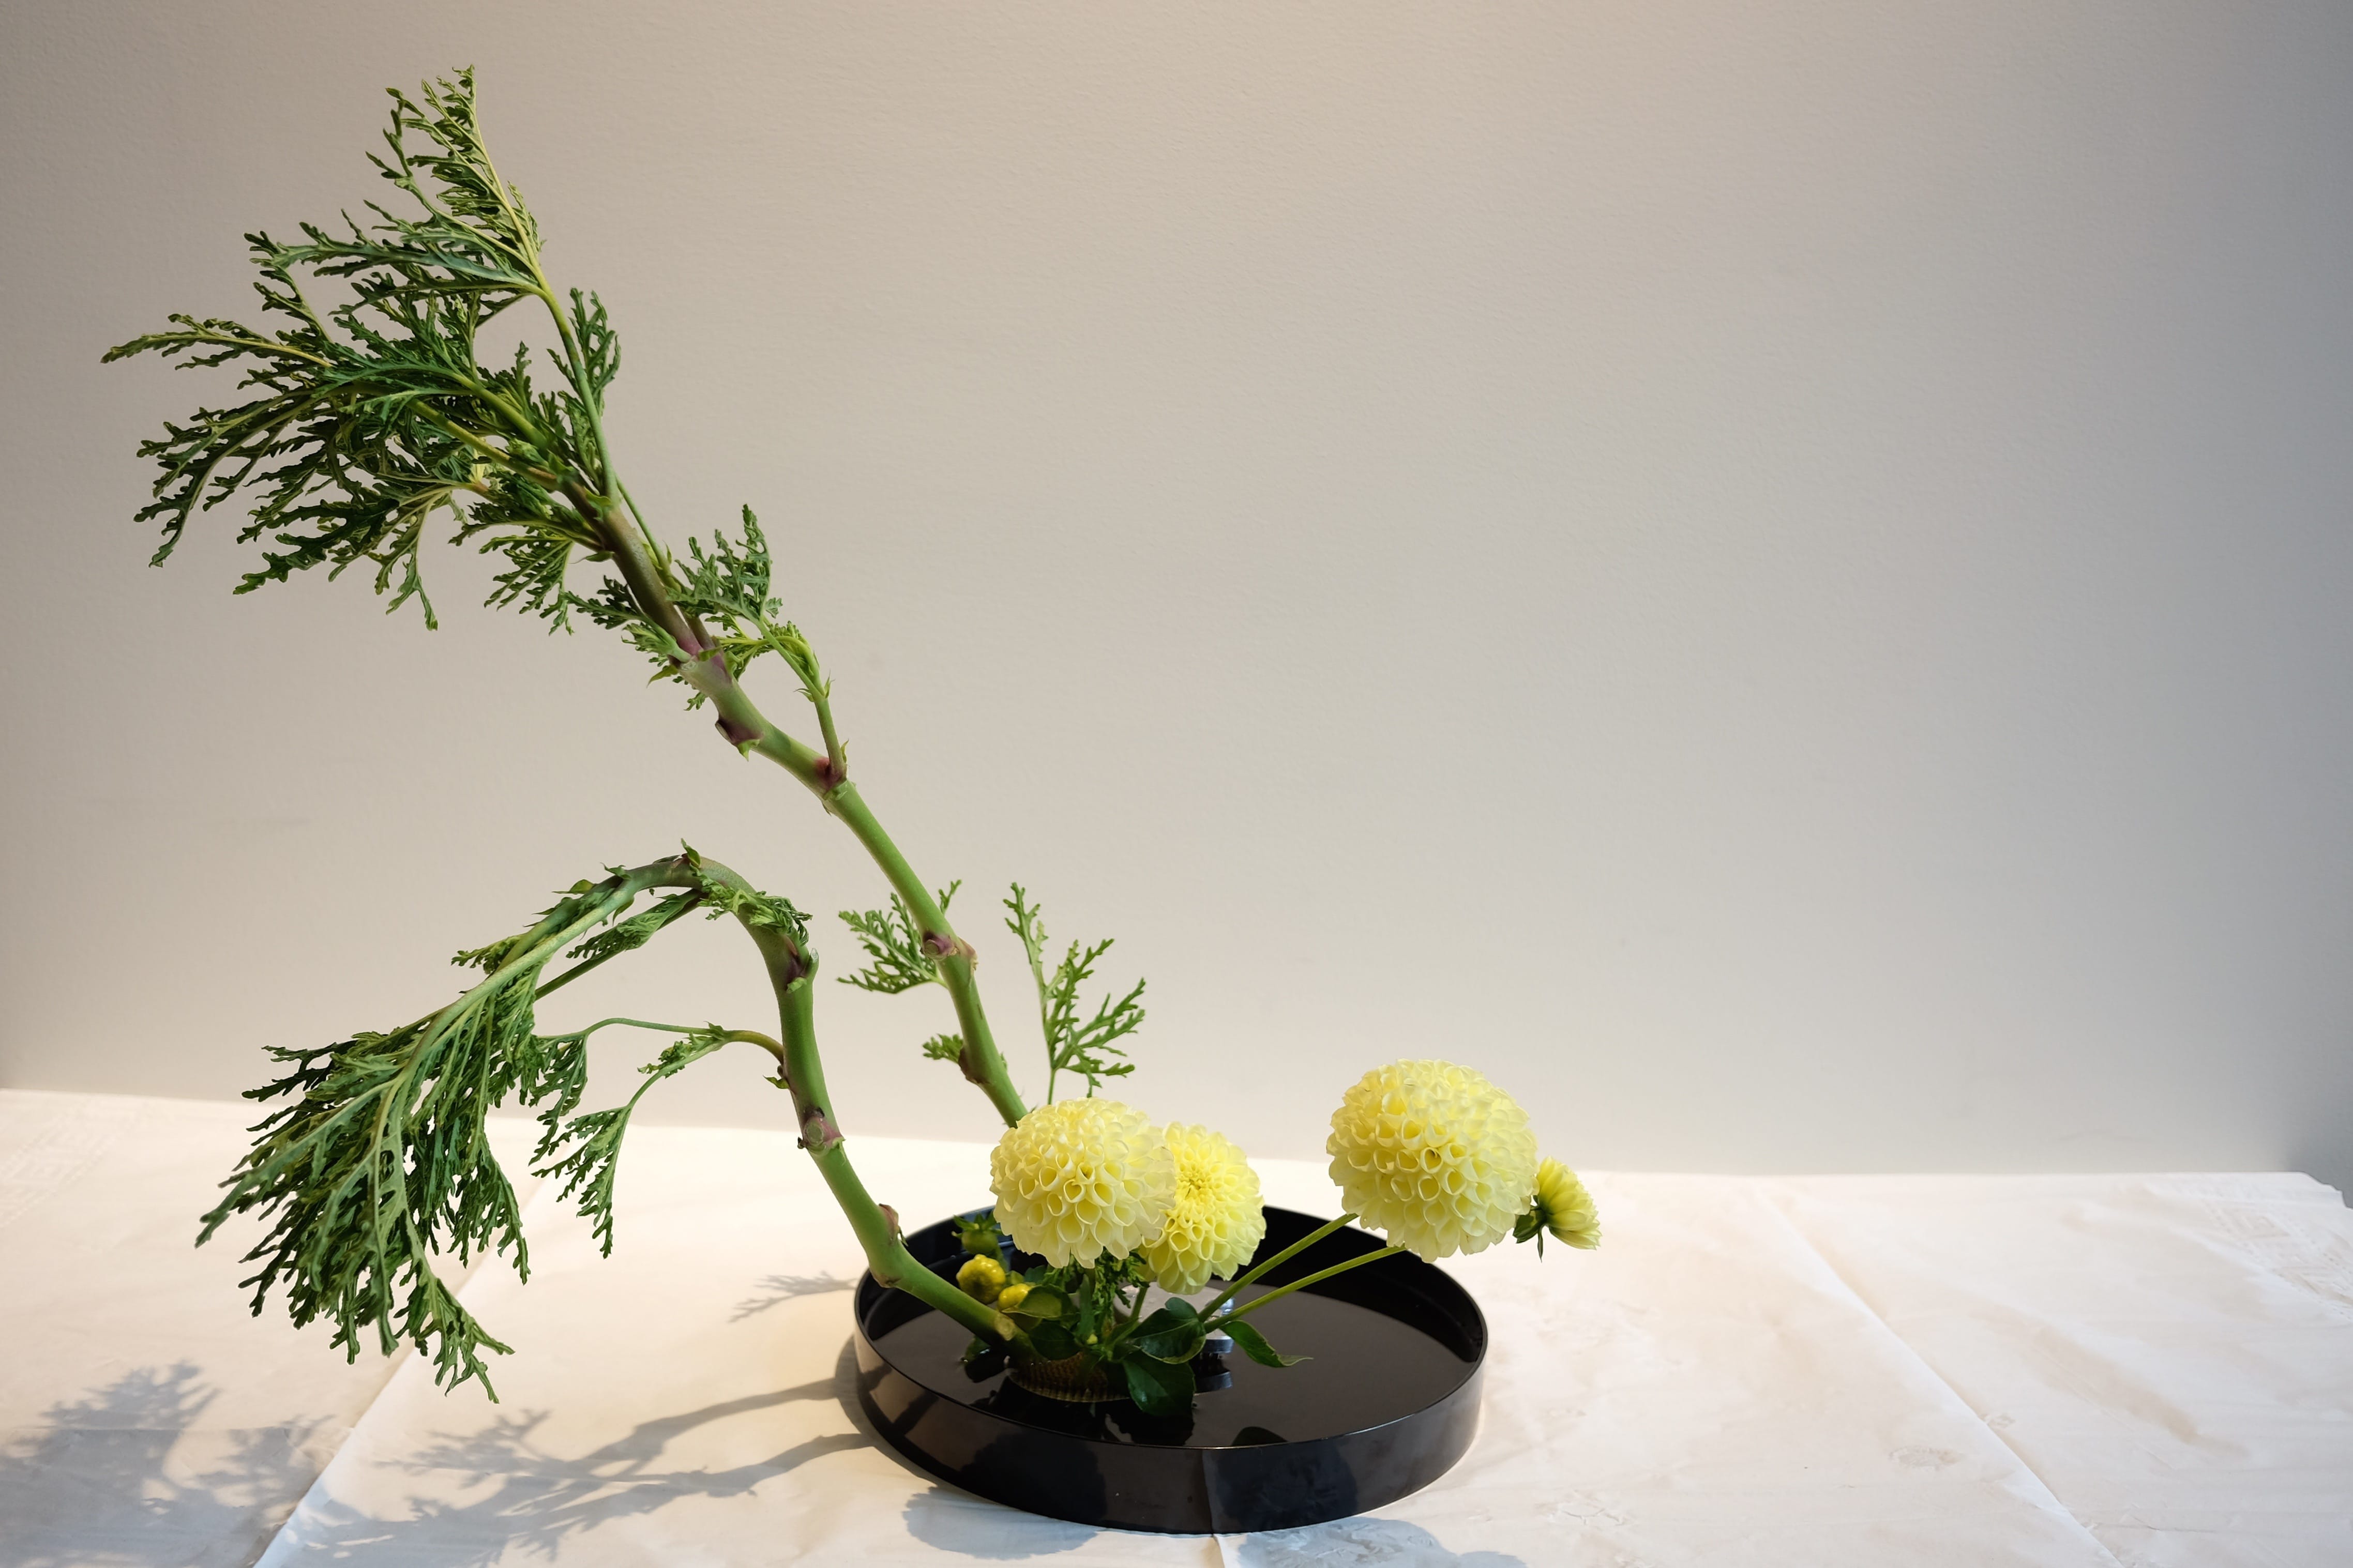
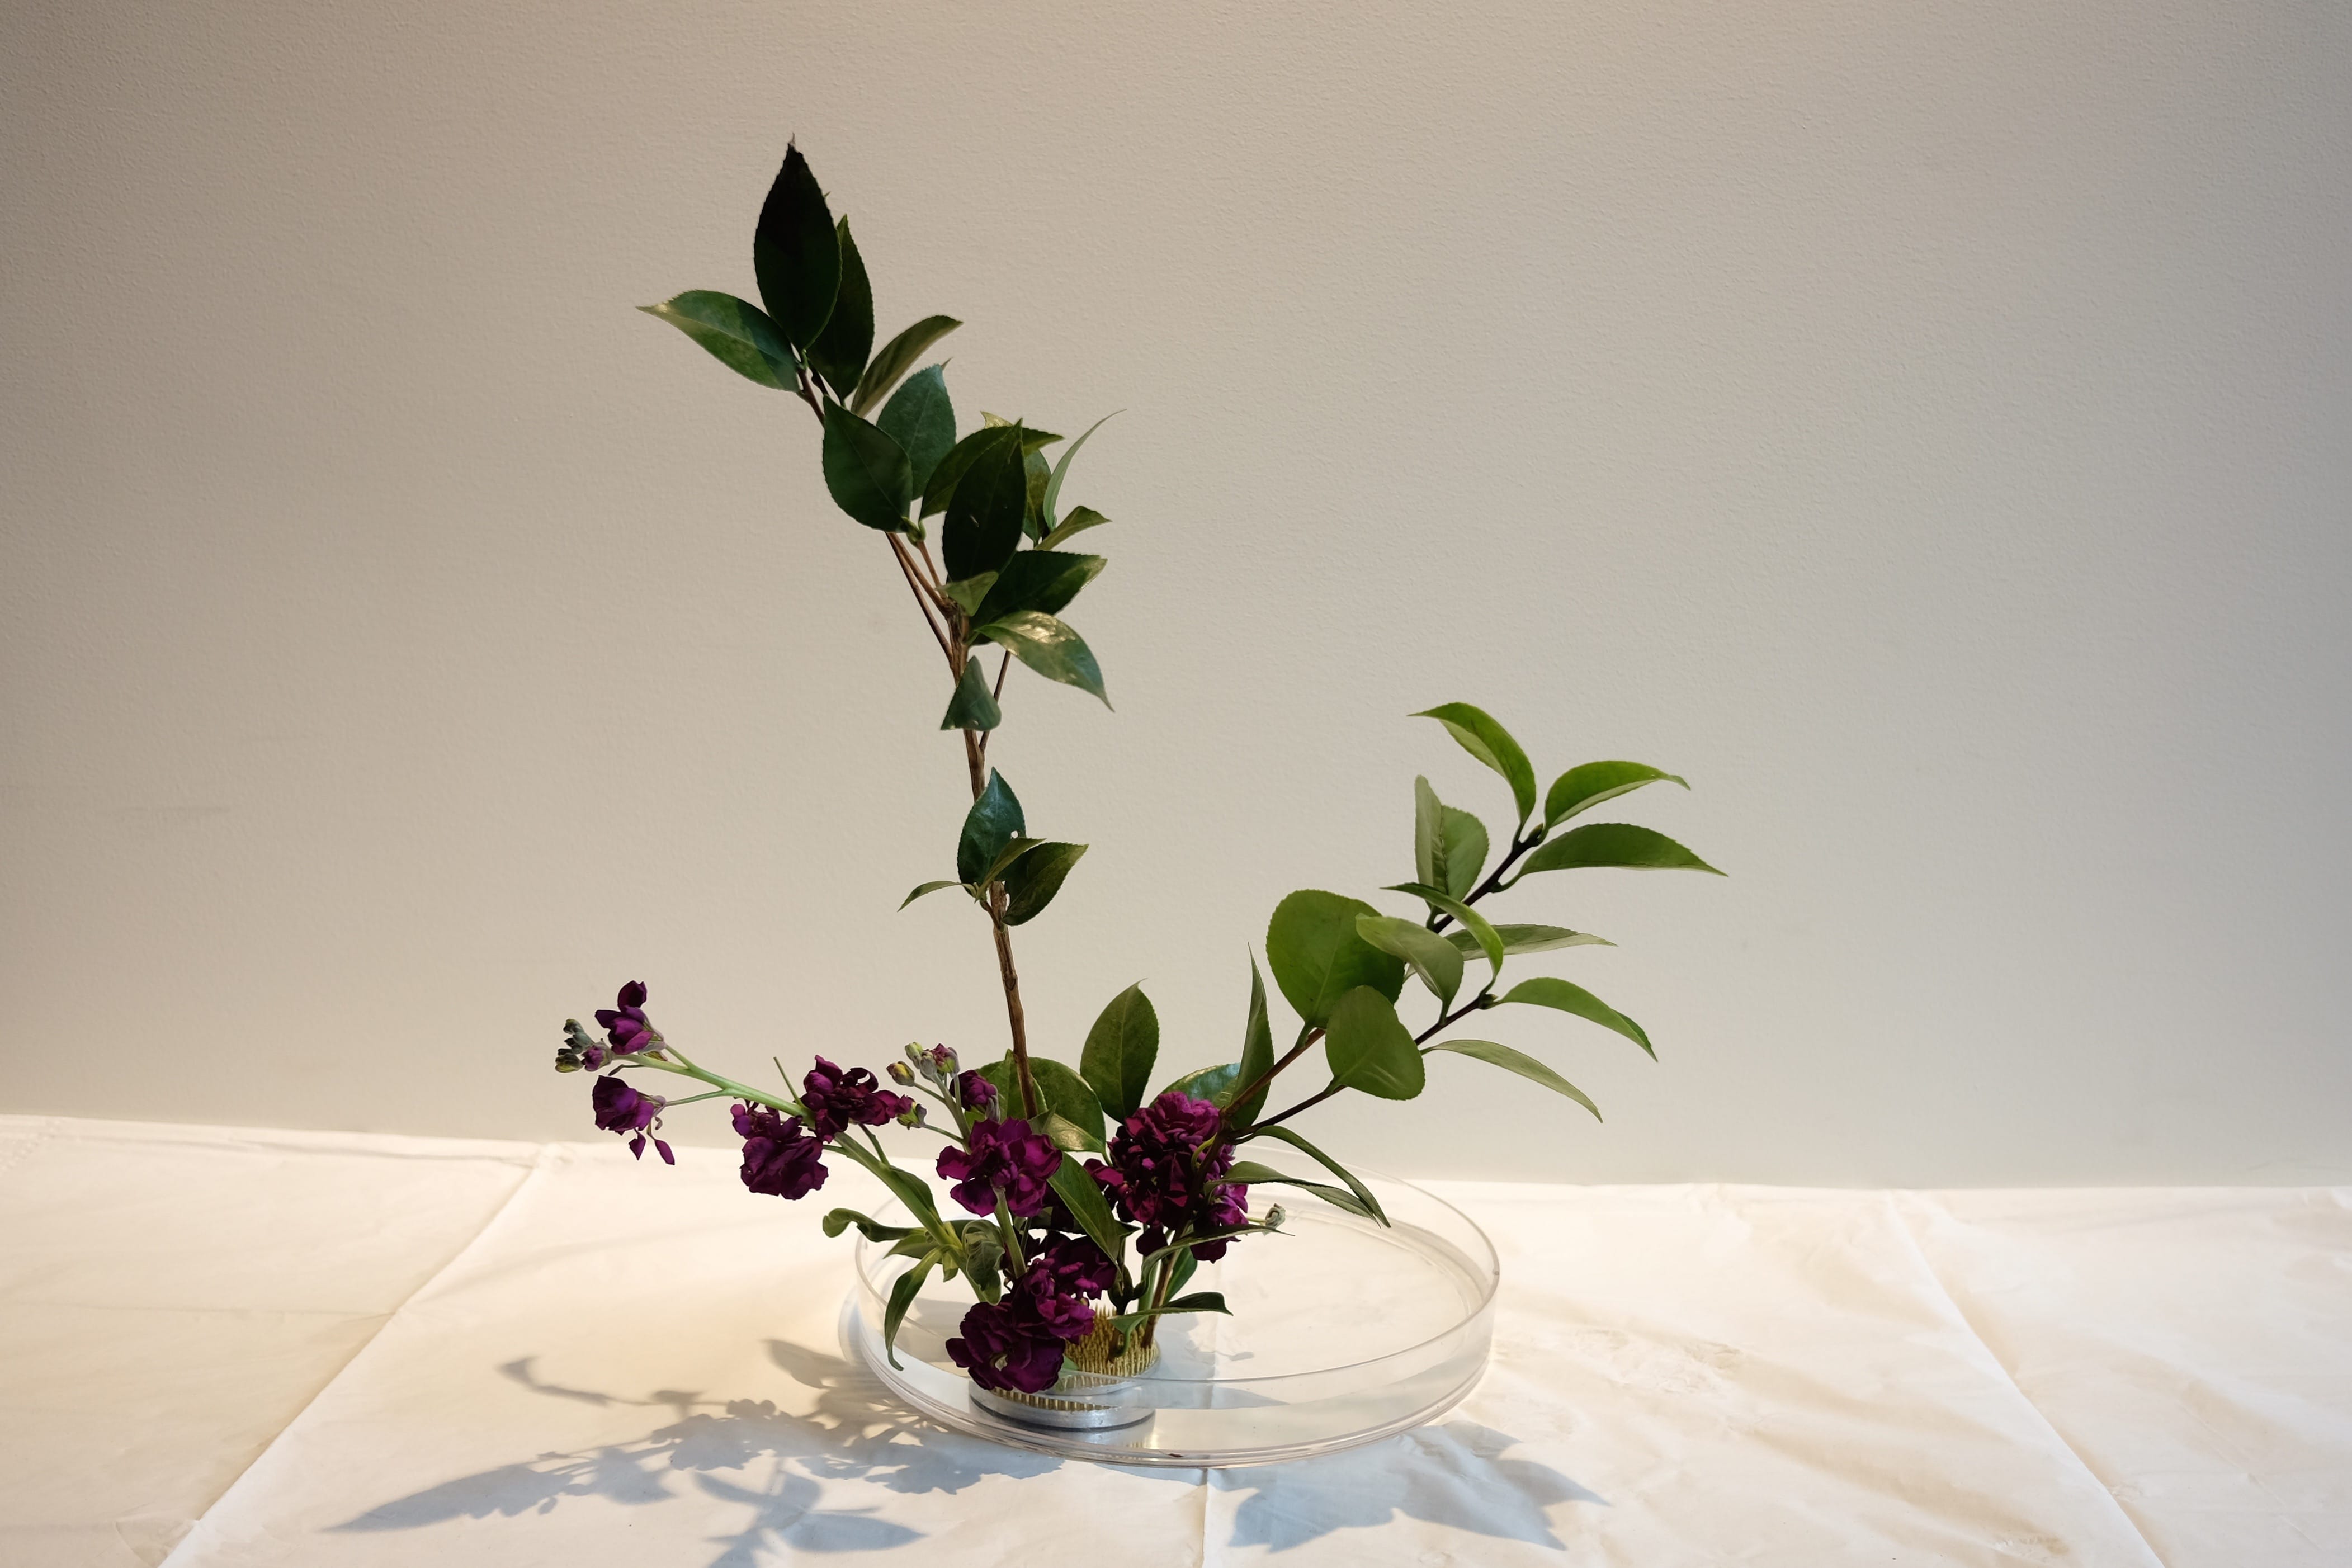
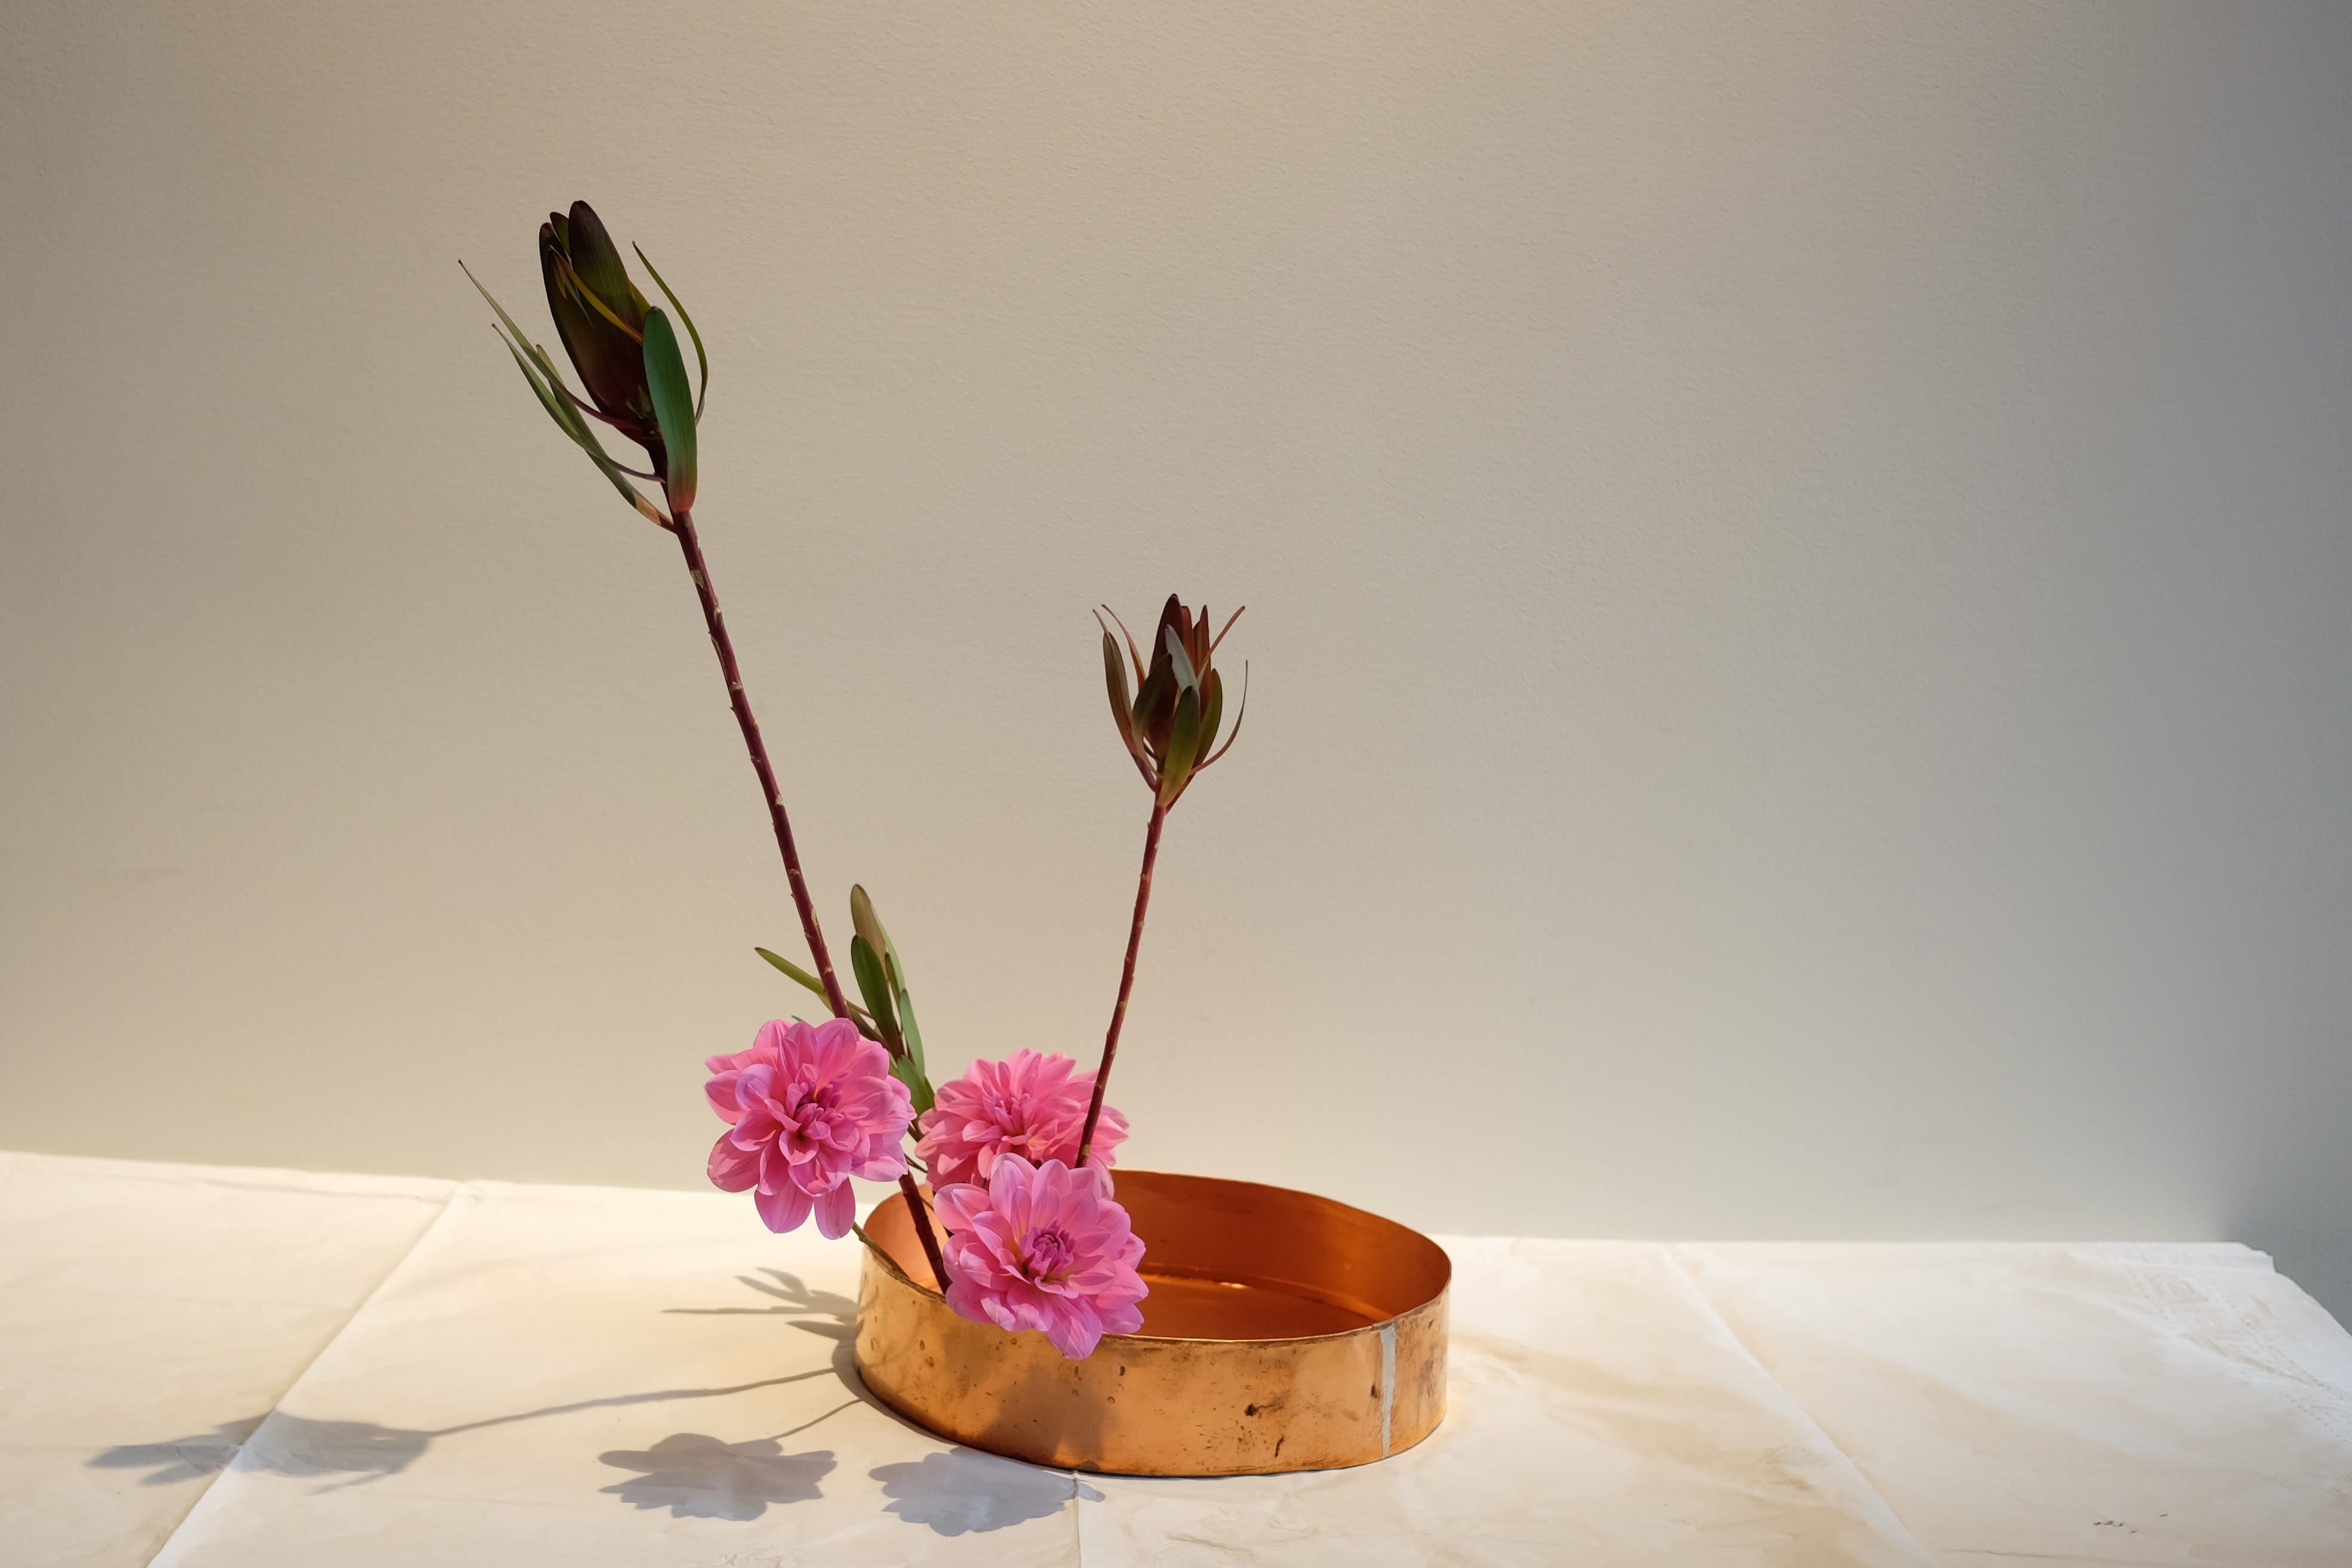
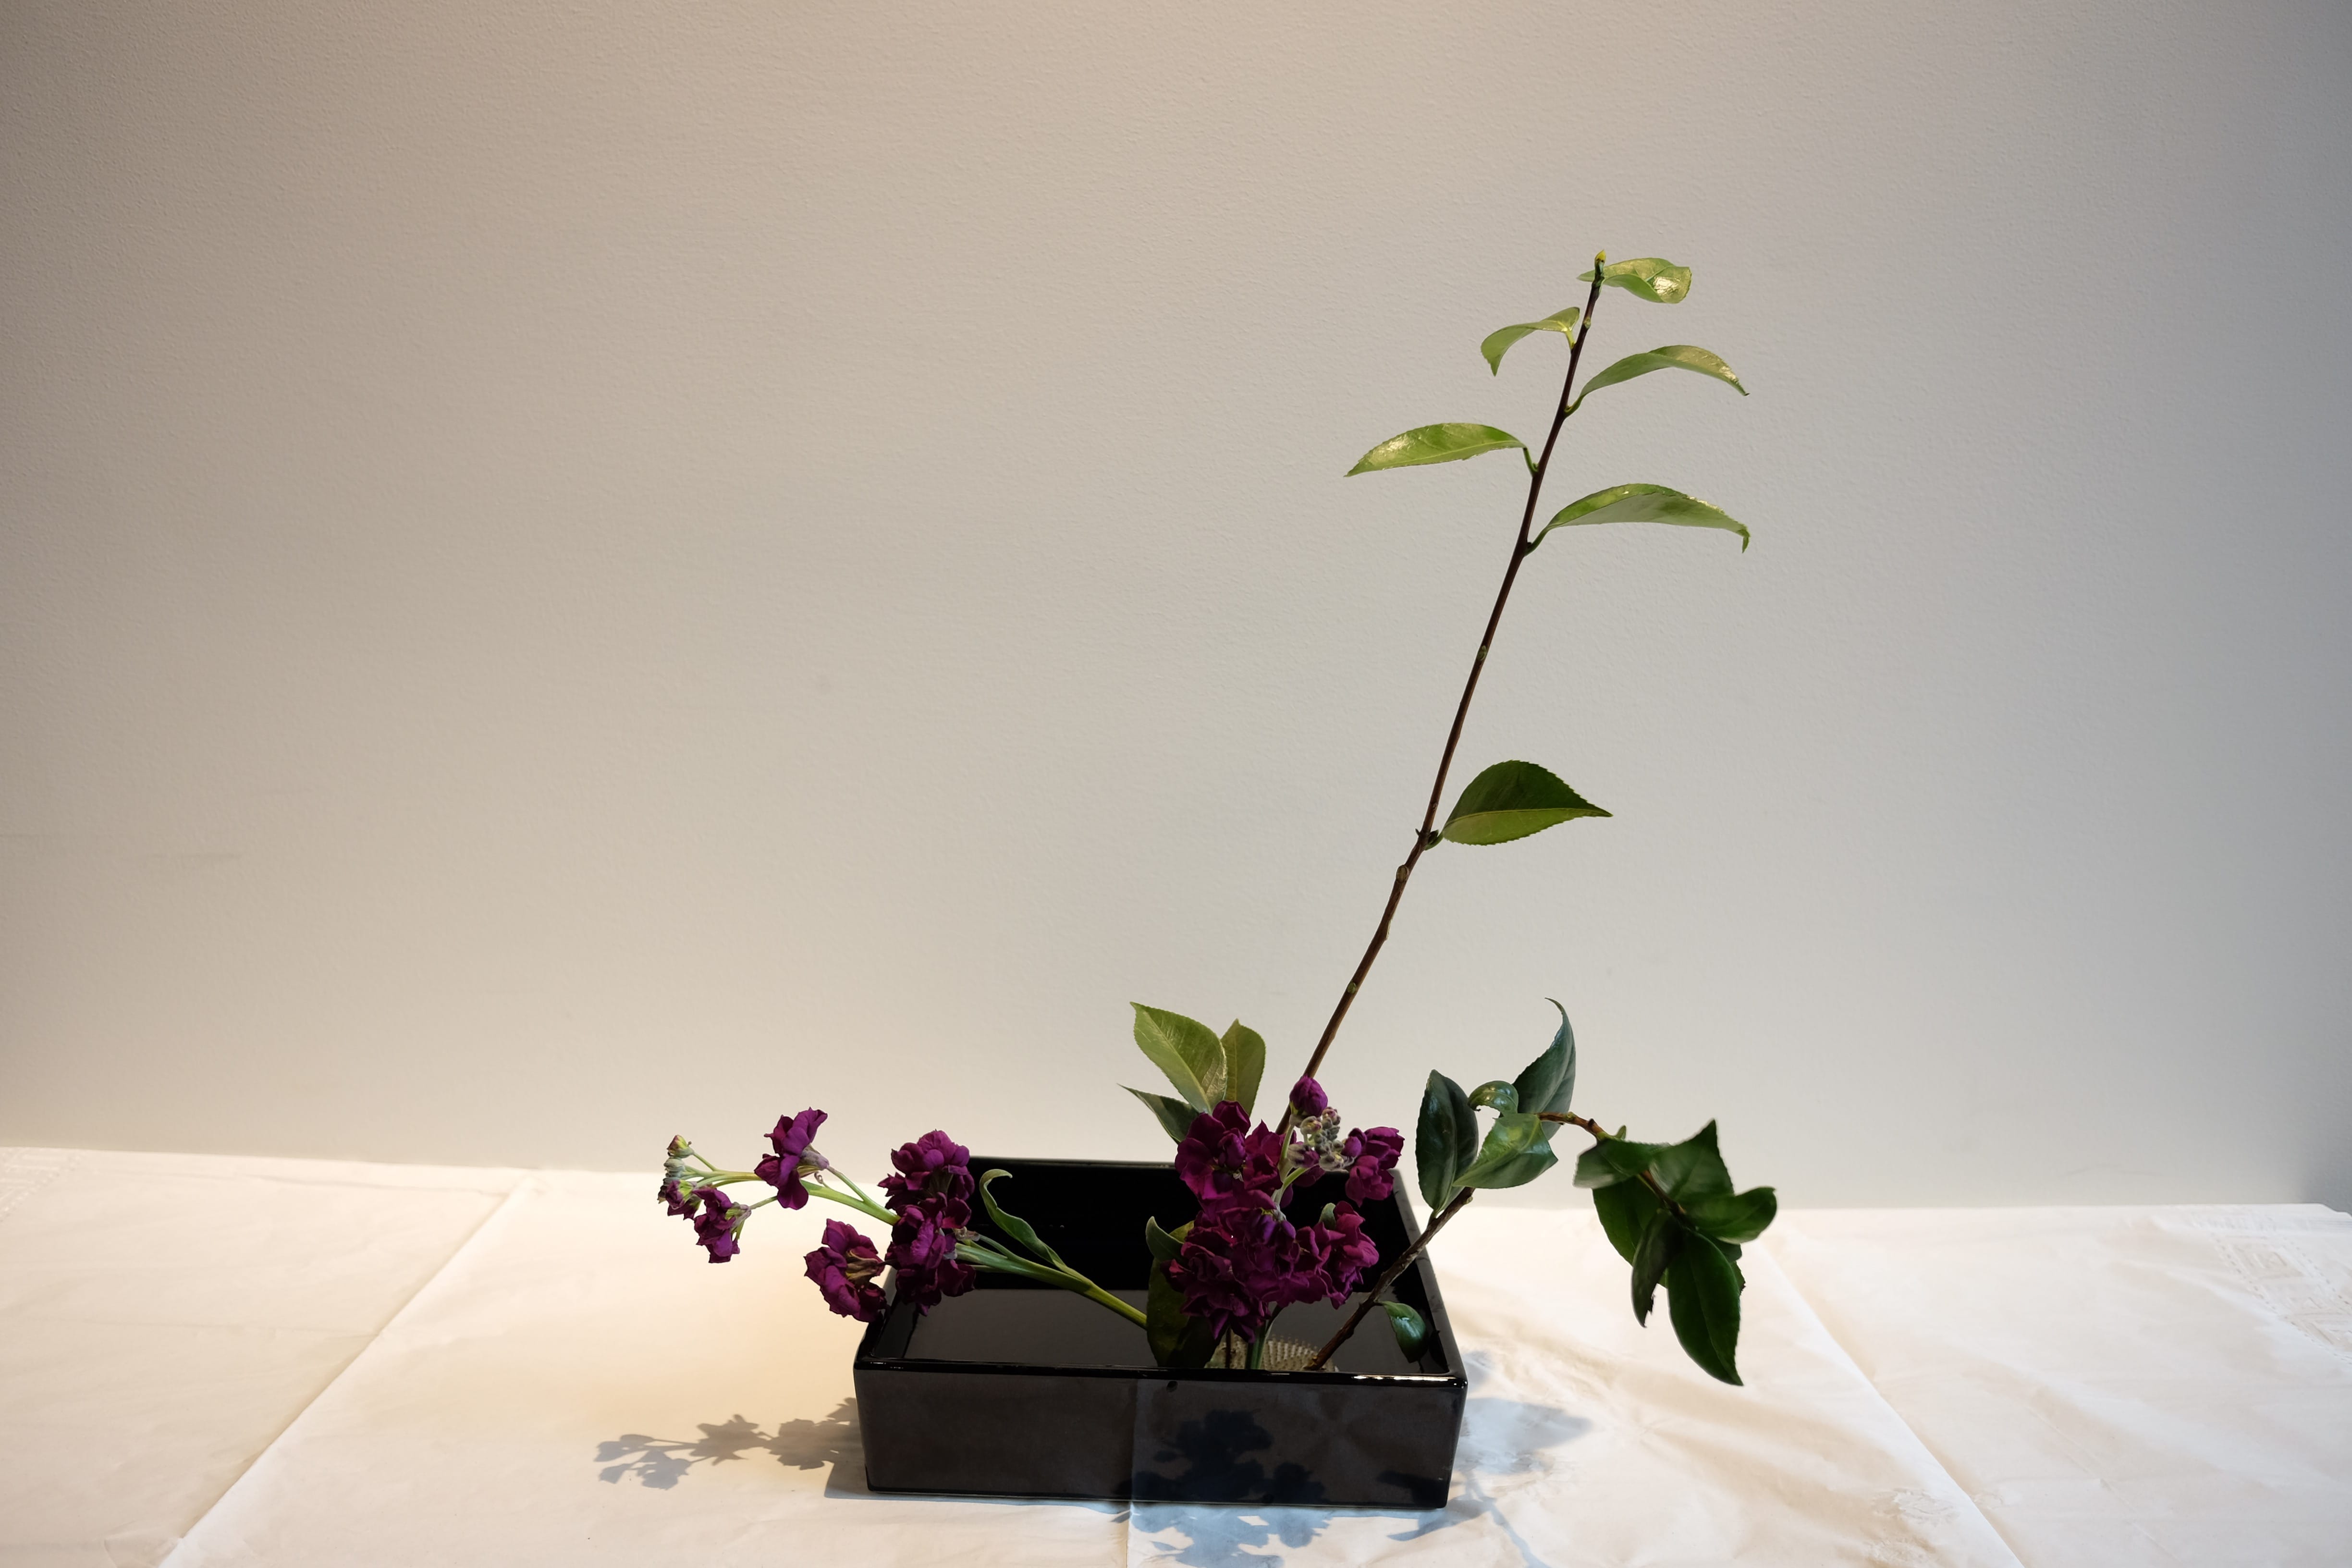
Here are the photos for today’s Ikebana class. What a fun moment!
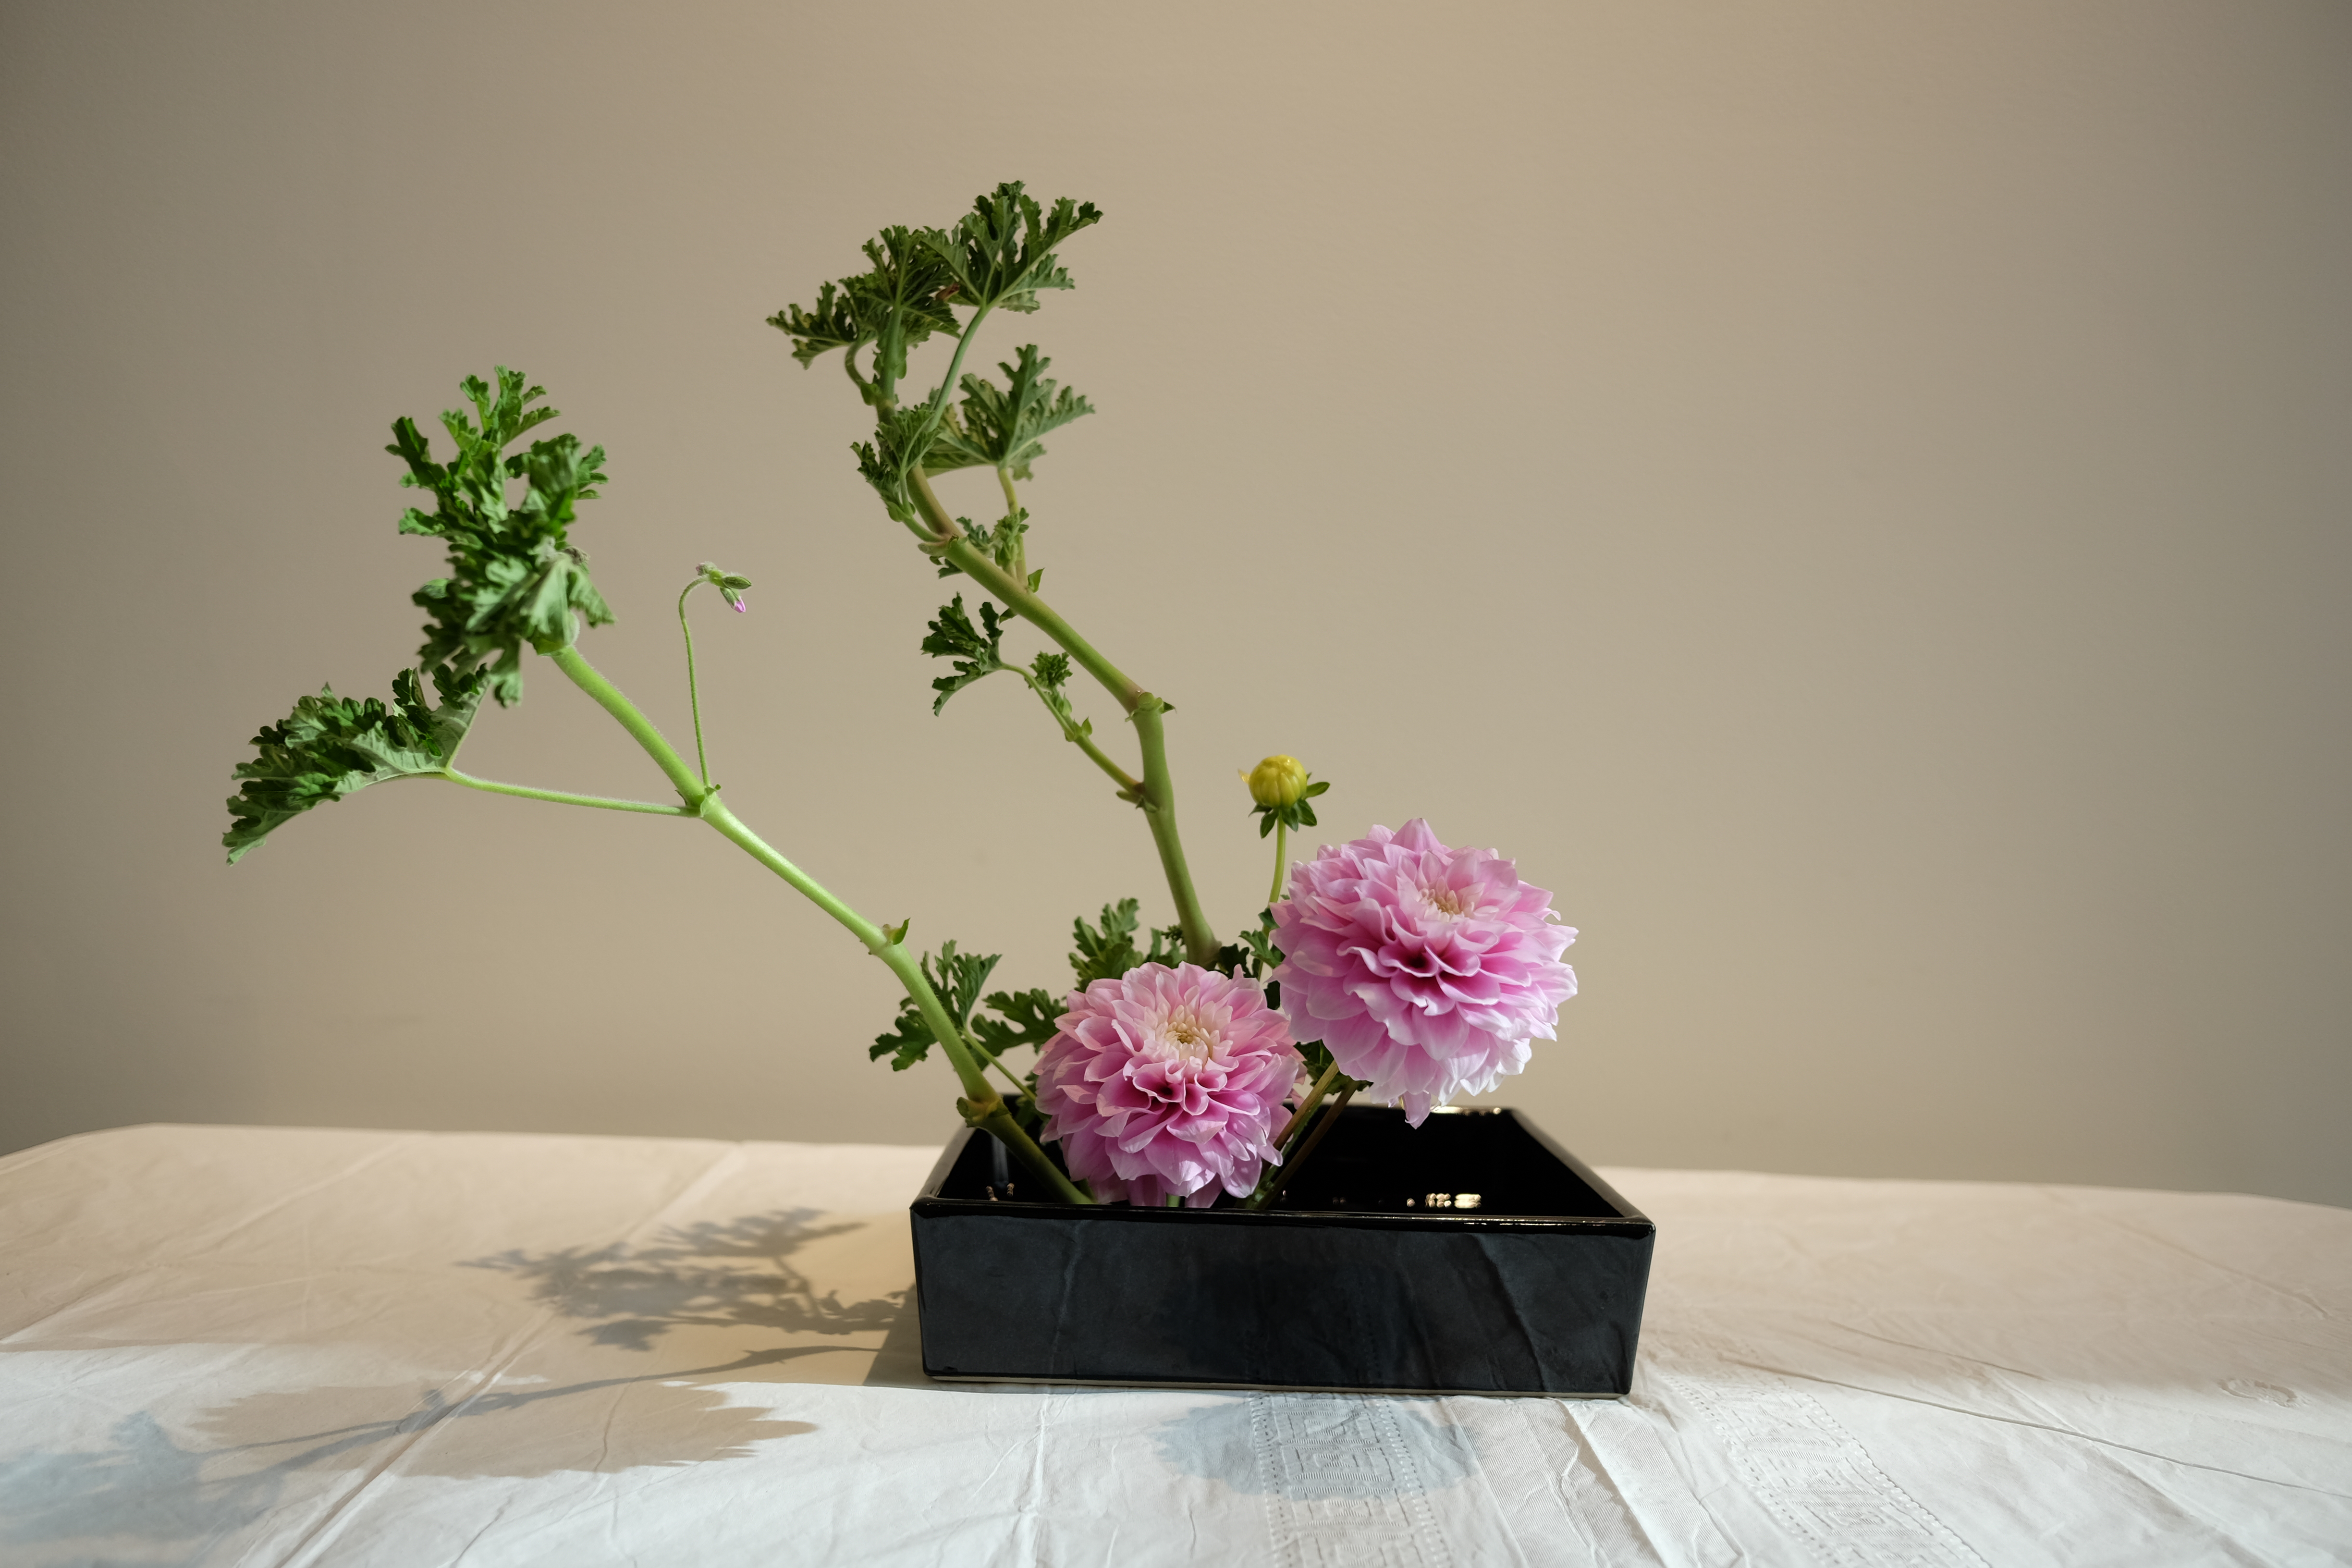
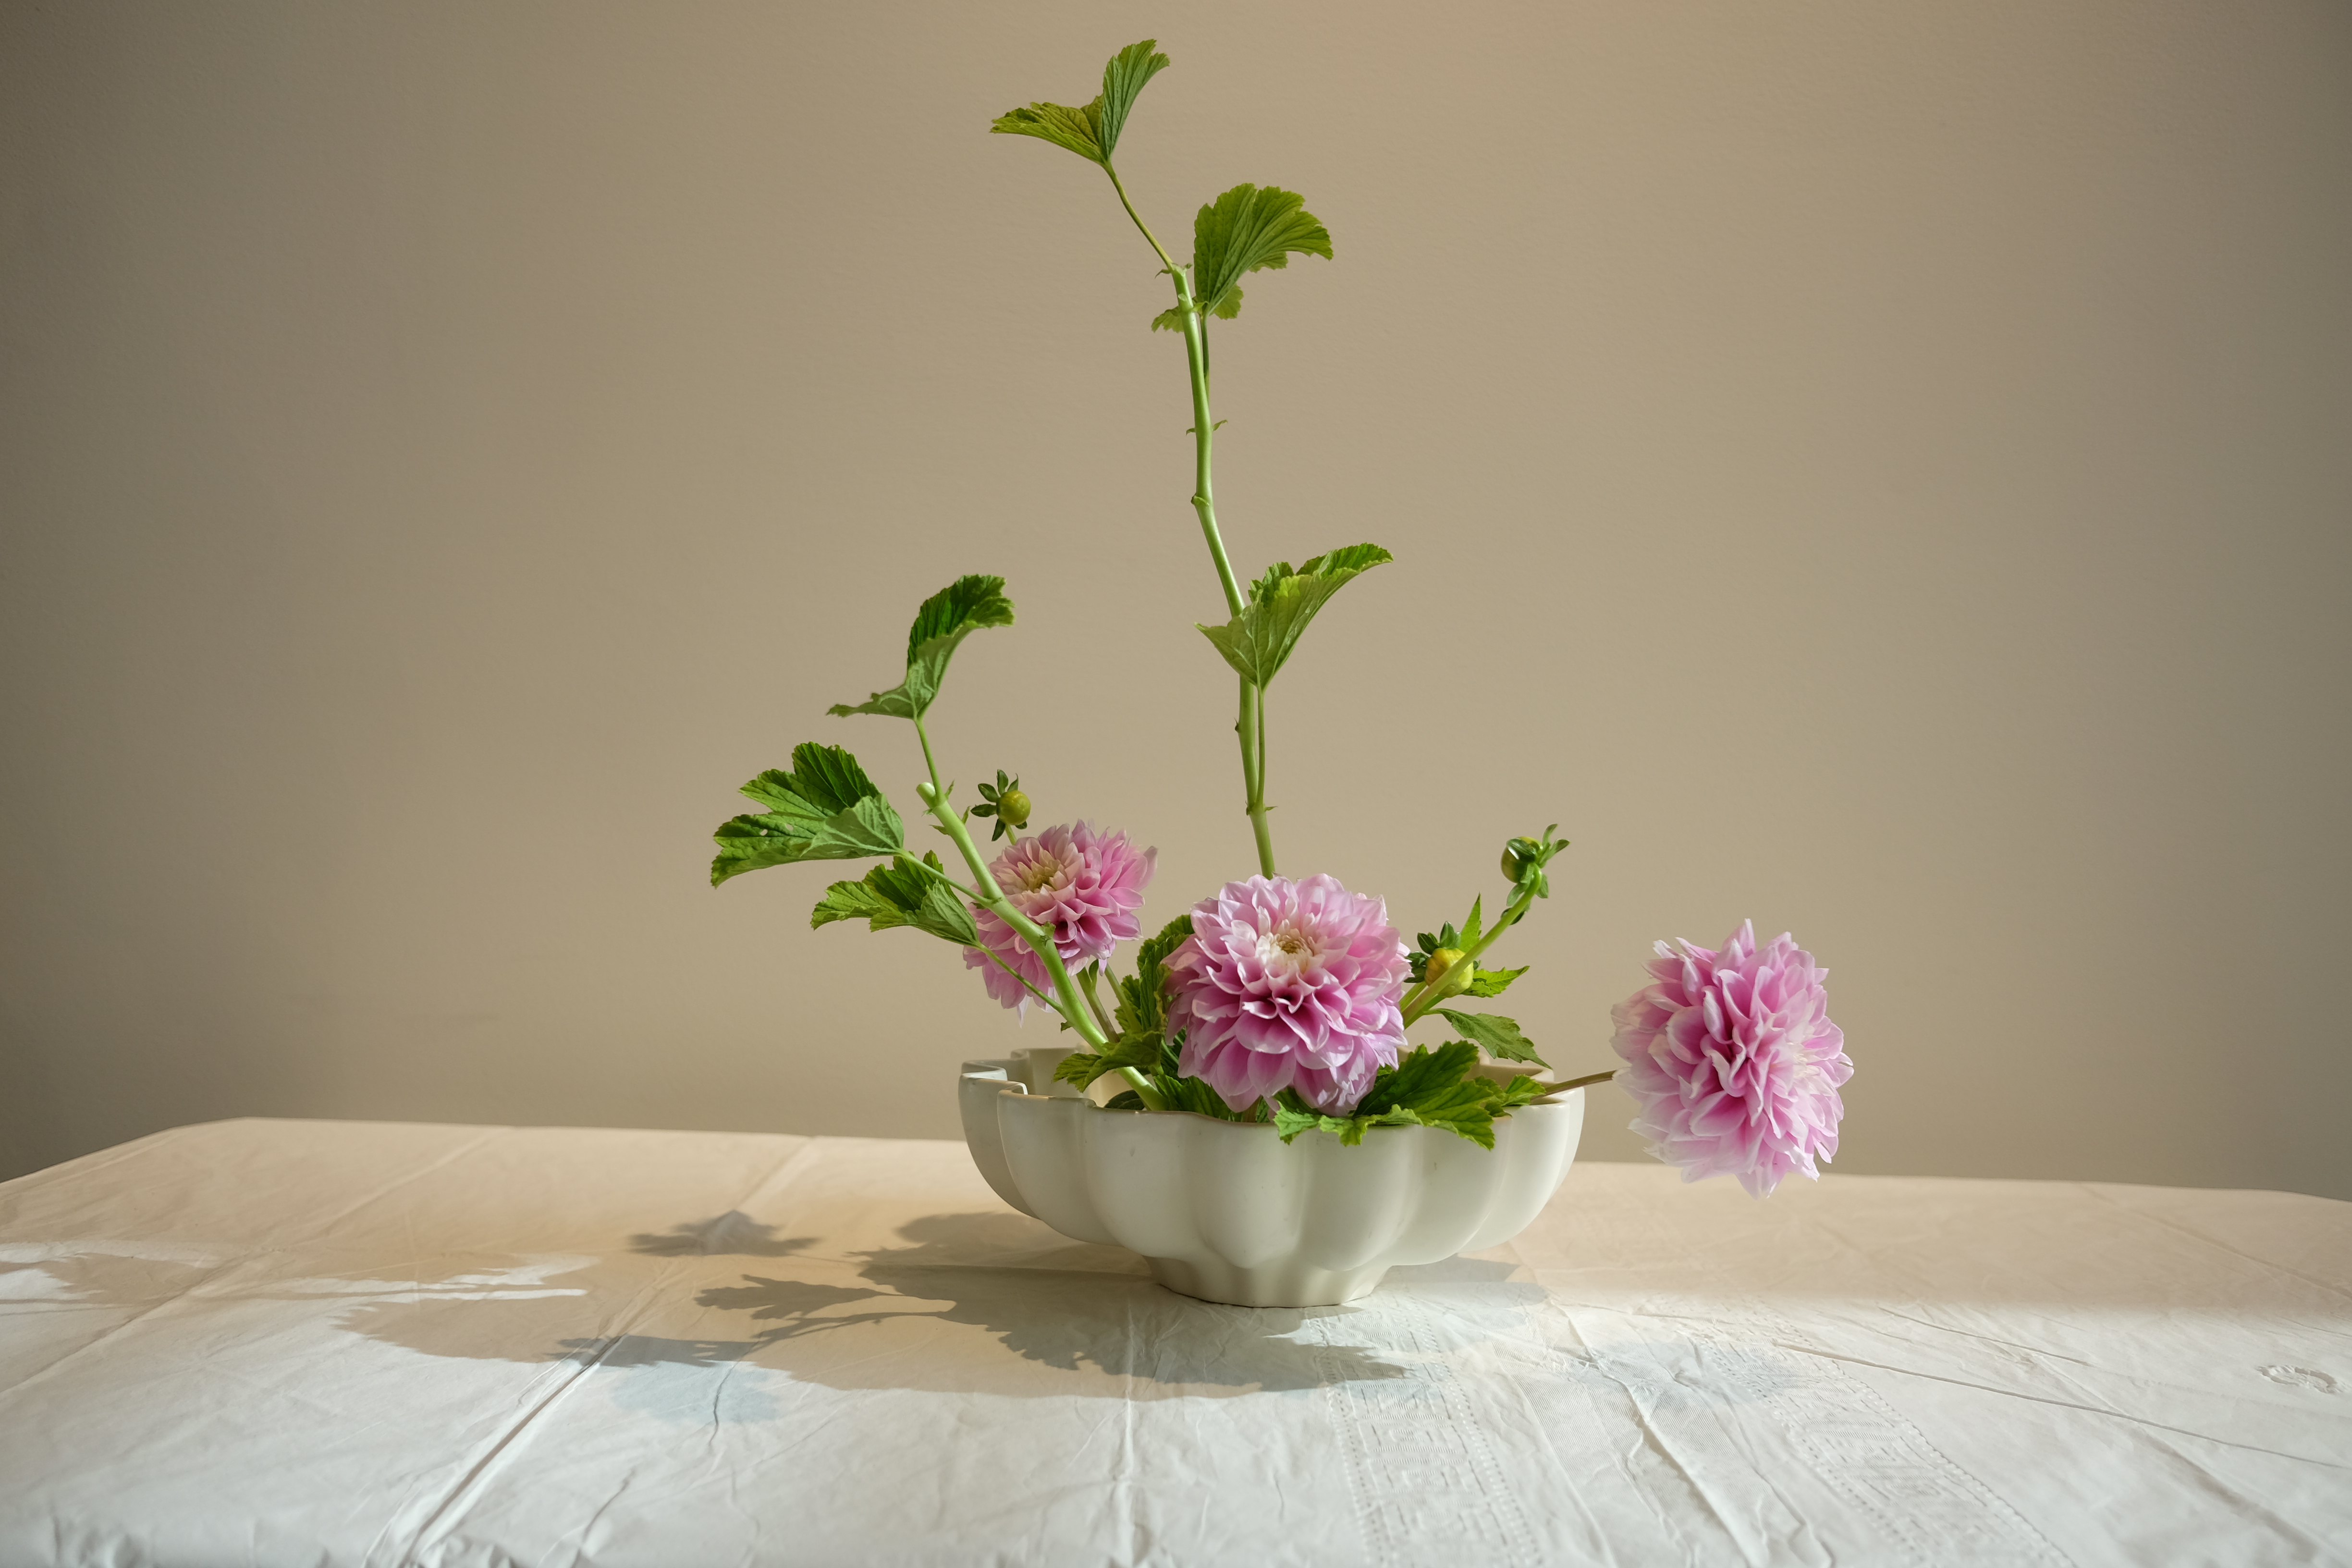
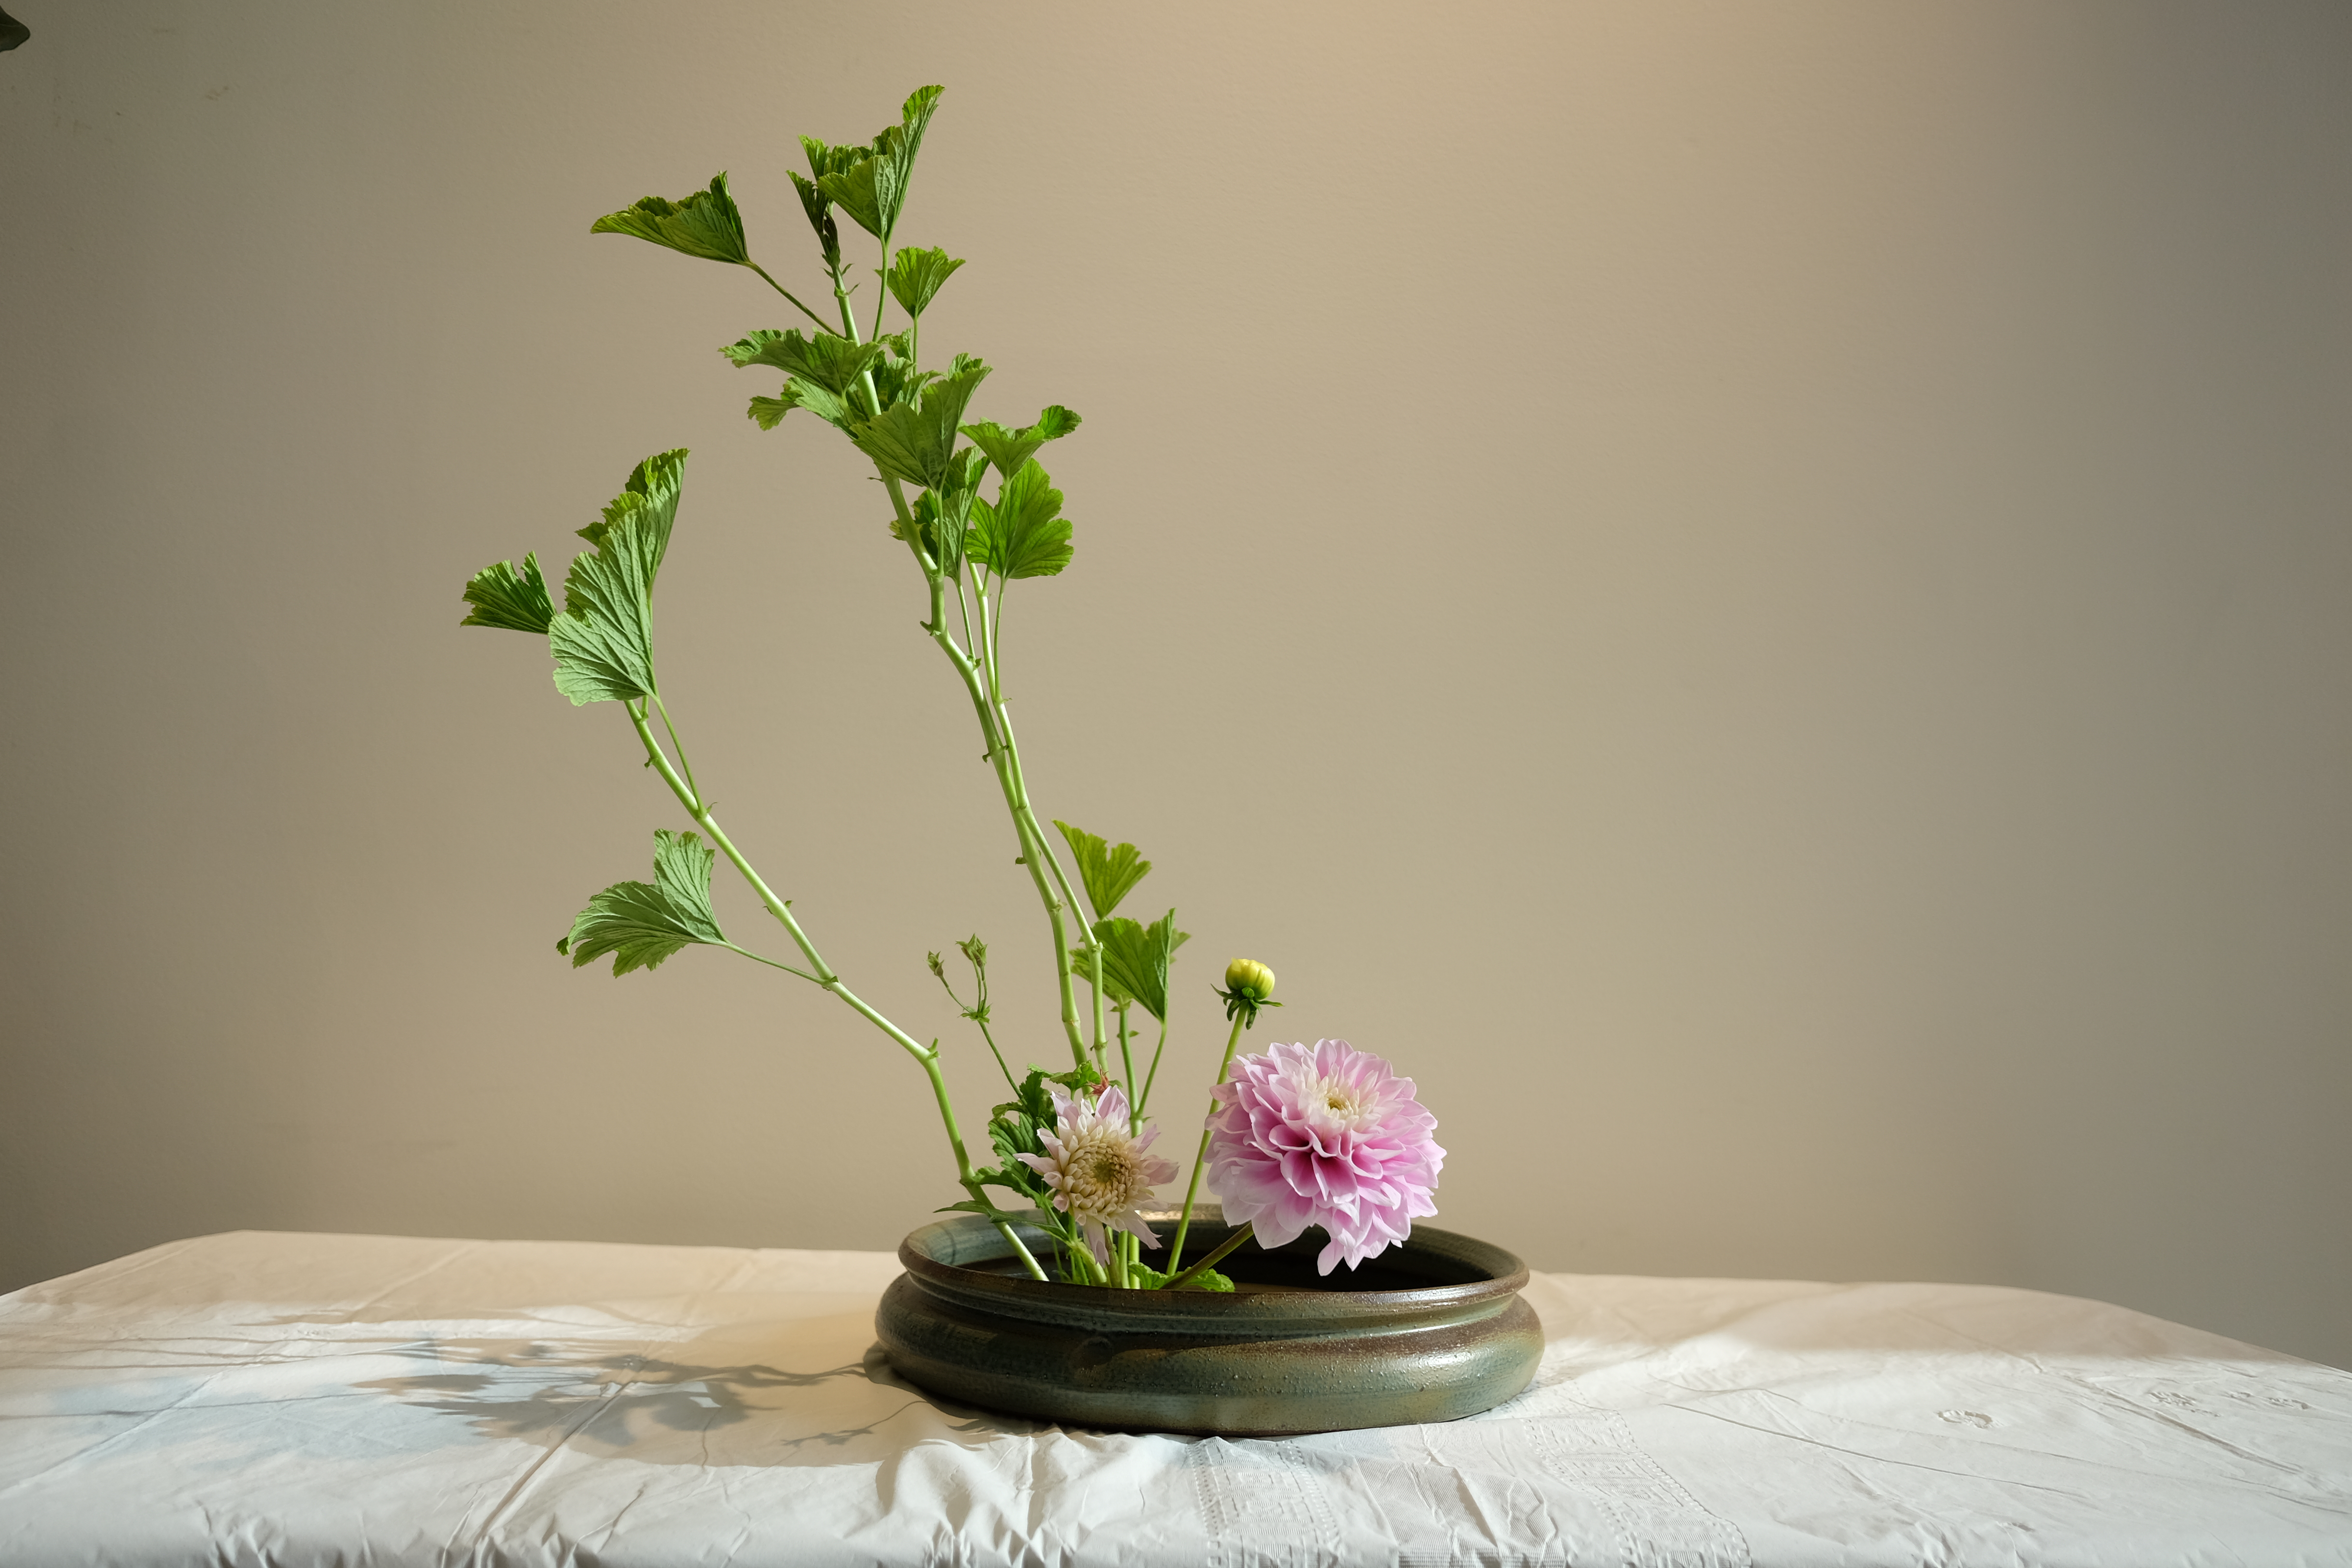
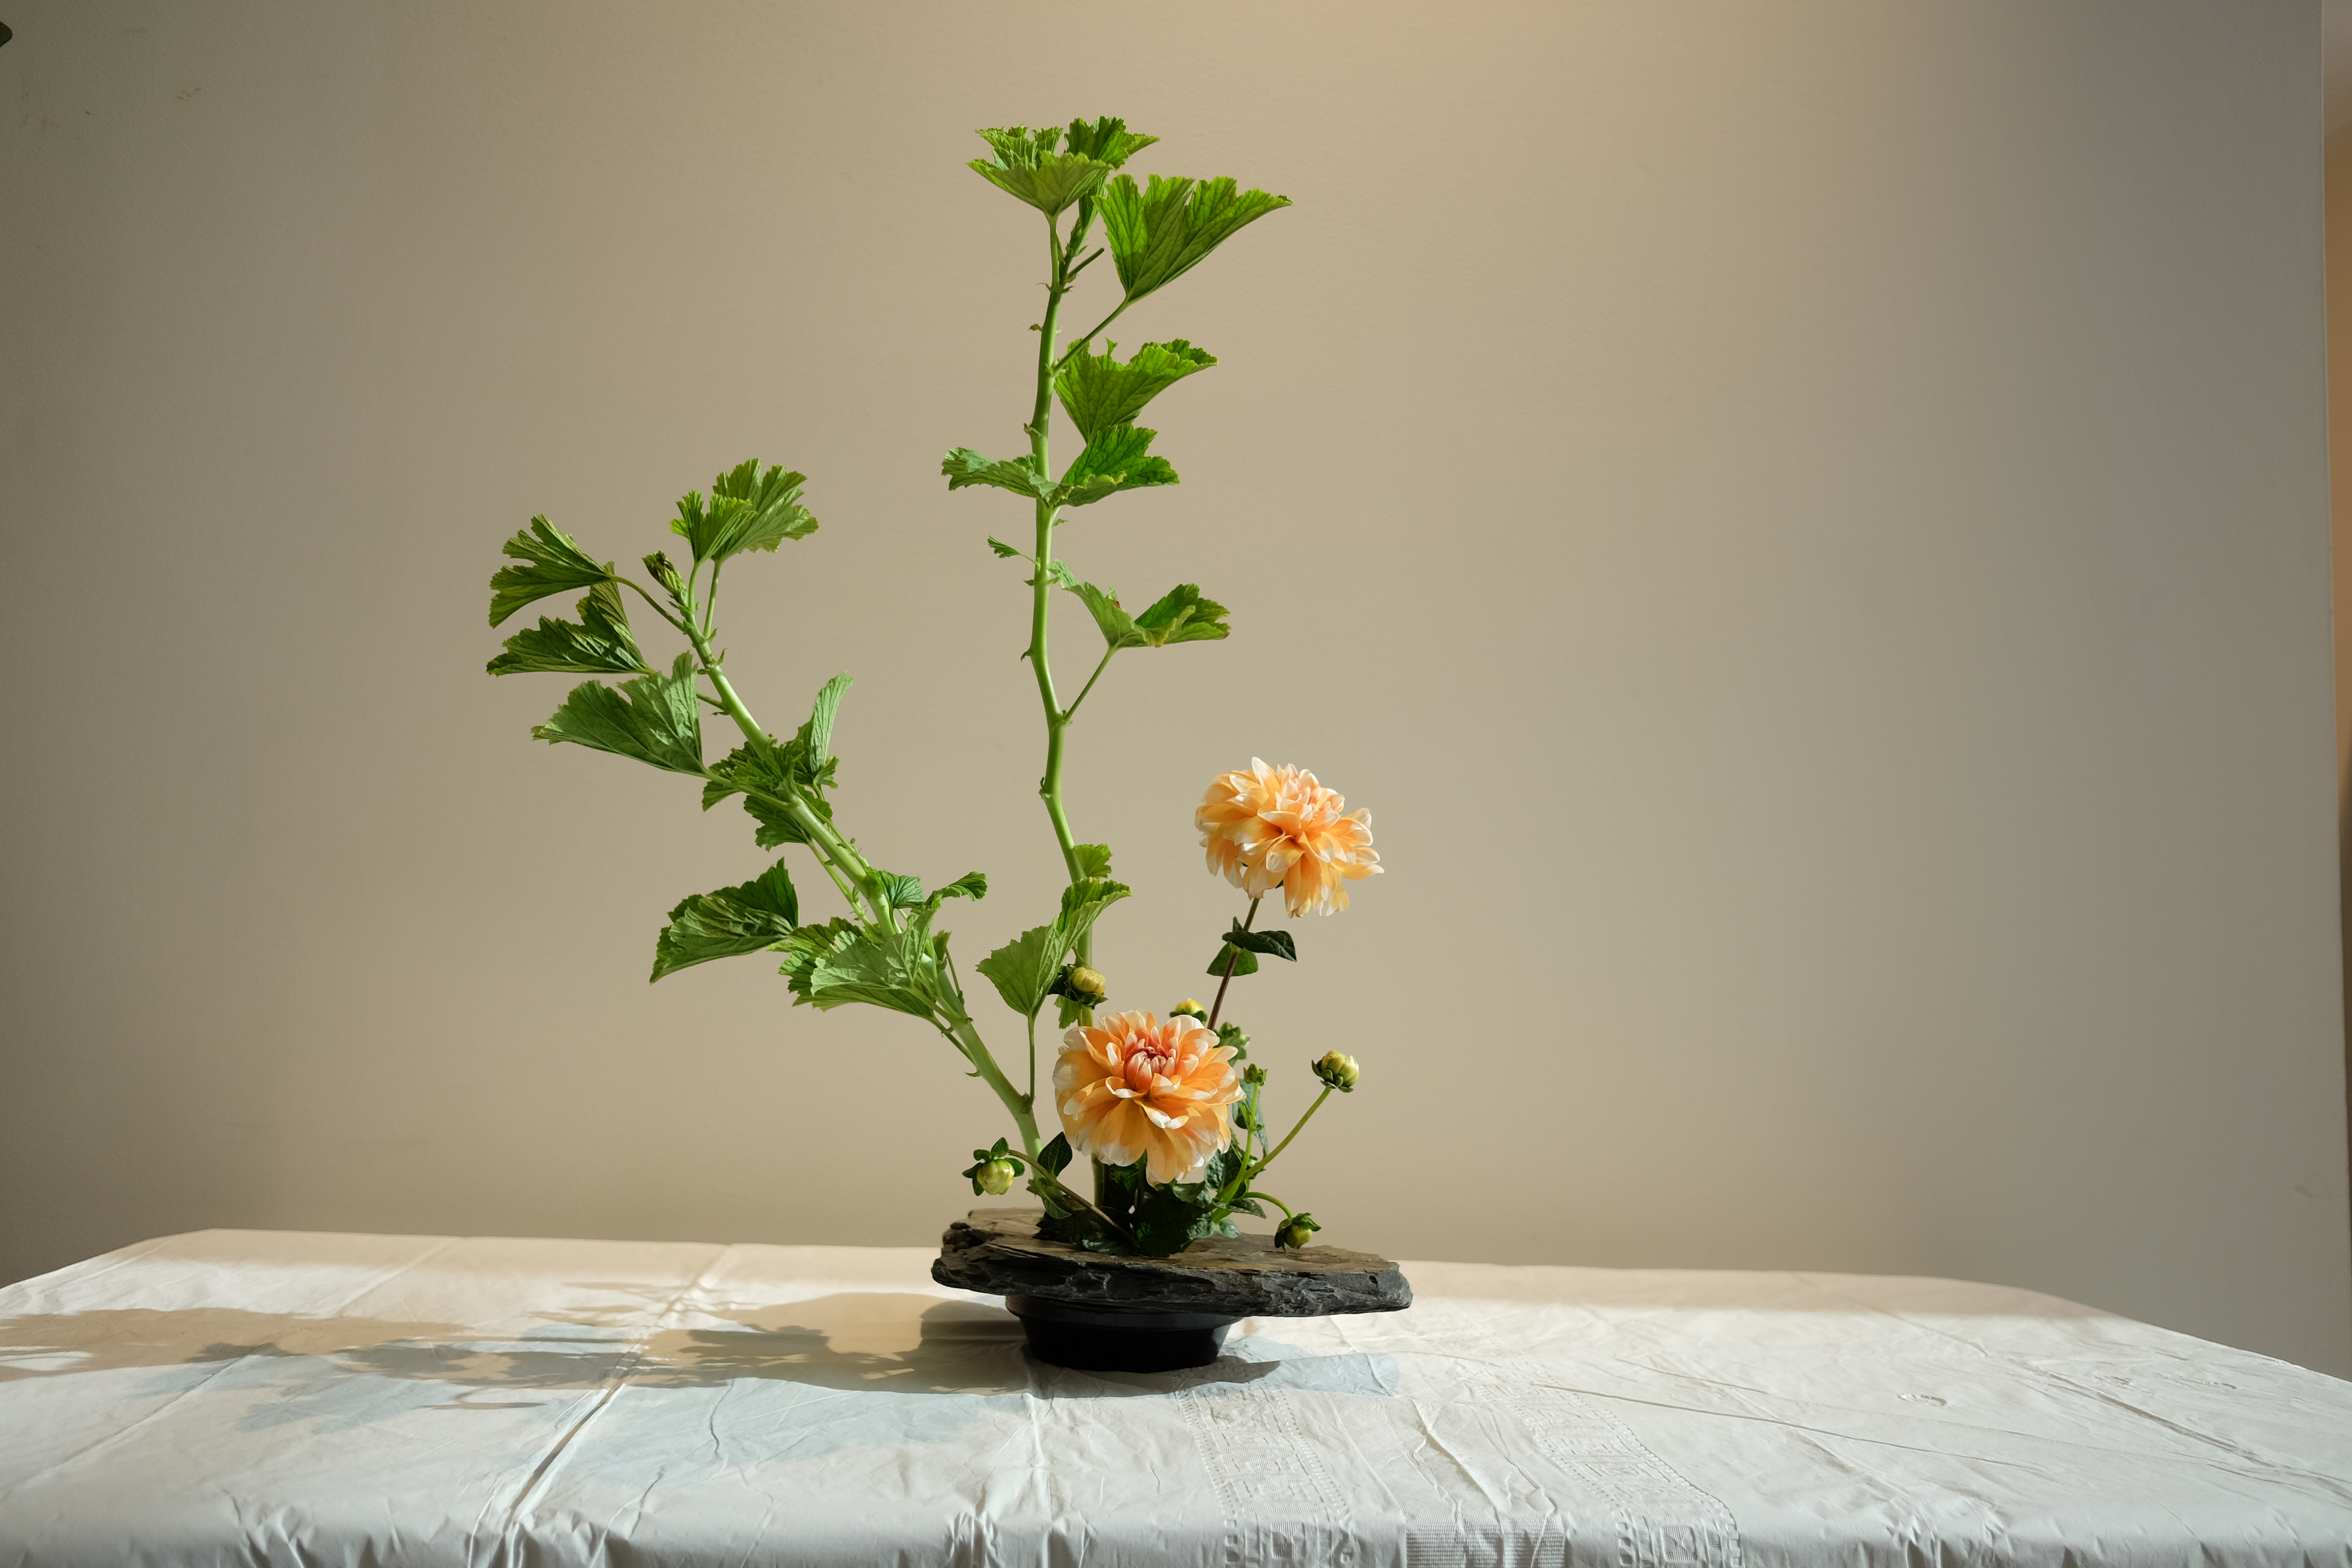
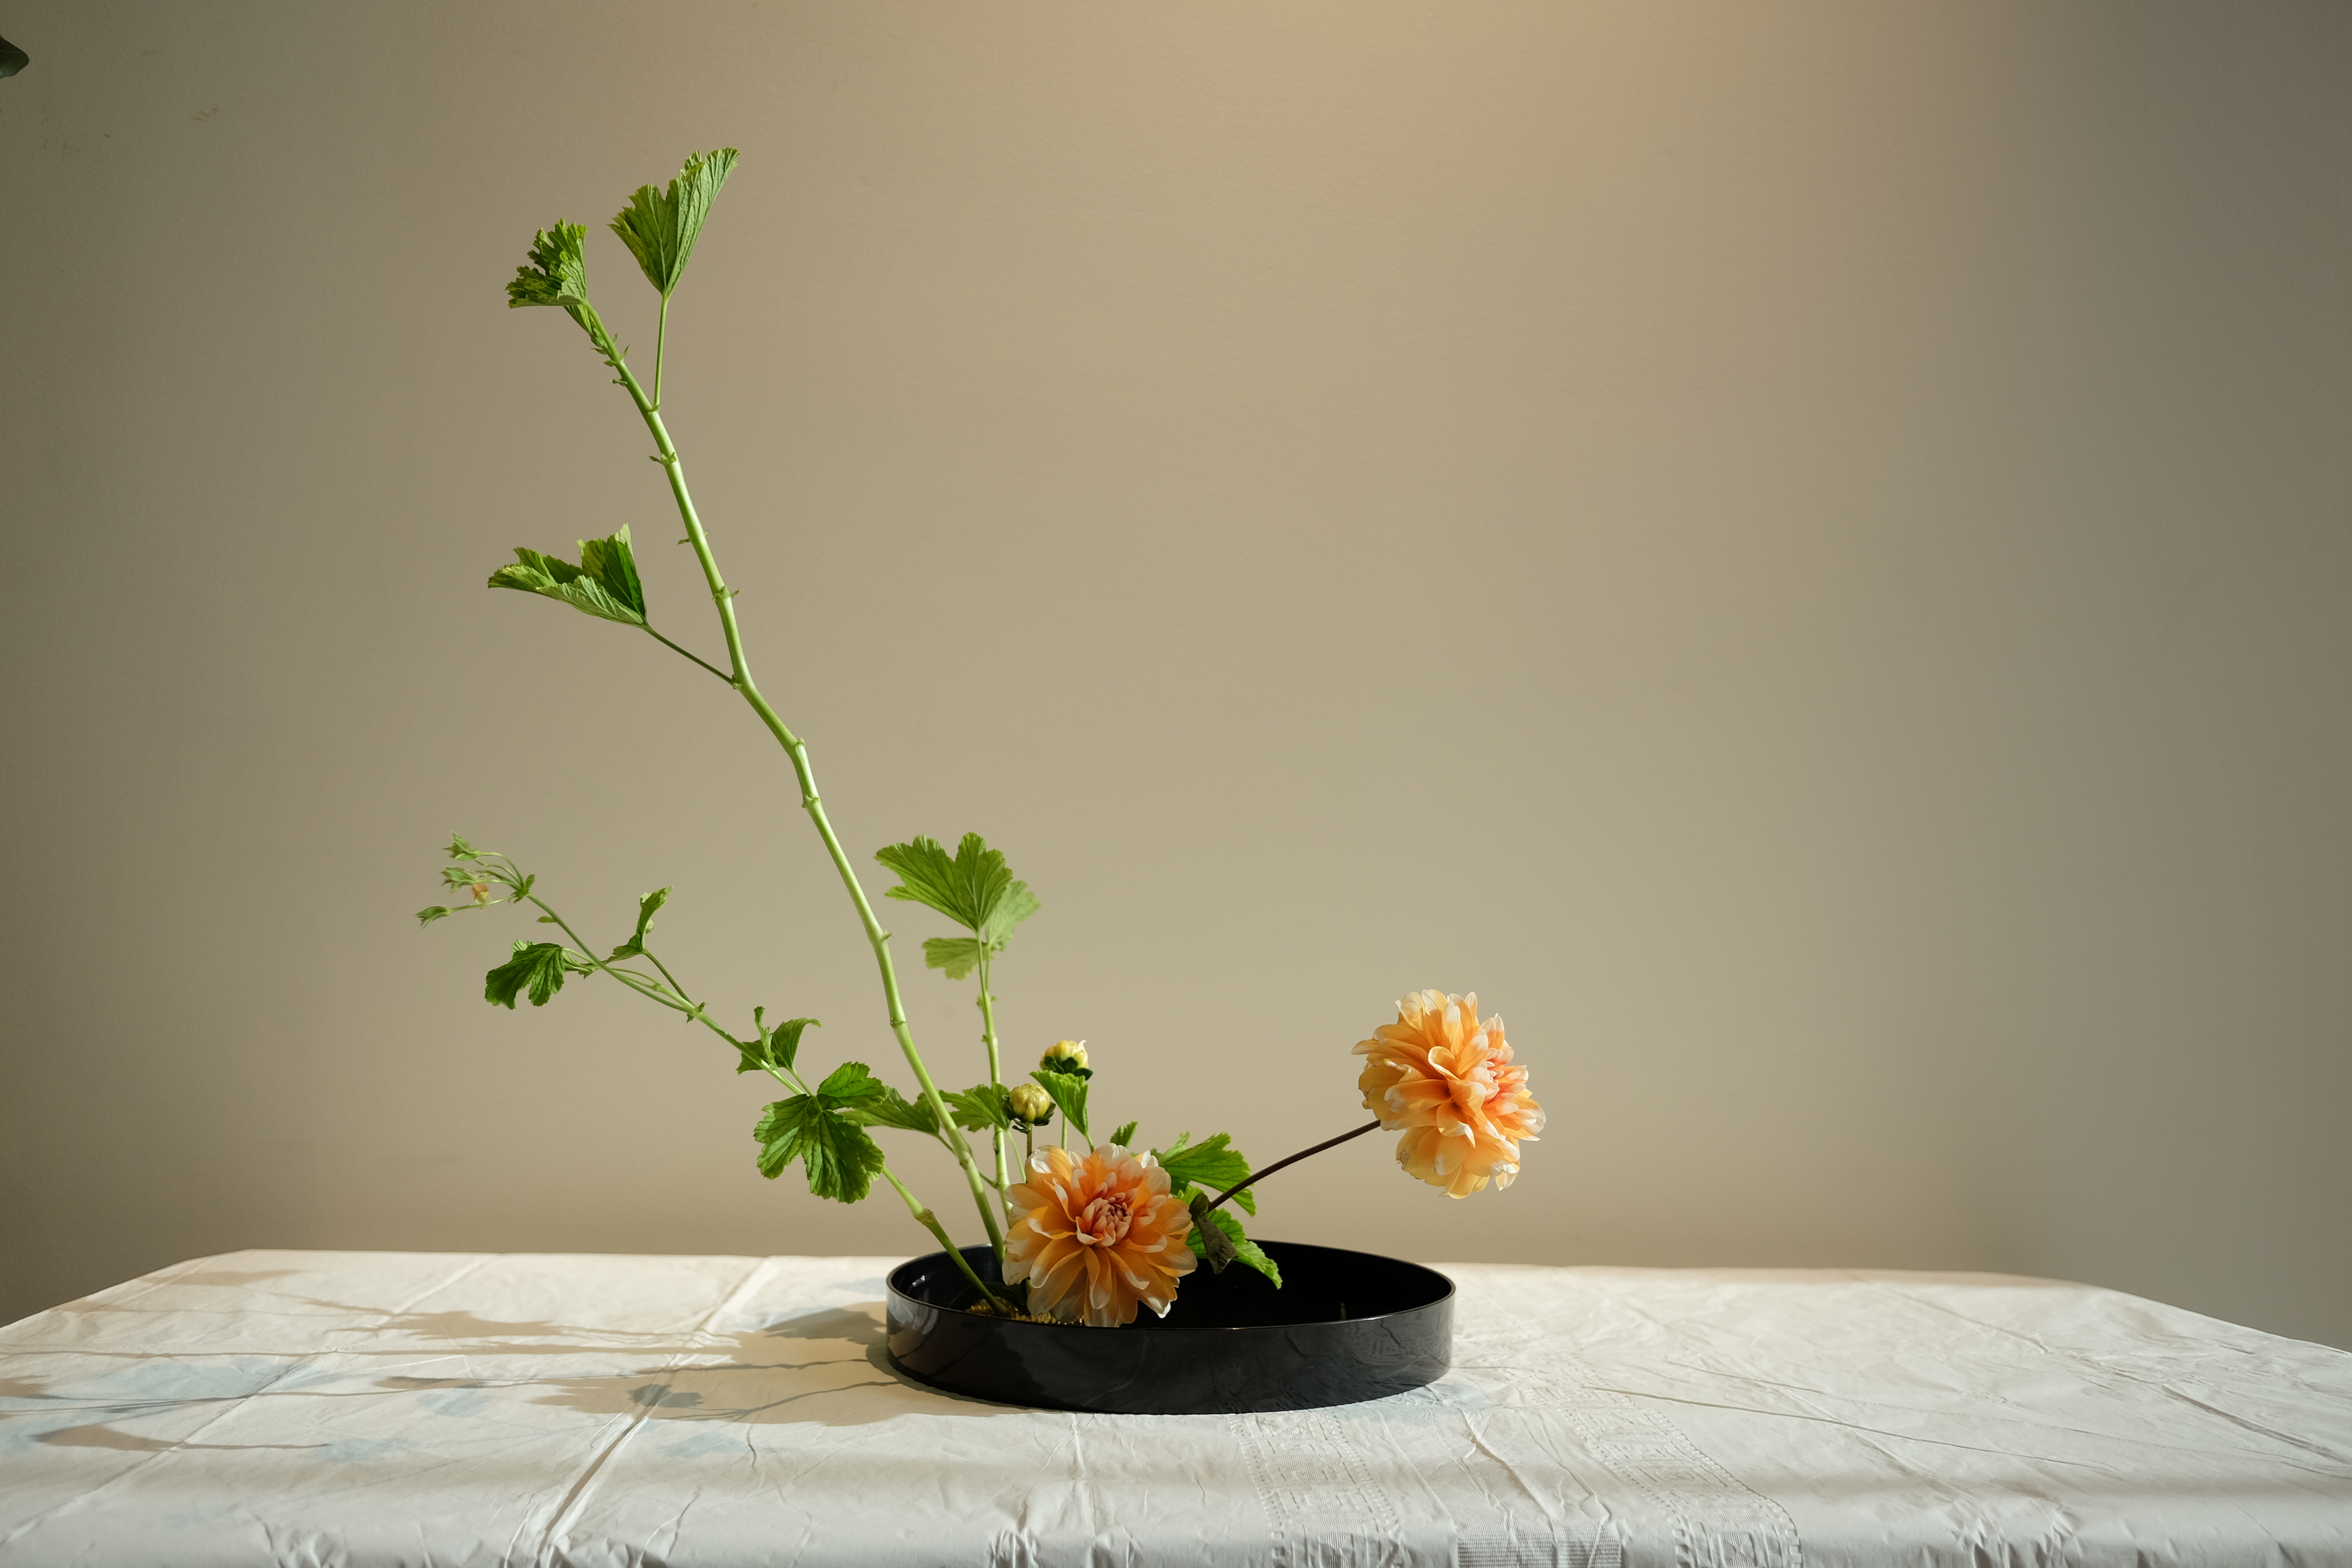
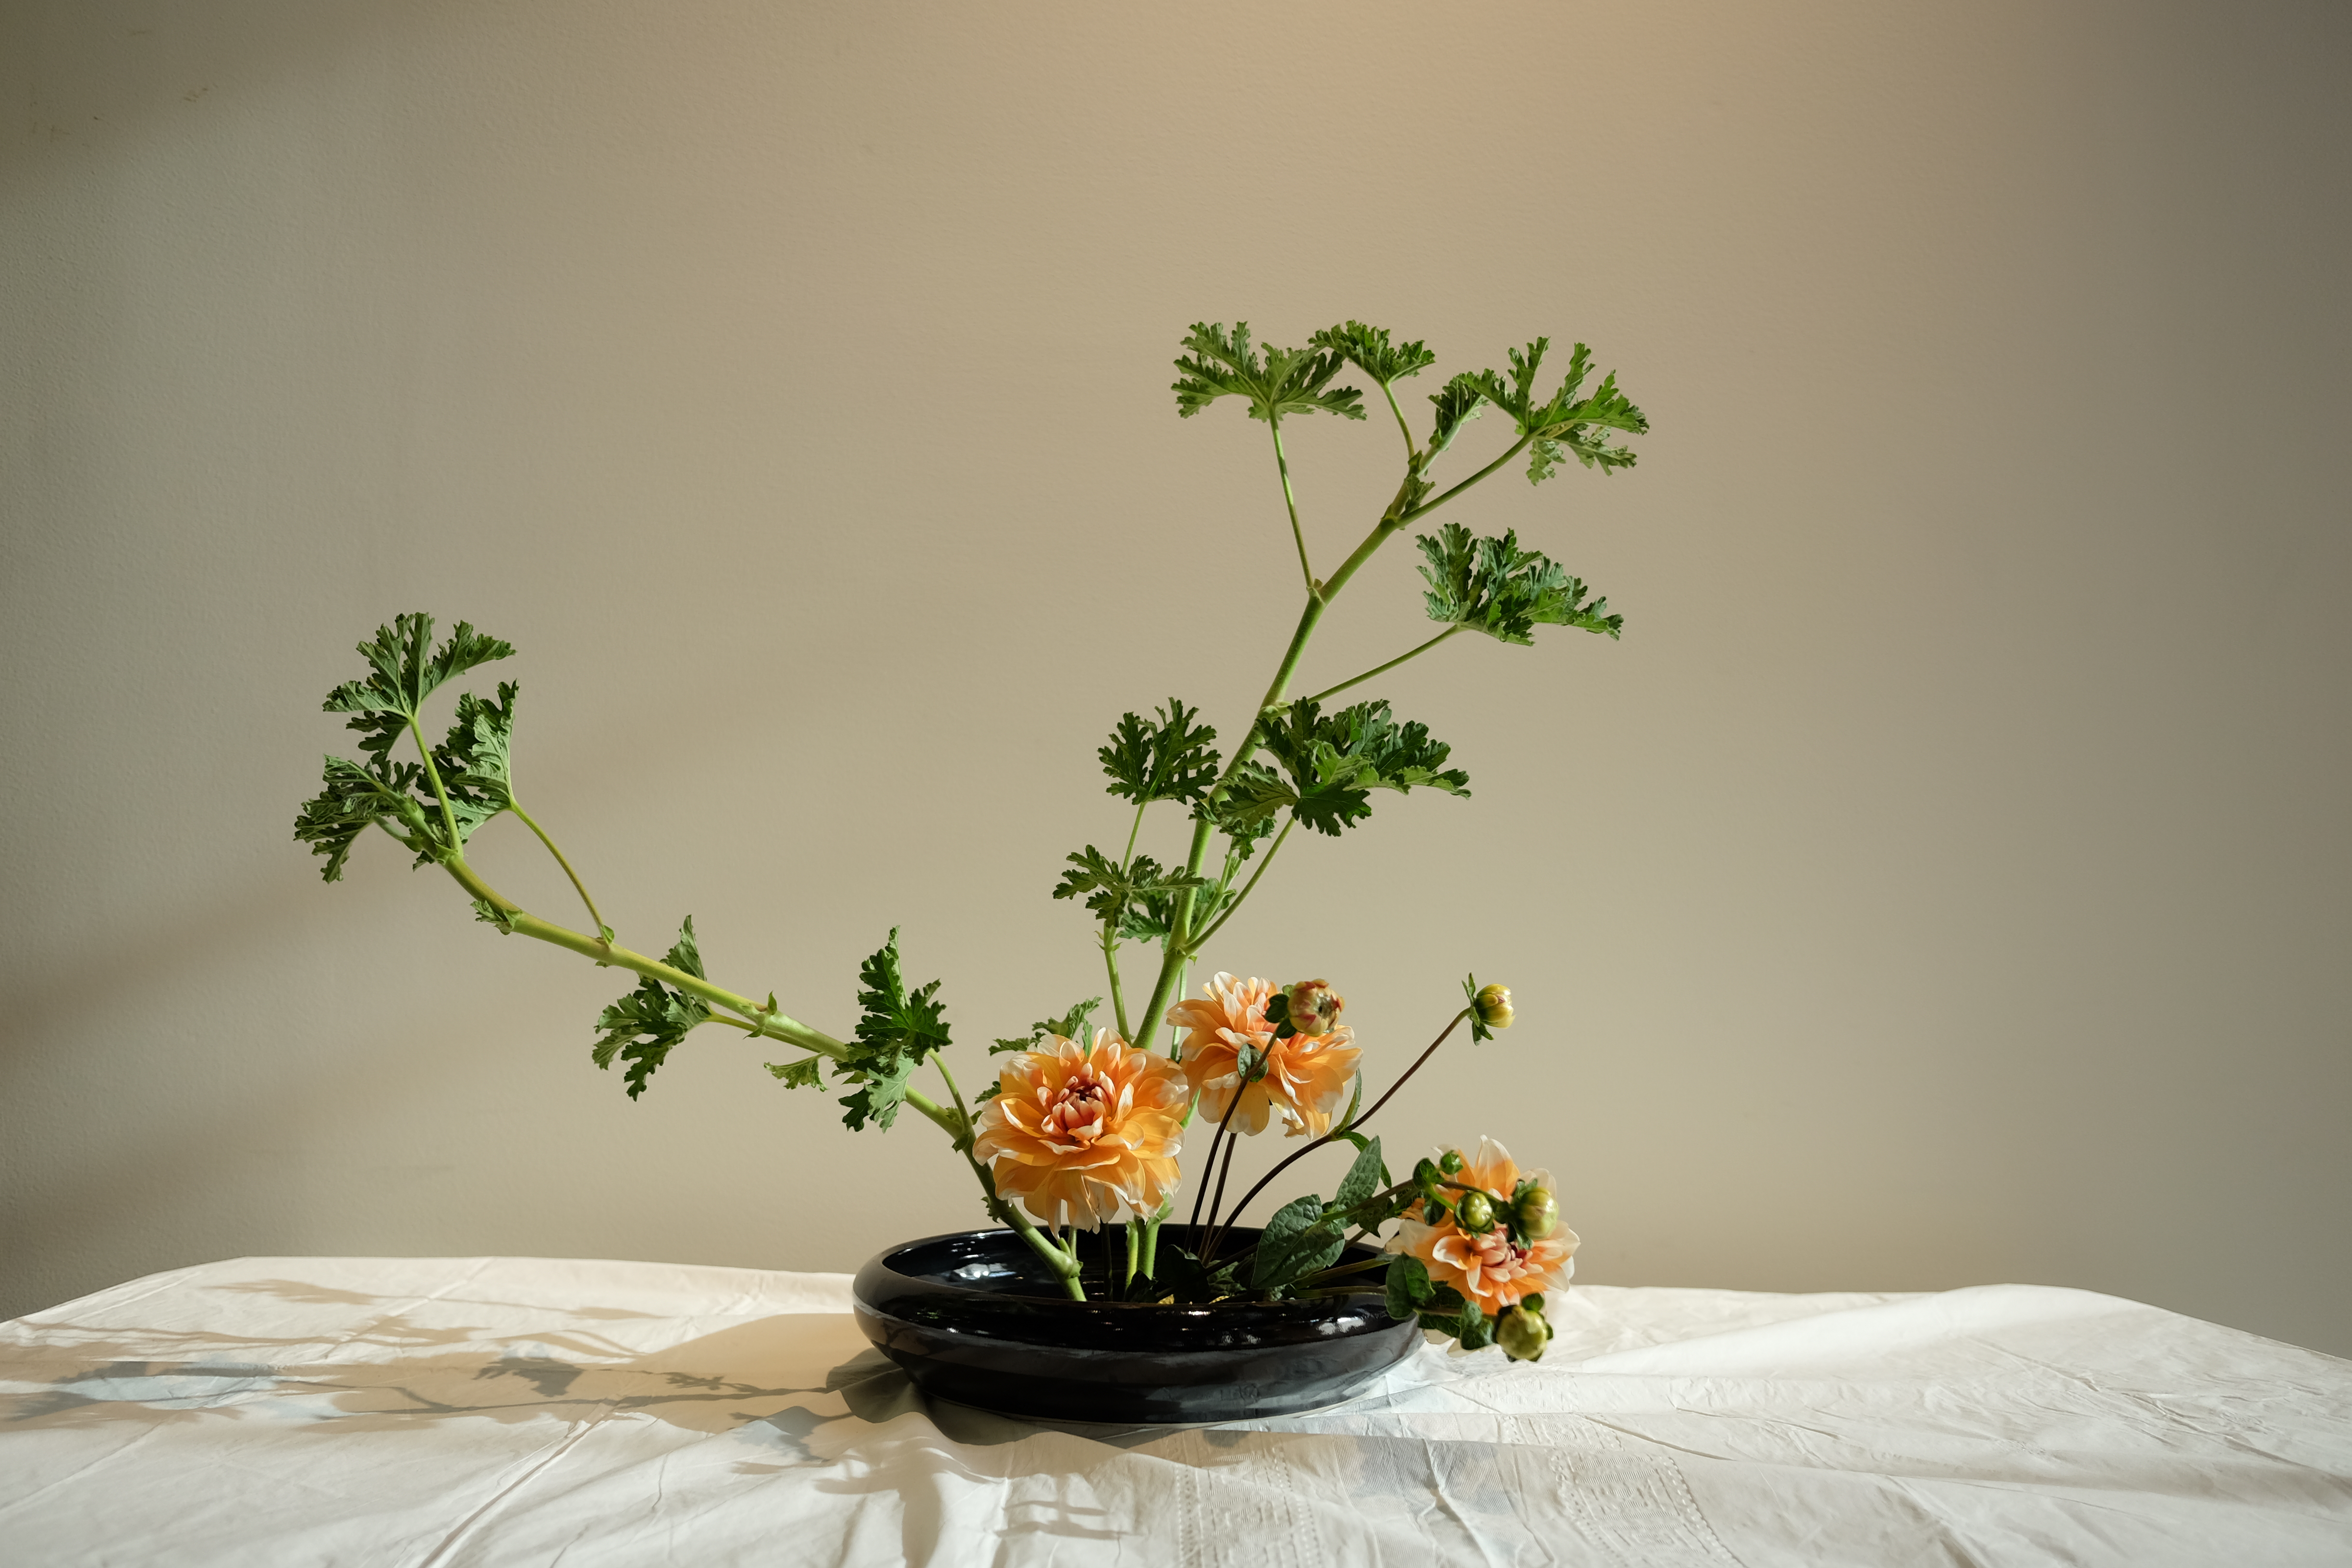

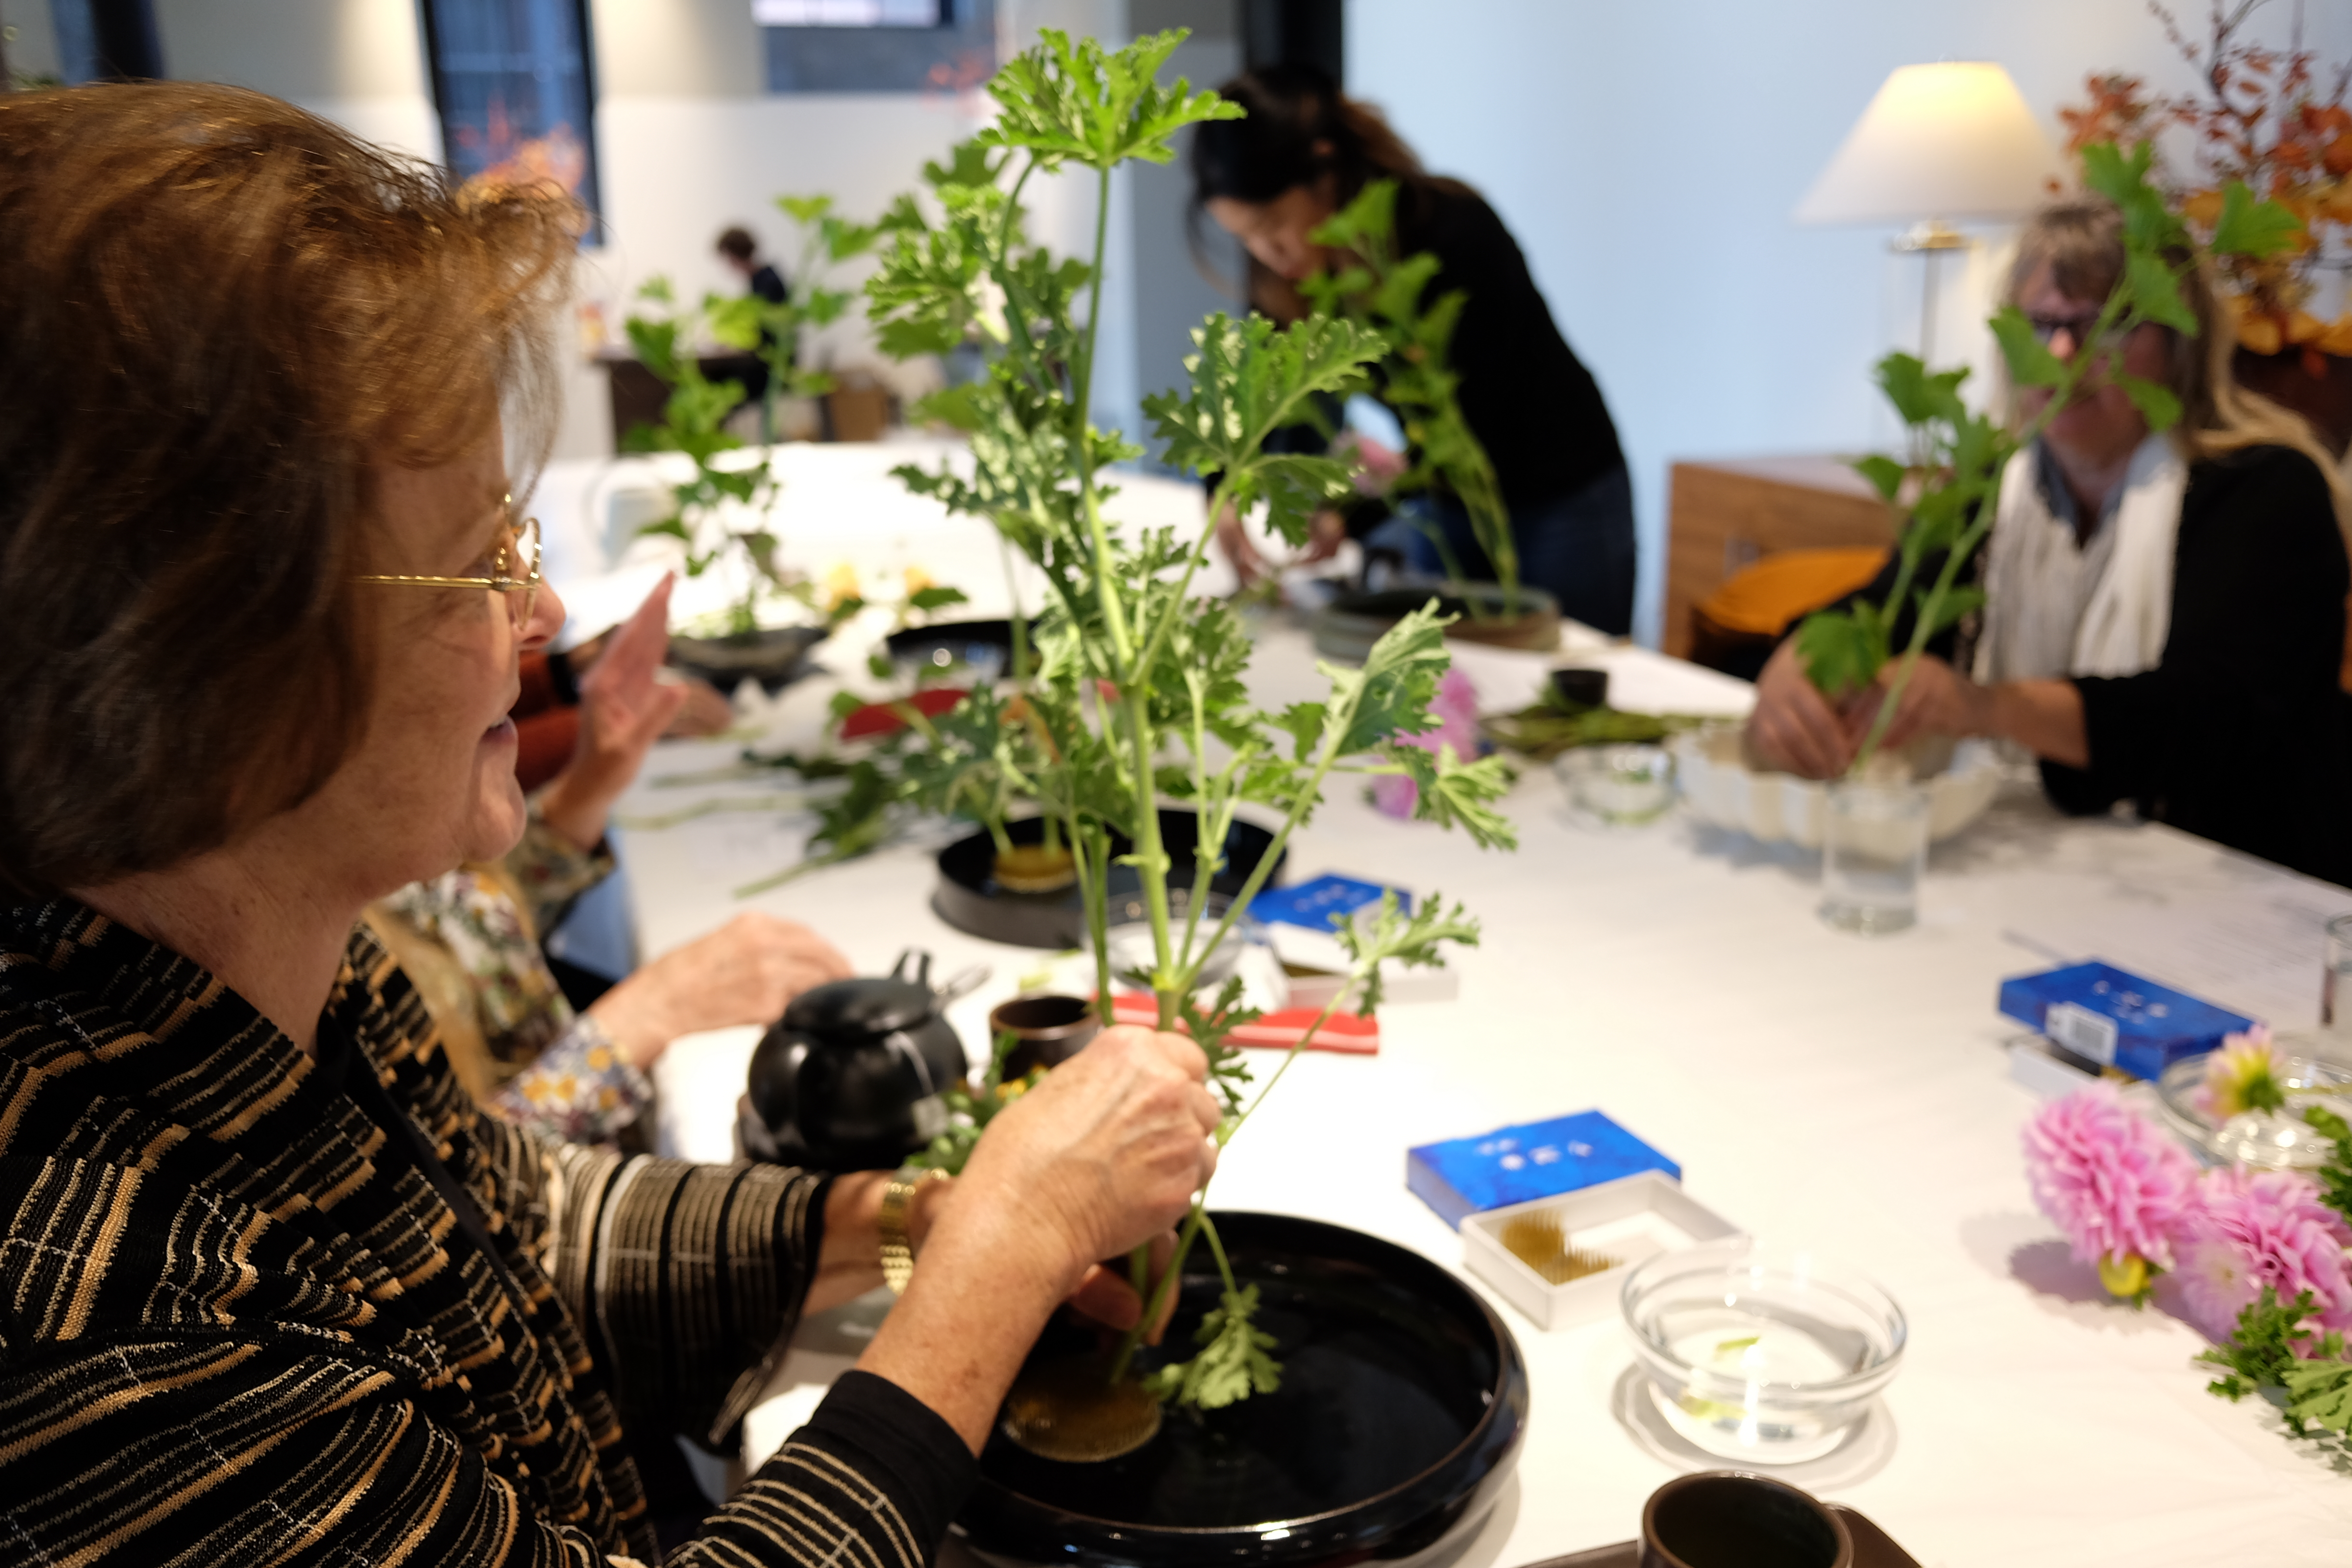
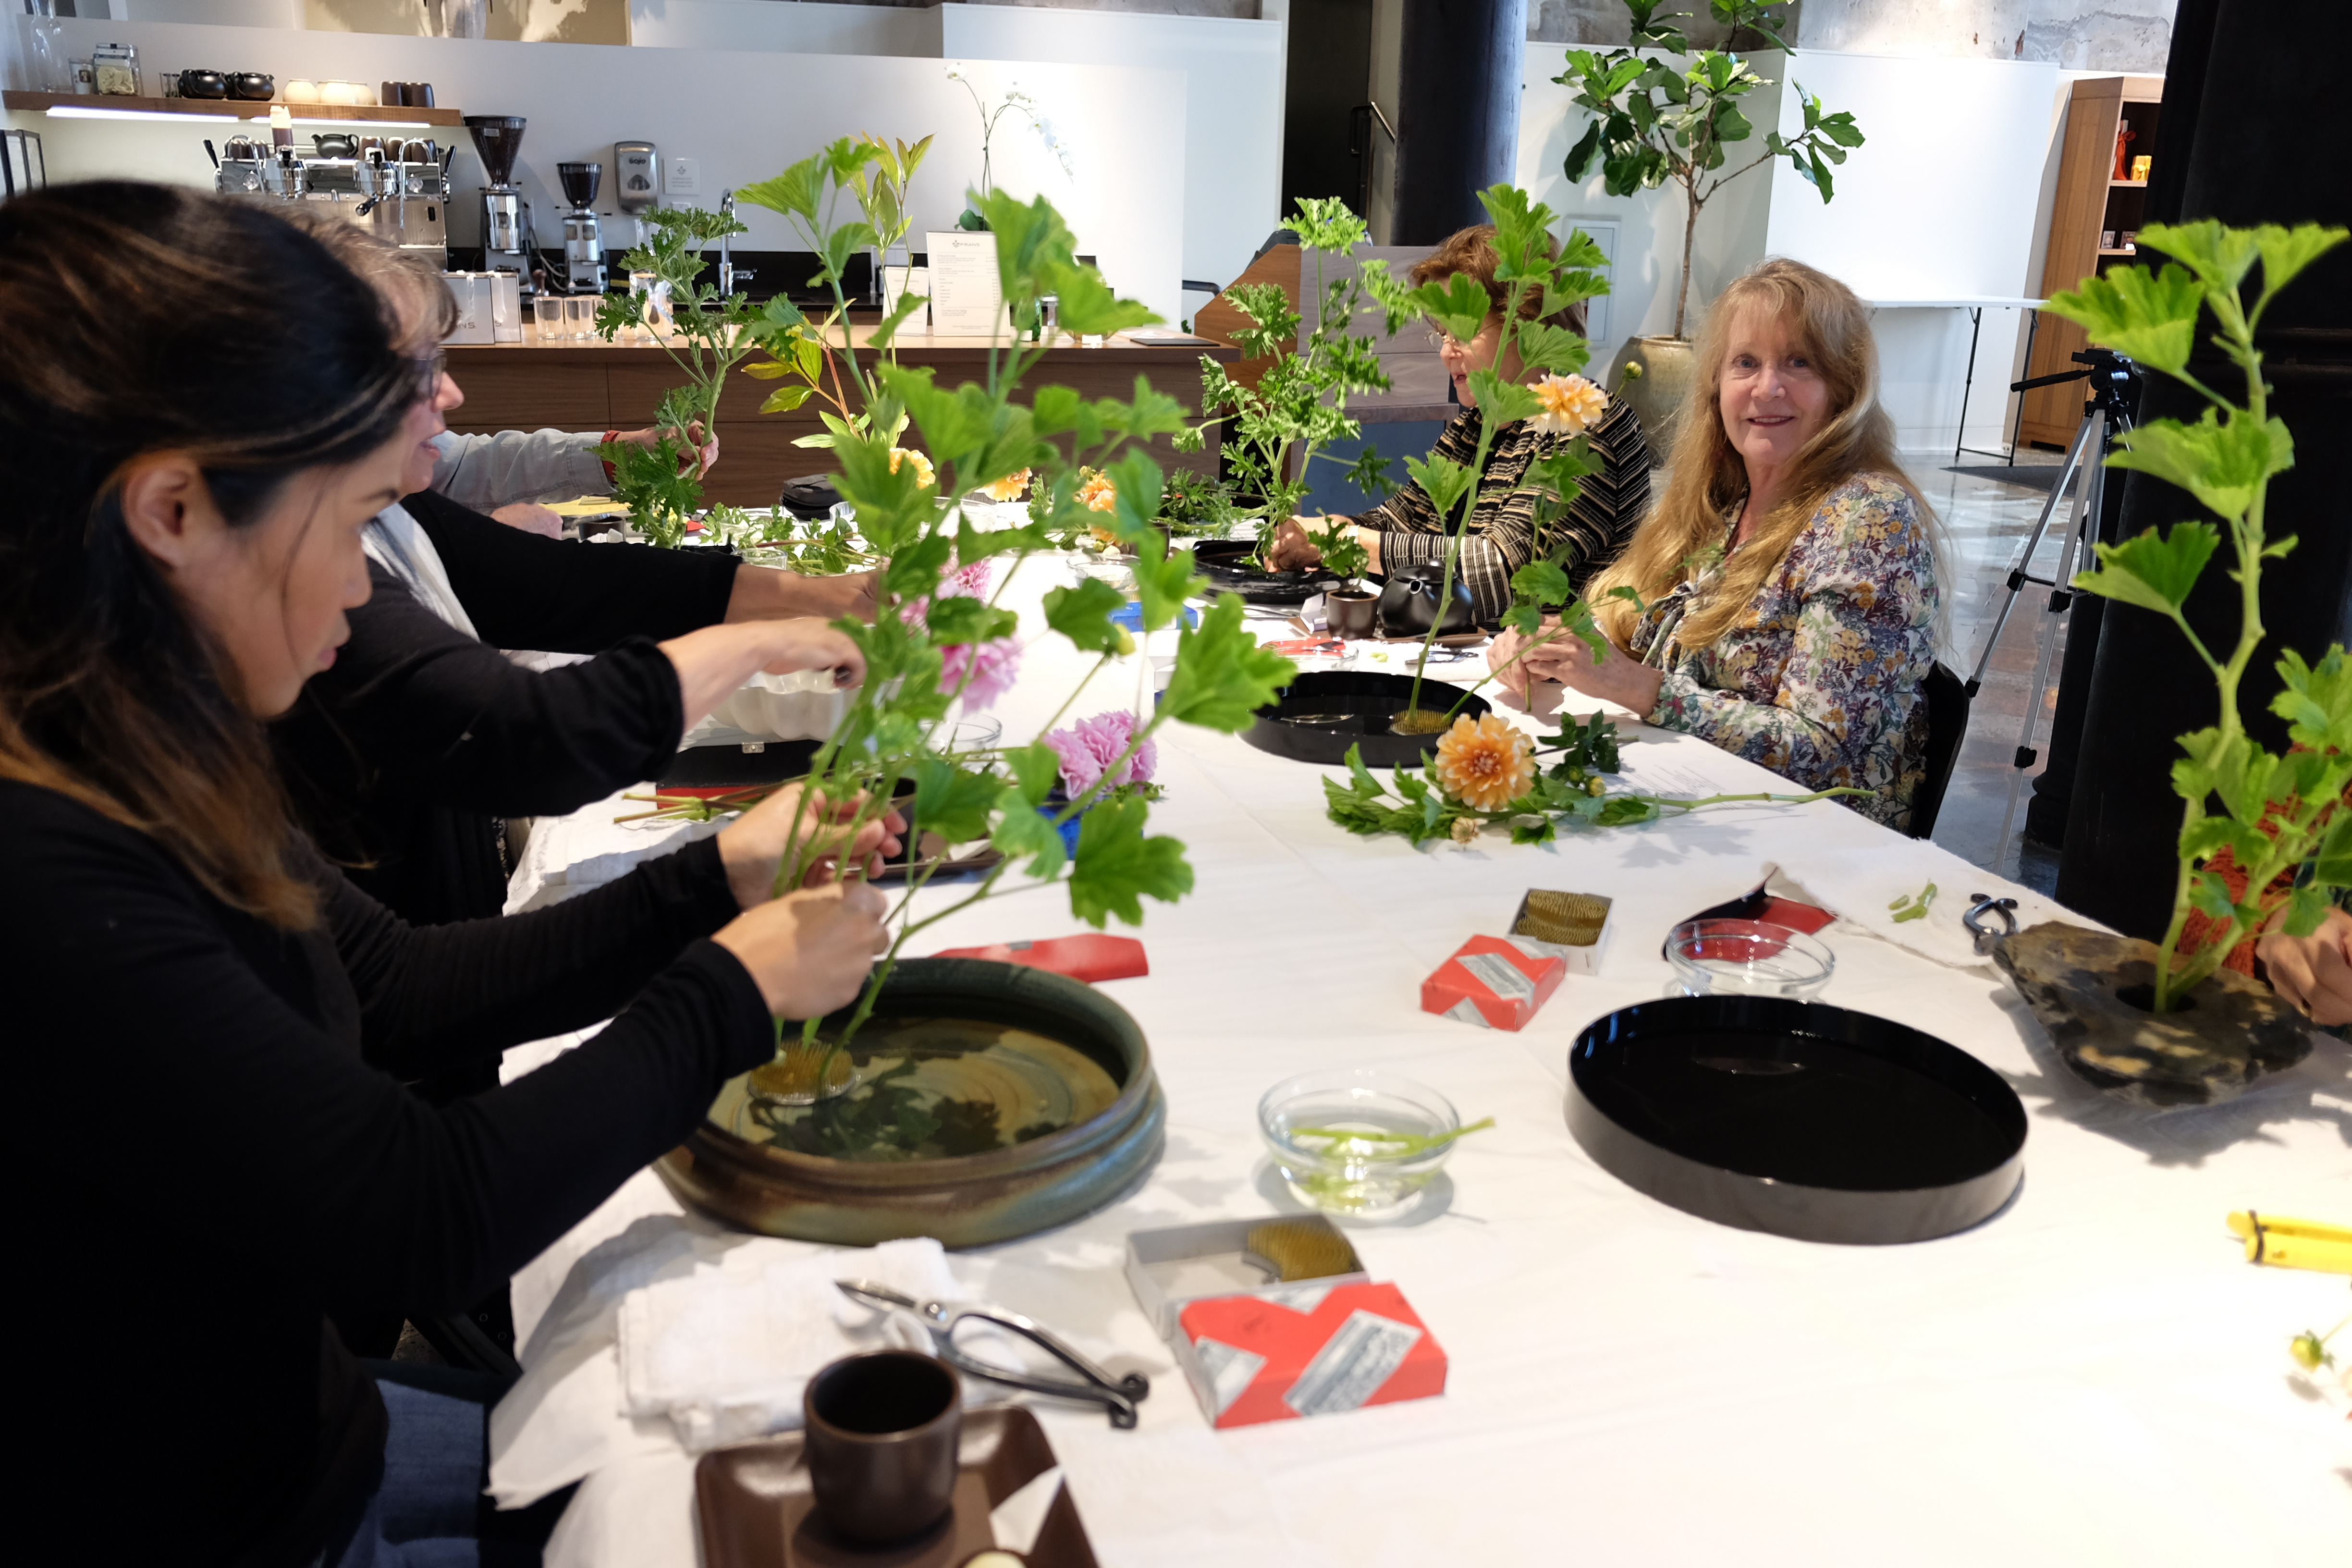
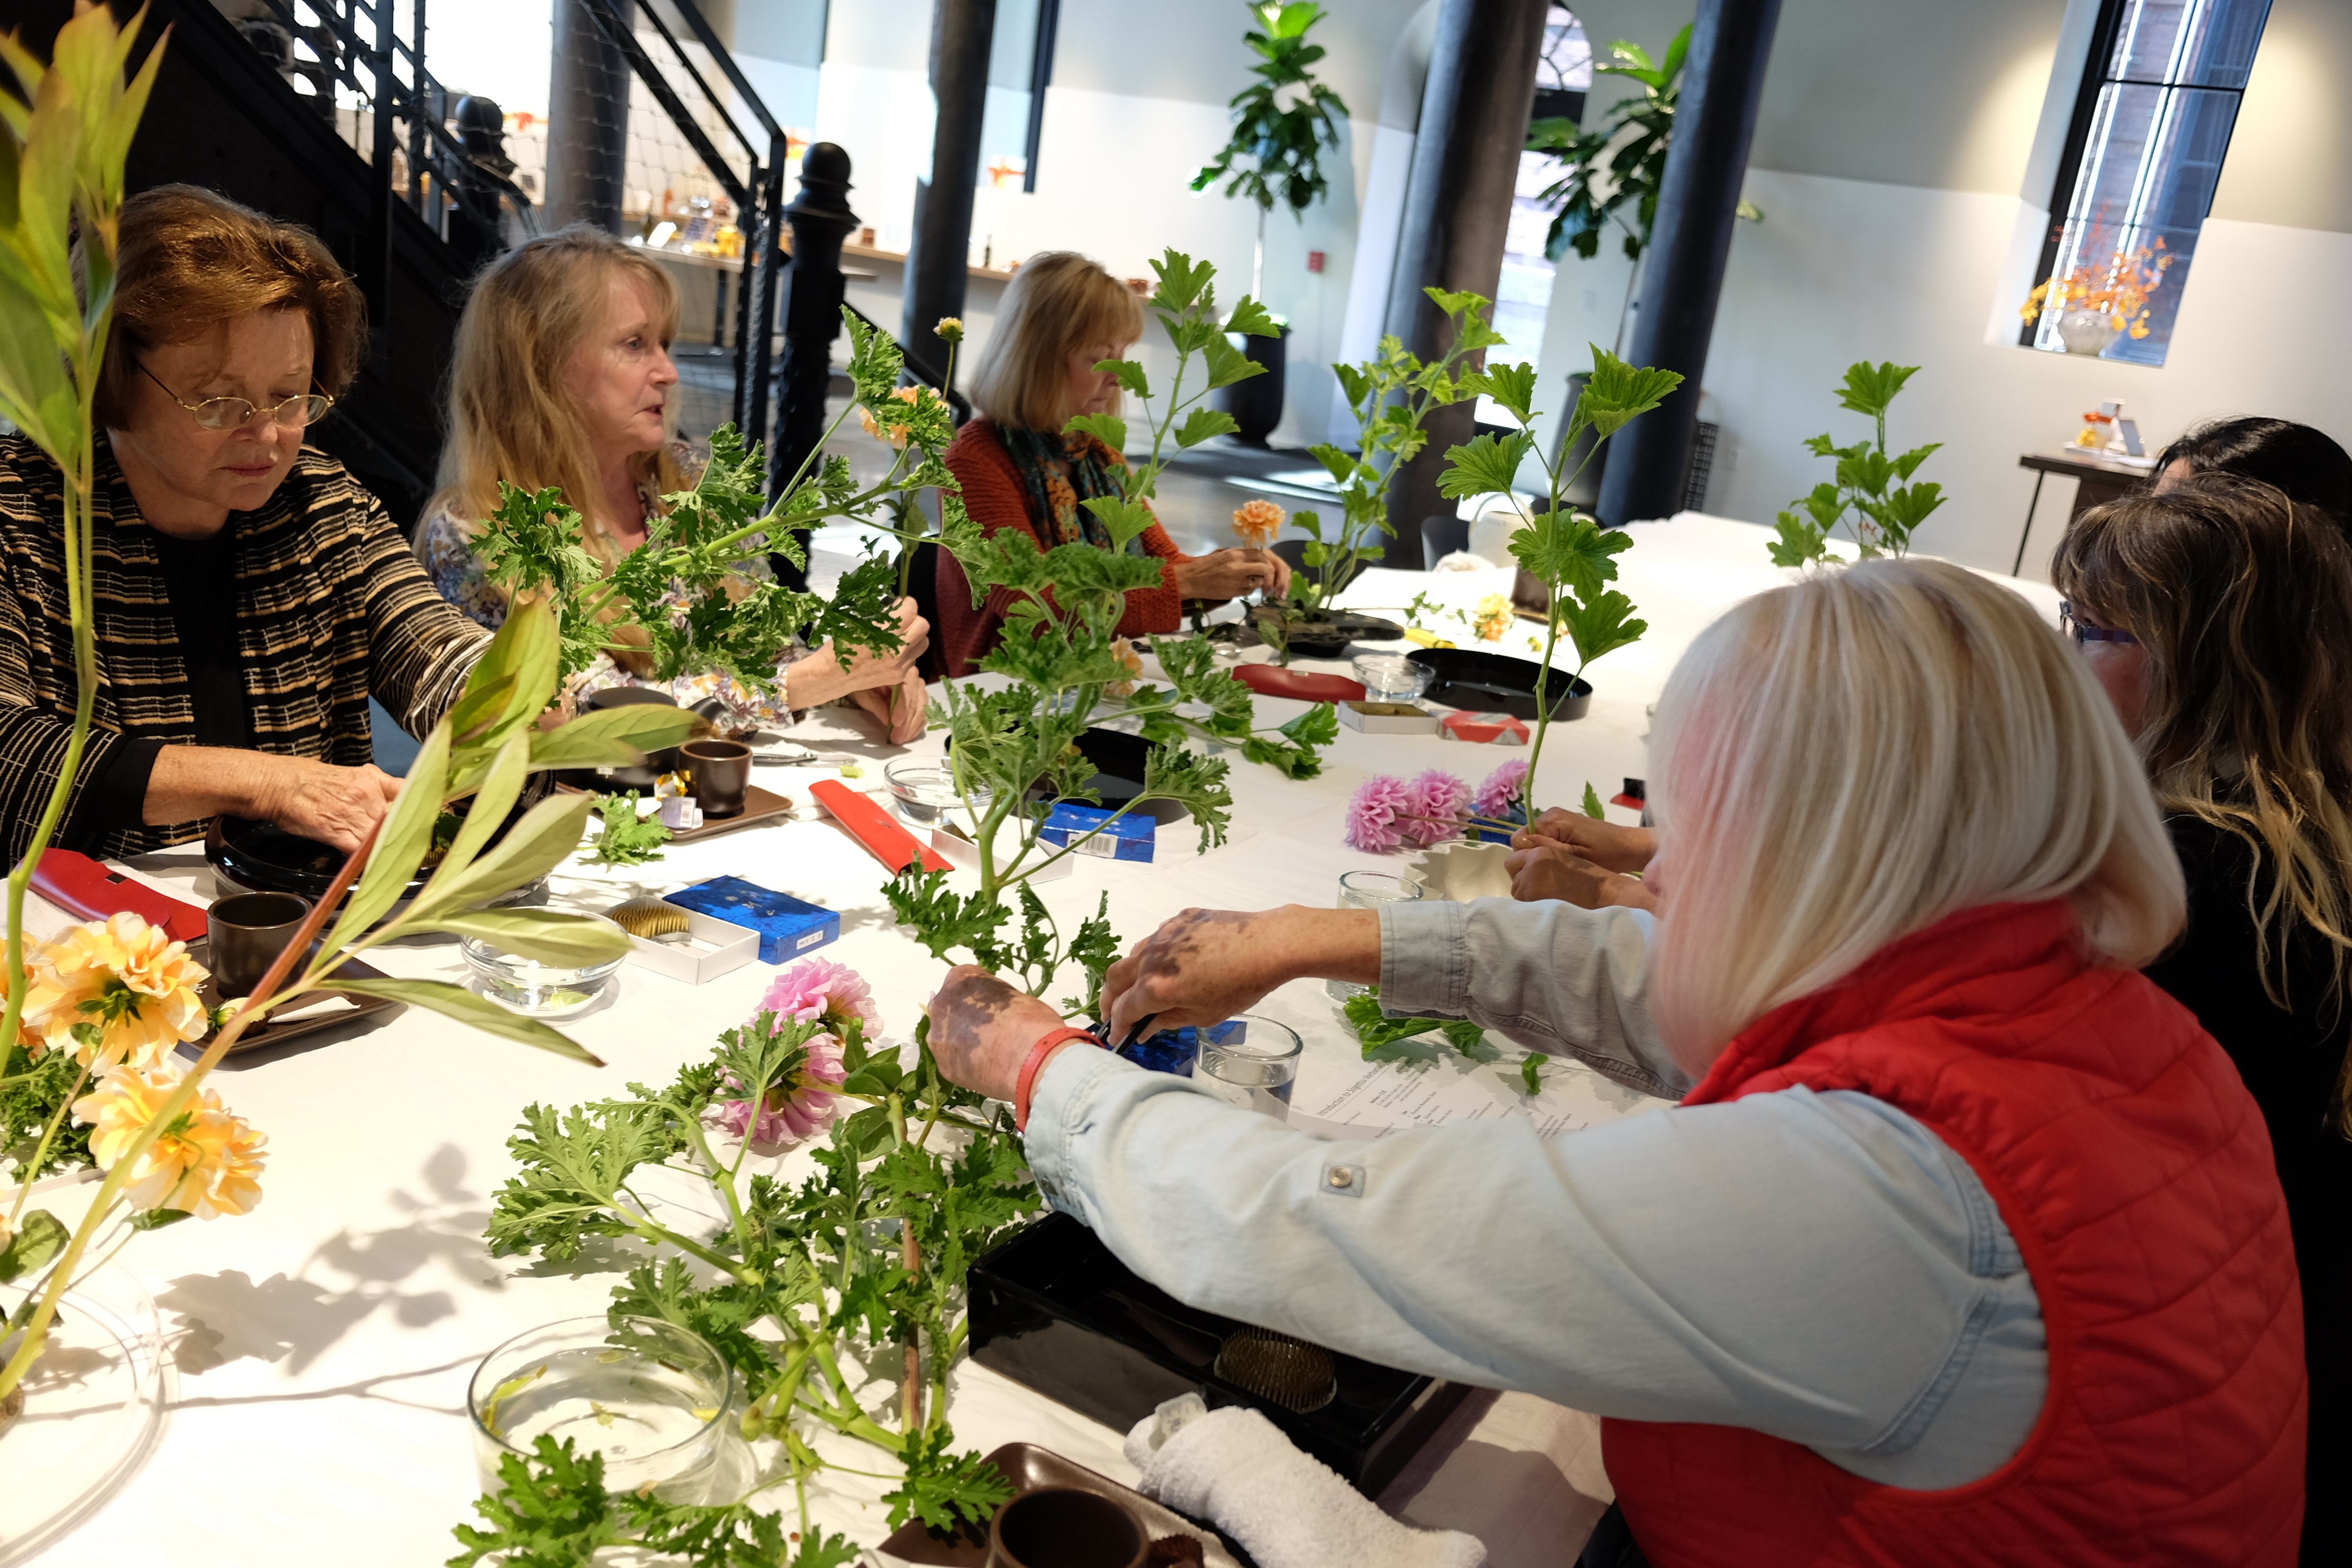


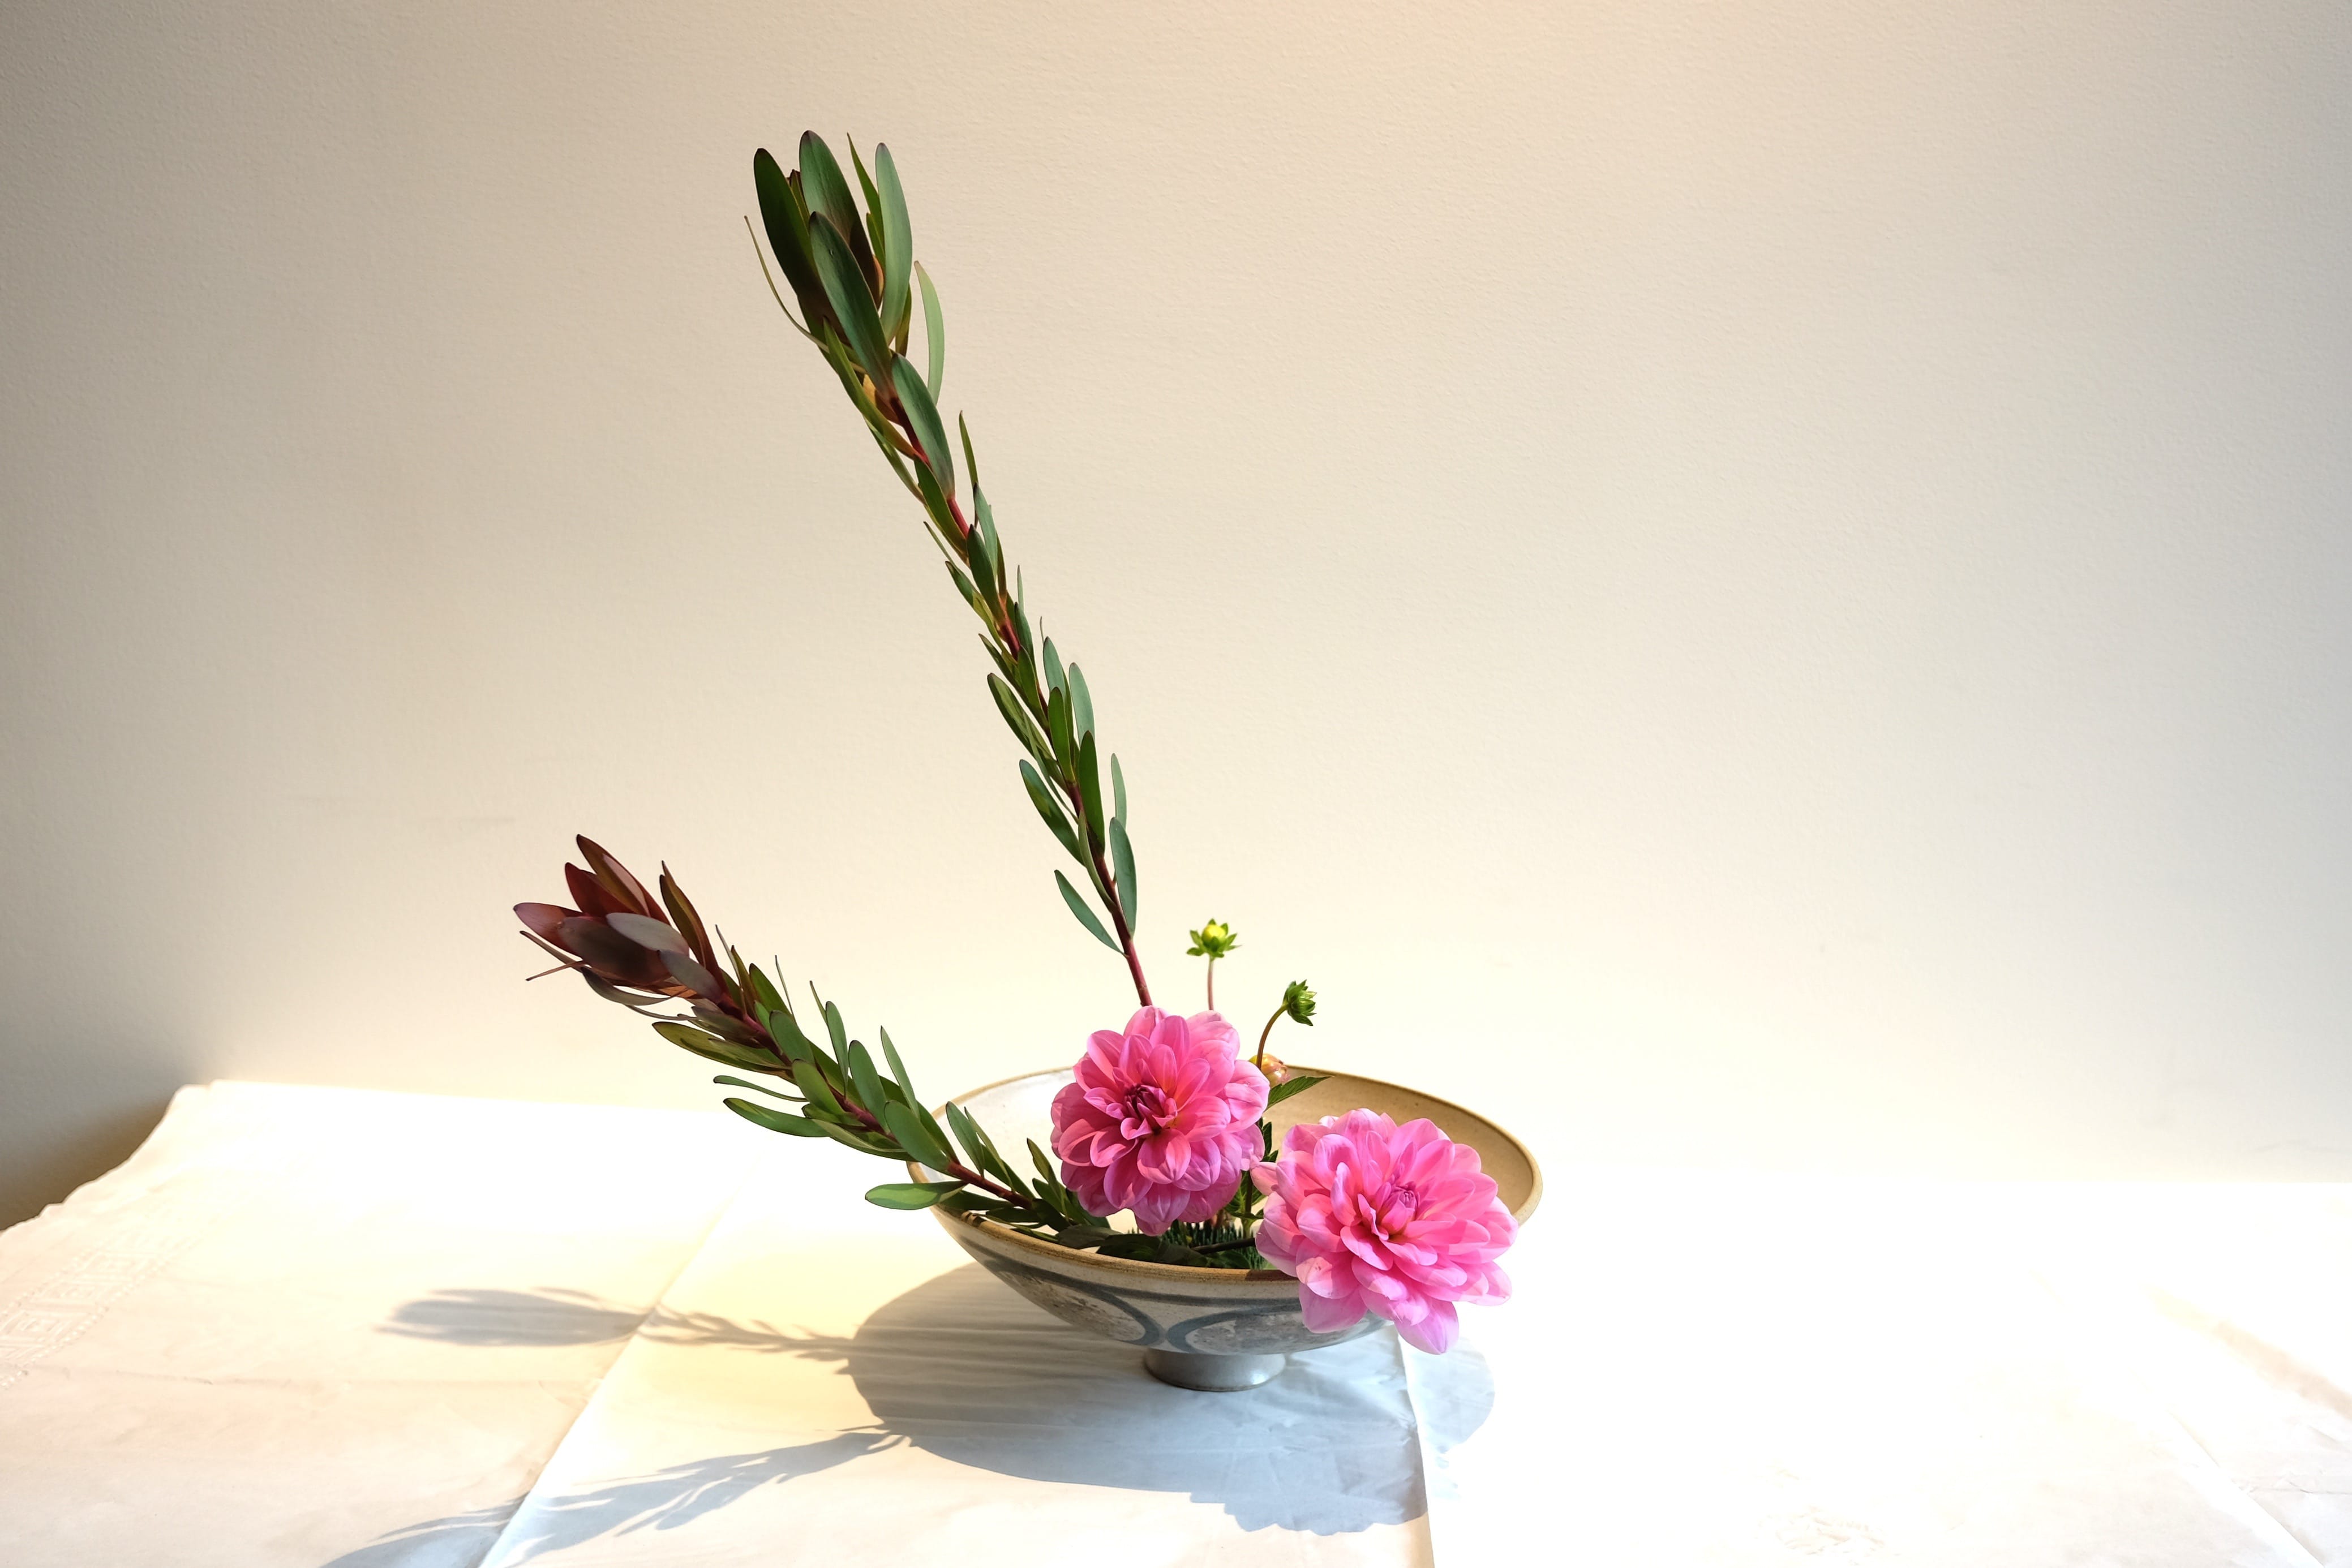
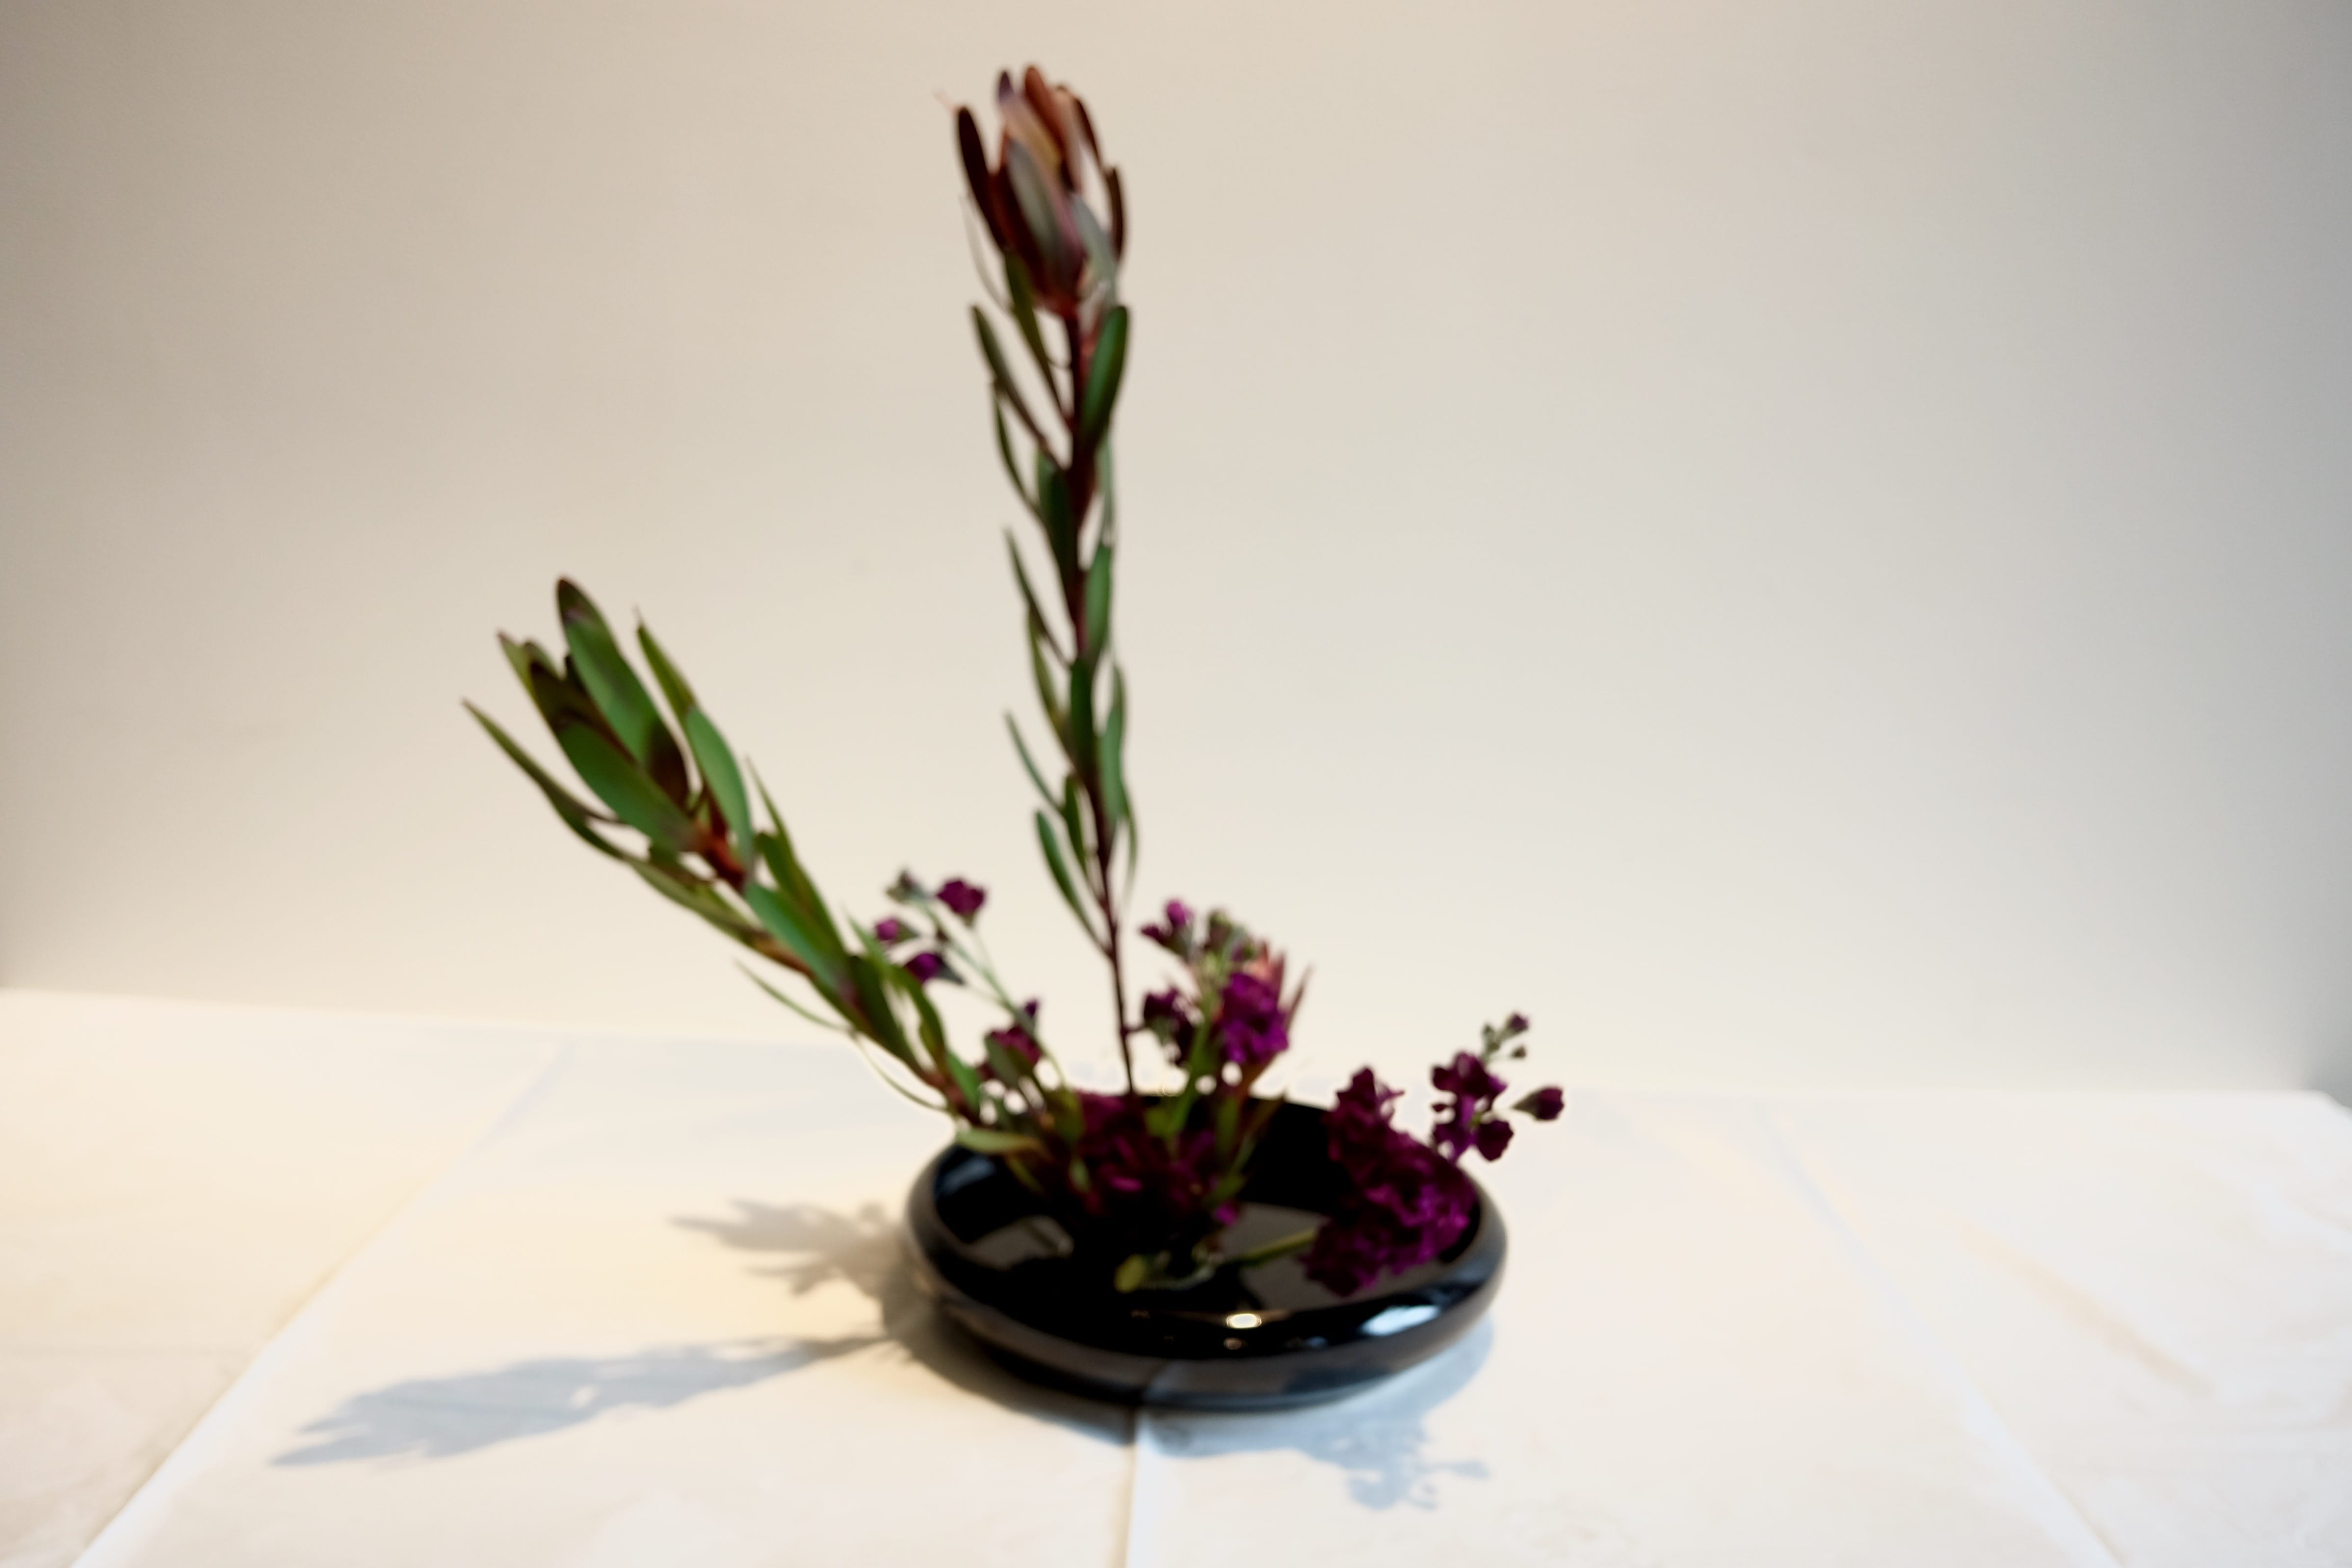
Materials: Scented Geranium, dhalia
If flowers are in full bloom in your back yard, why not bring them in the house? You don’t have to stay in the sun long time in order to appreciate them.
No problem if you have only one kind. Here is how you can decorate different places in your house with the same flowers.
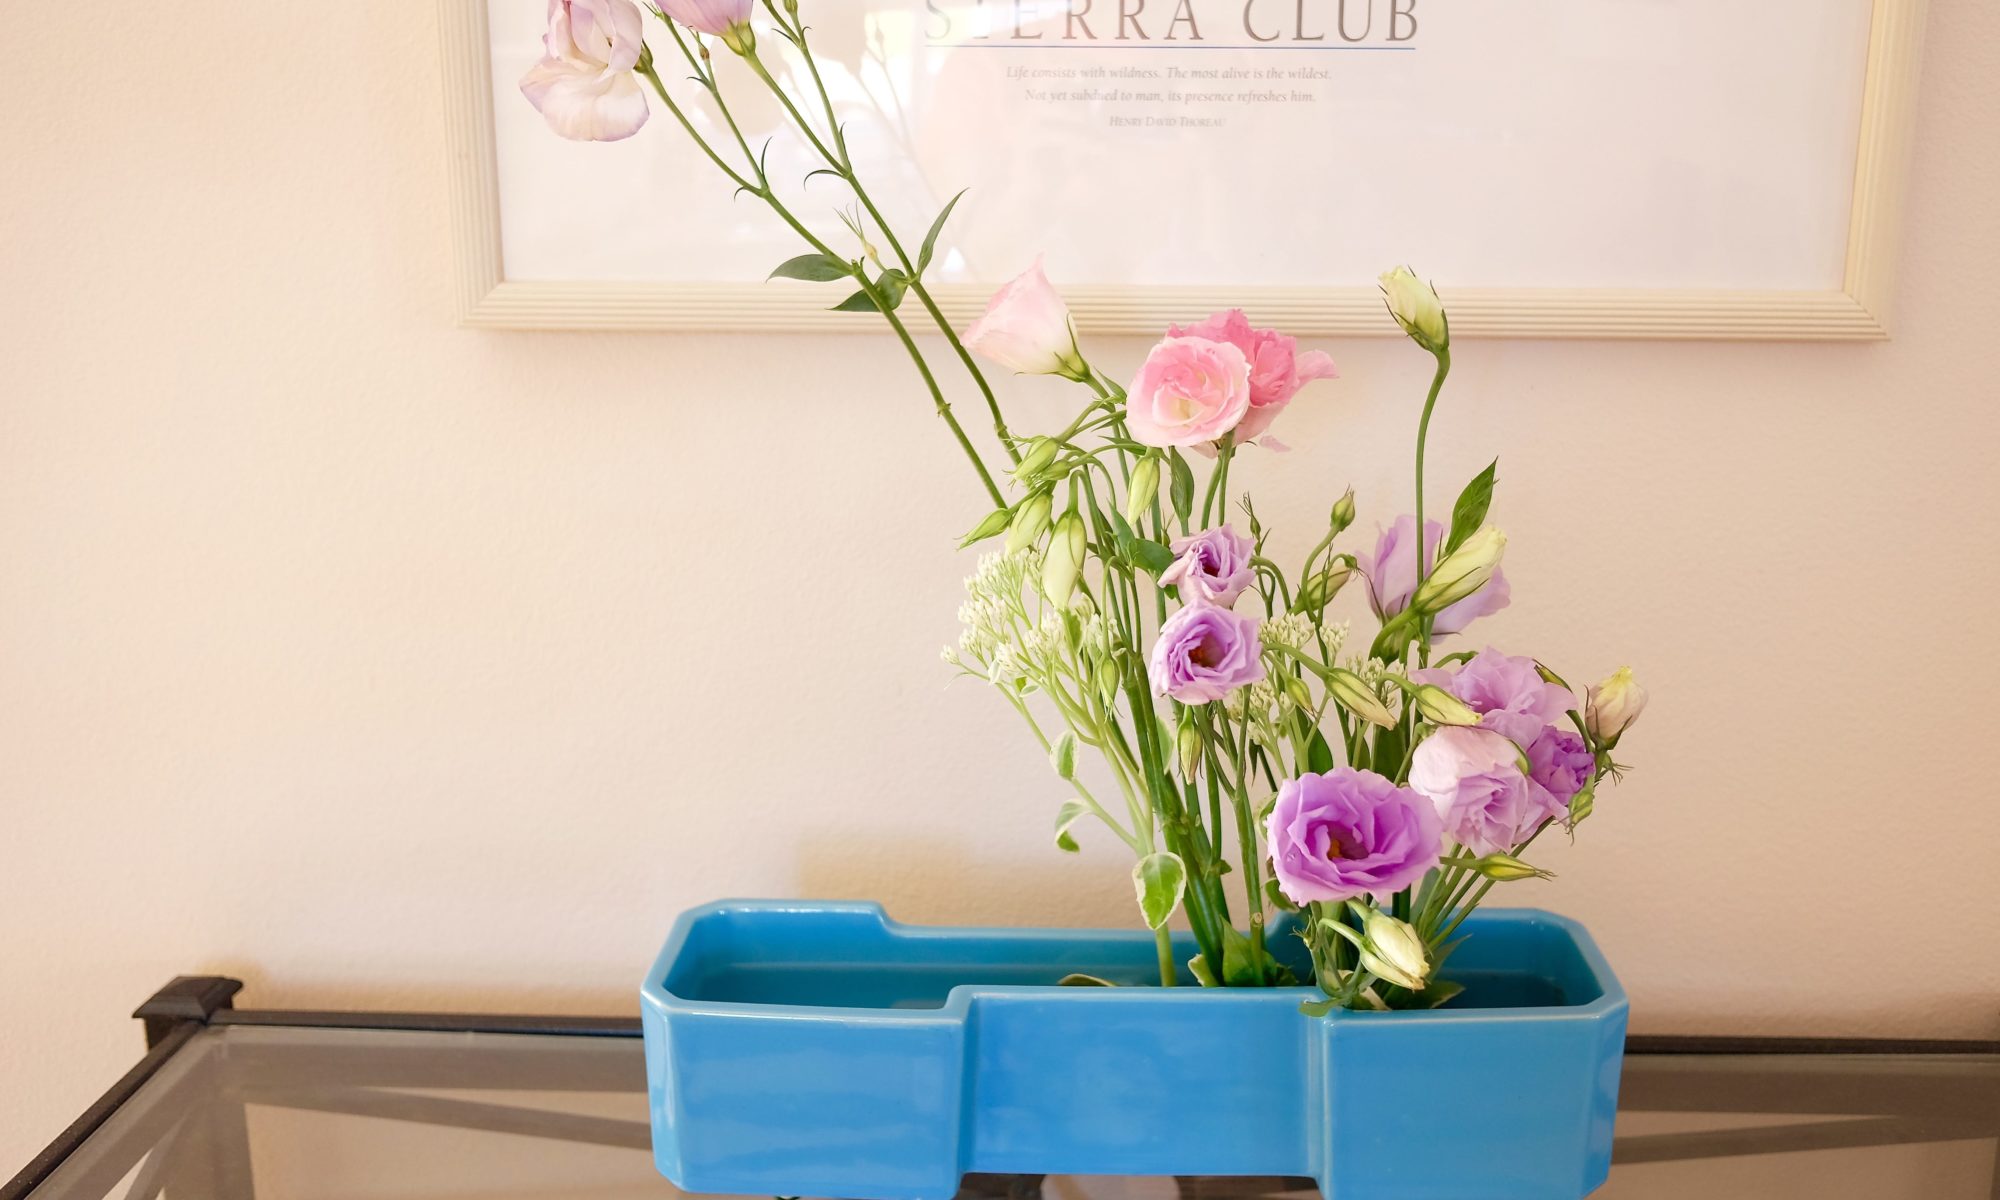
You would want to enjoy flowers in the room where you spend most of your time. May it be your living room or dining room, find a flat surface, like on the sideboard or cabinet.
Next, pick your favorite vase in the house. Chances are that the vase has never been accompanied with real flowers. With fresh flowers in companion, your vase will look different.
 With flowers

Without flowers
How many times do you visit this rather tiny room in your house? I do, quite often. Why not enjoy your beautiful flowers there?
Good news is you don’t need a lot of flowers. Place them near the mirror, like shown in the photo, then your flowers look twice as much with the reflection.

Give a warm welcome with your beautiful flowers to anybody who opens the front door. You don’t need a big space for that. Find a little opening where you can place a small vase or cup, fill it with water, and put a stem or two.
Who will find it first?

How about ending your day with a moment of calmness? Your flowers will help you relax. In the dim light in the bedroom, your flowers will look so different from the ones in the living room.
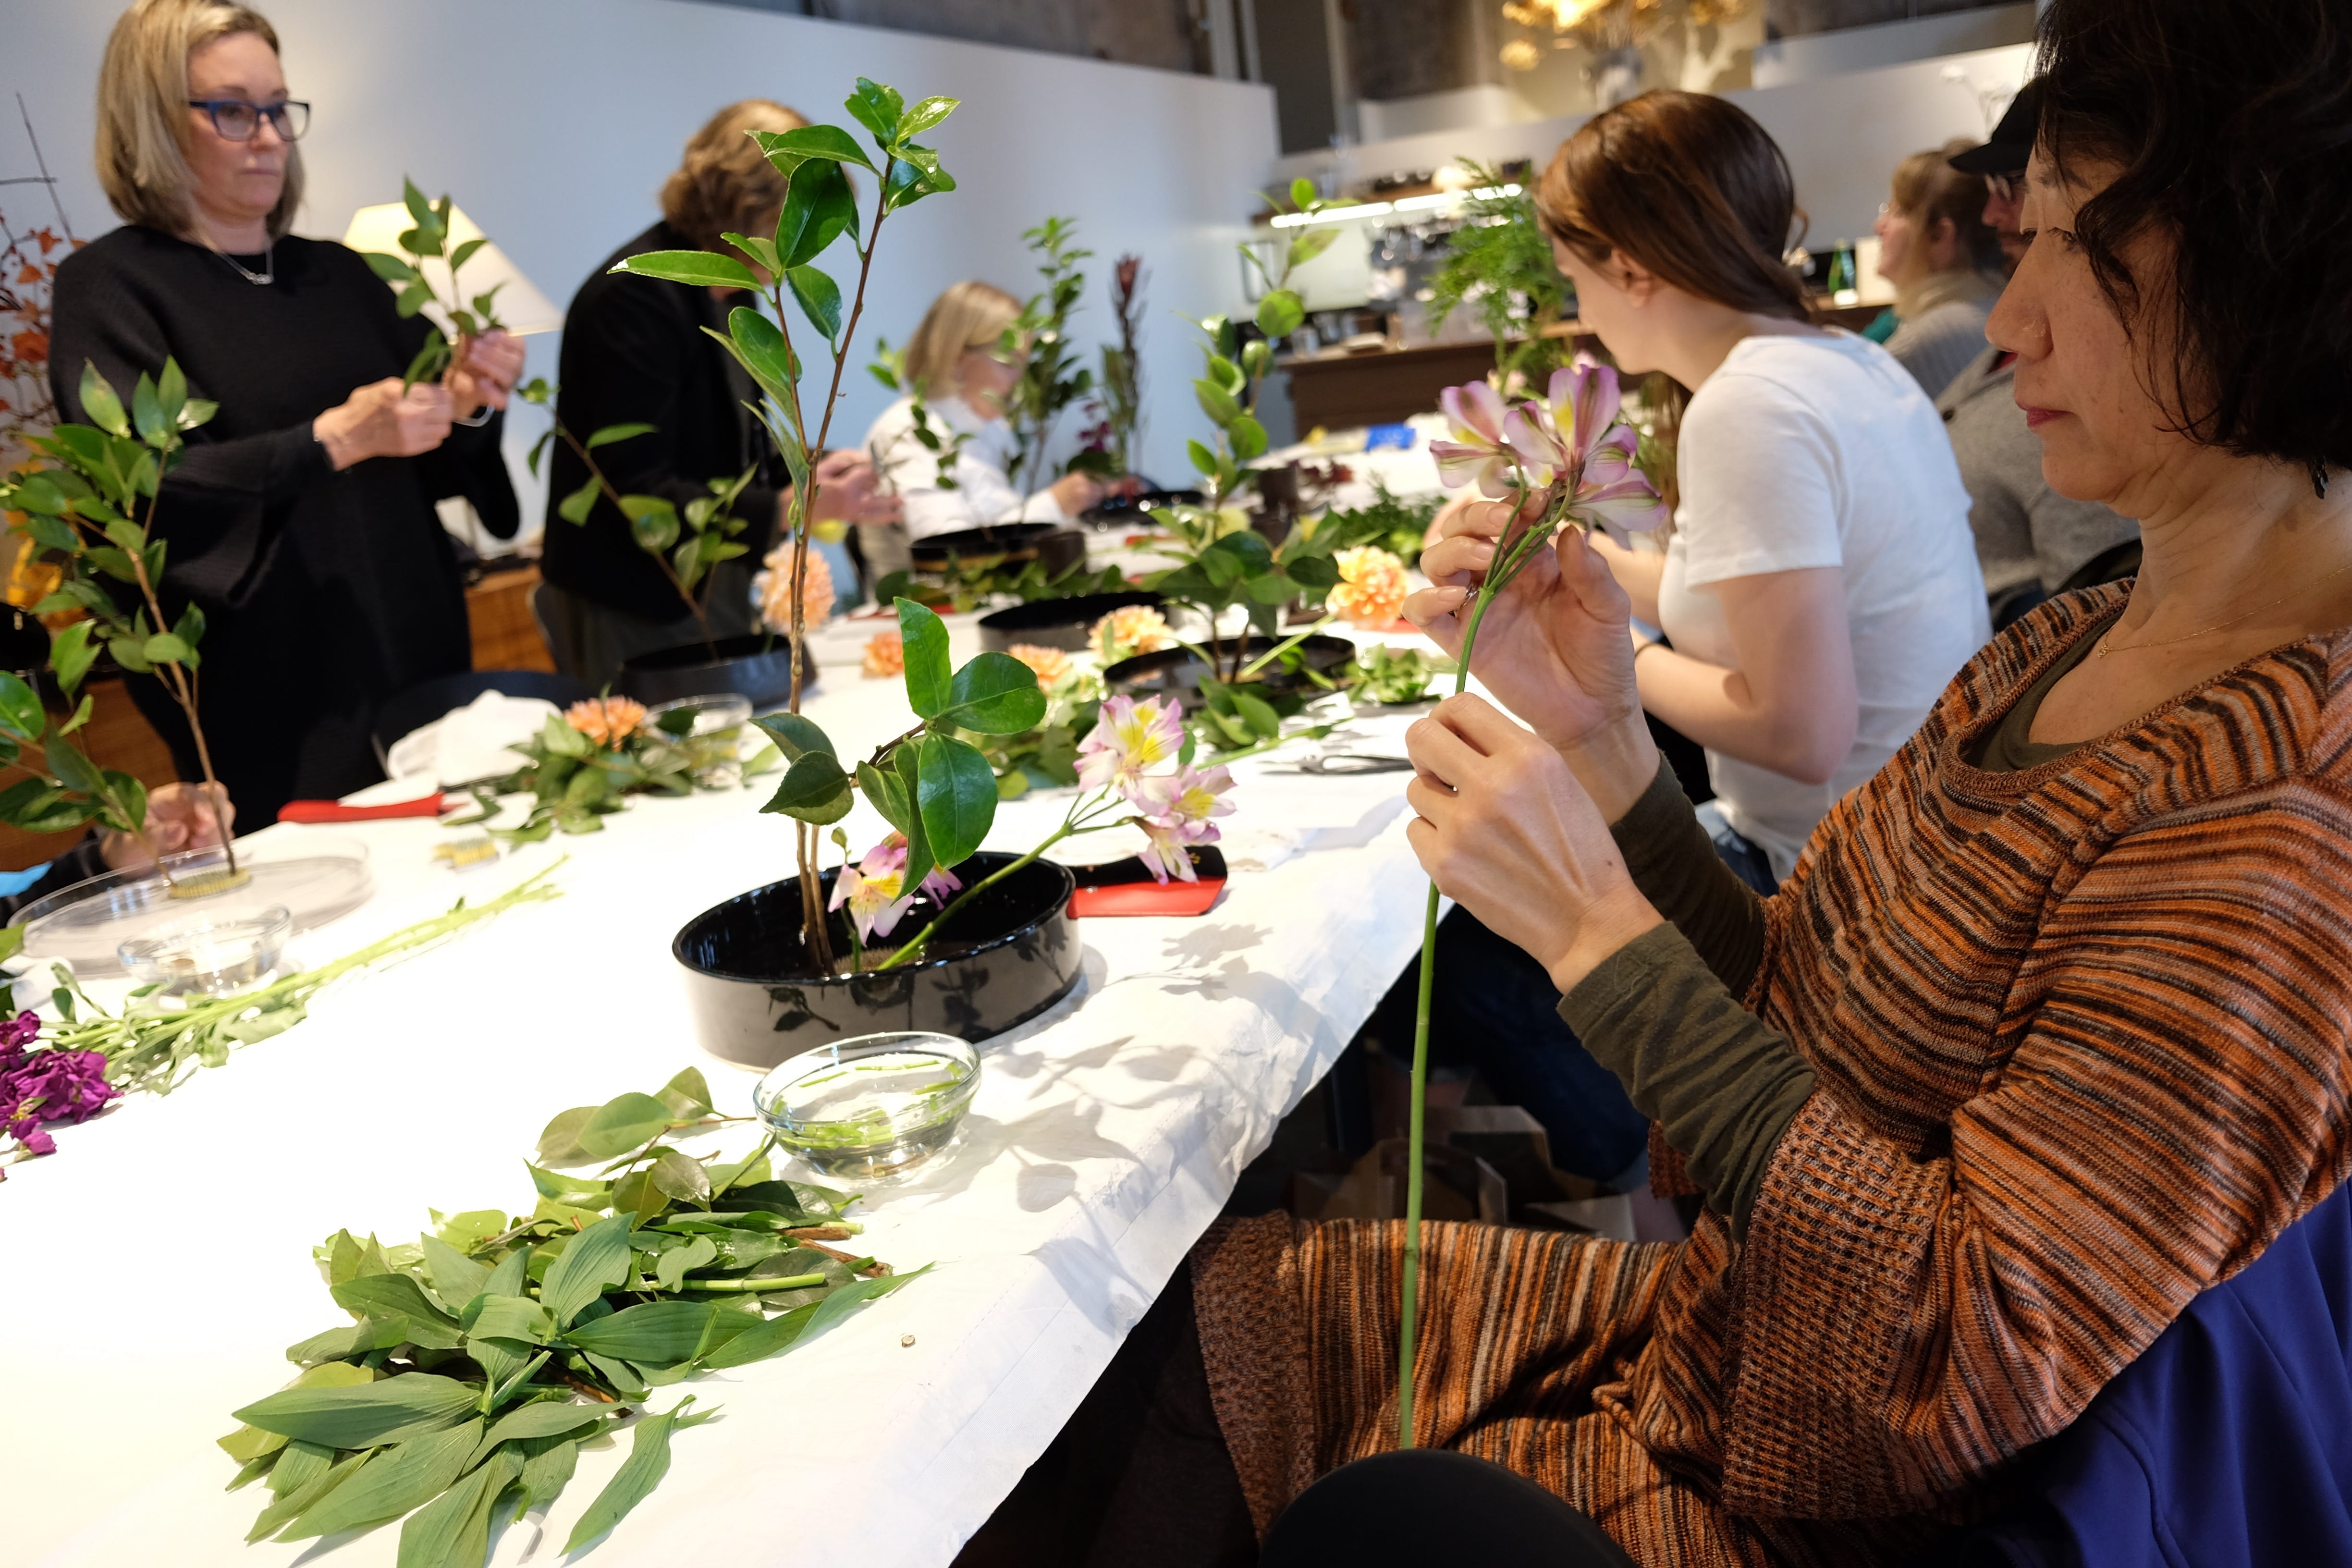
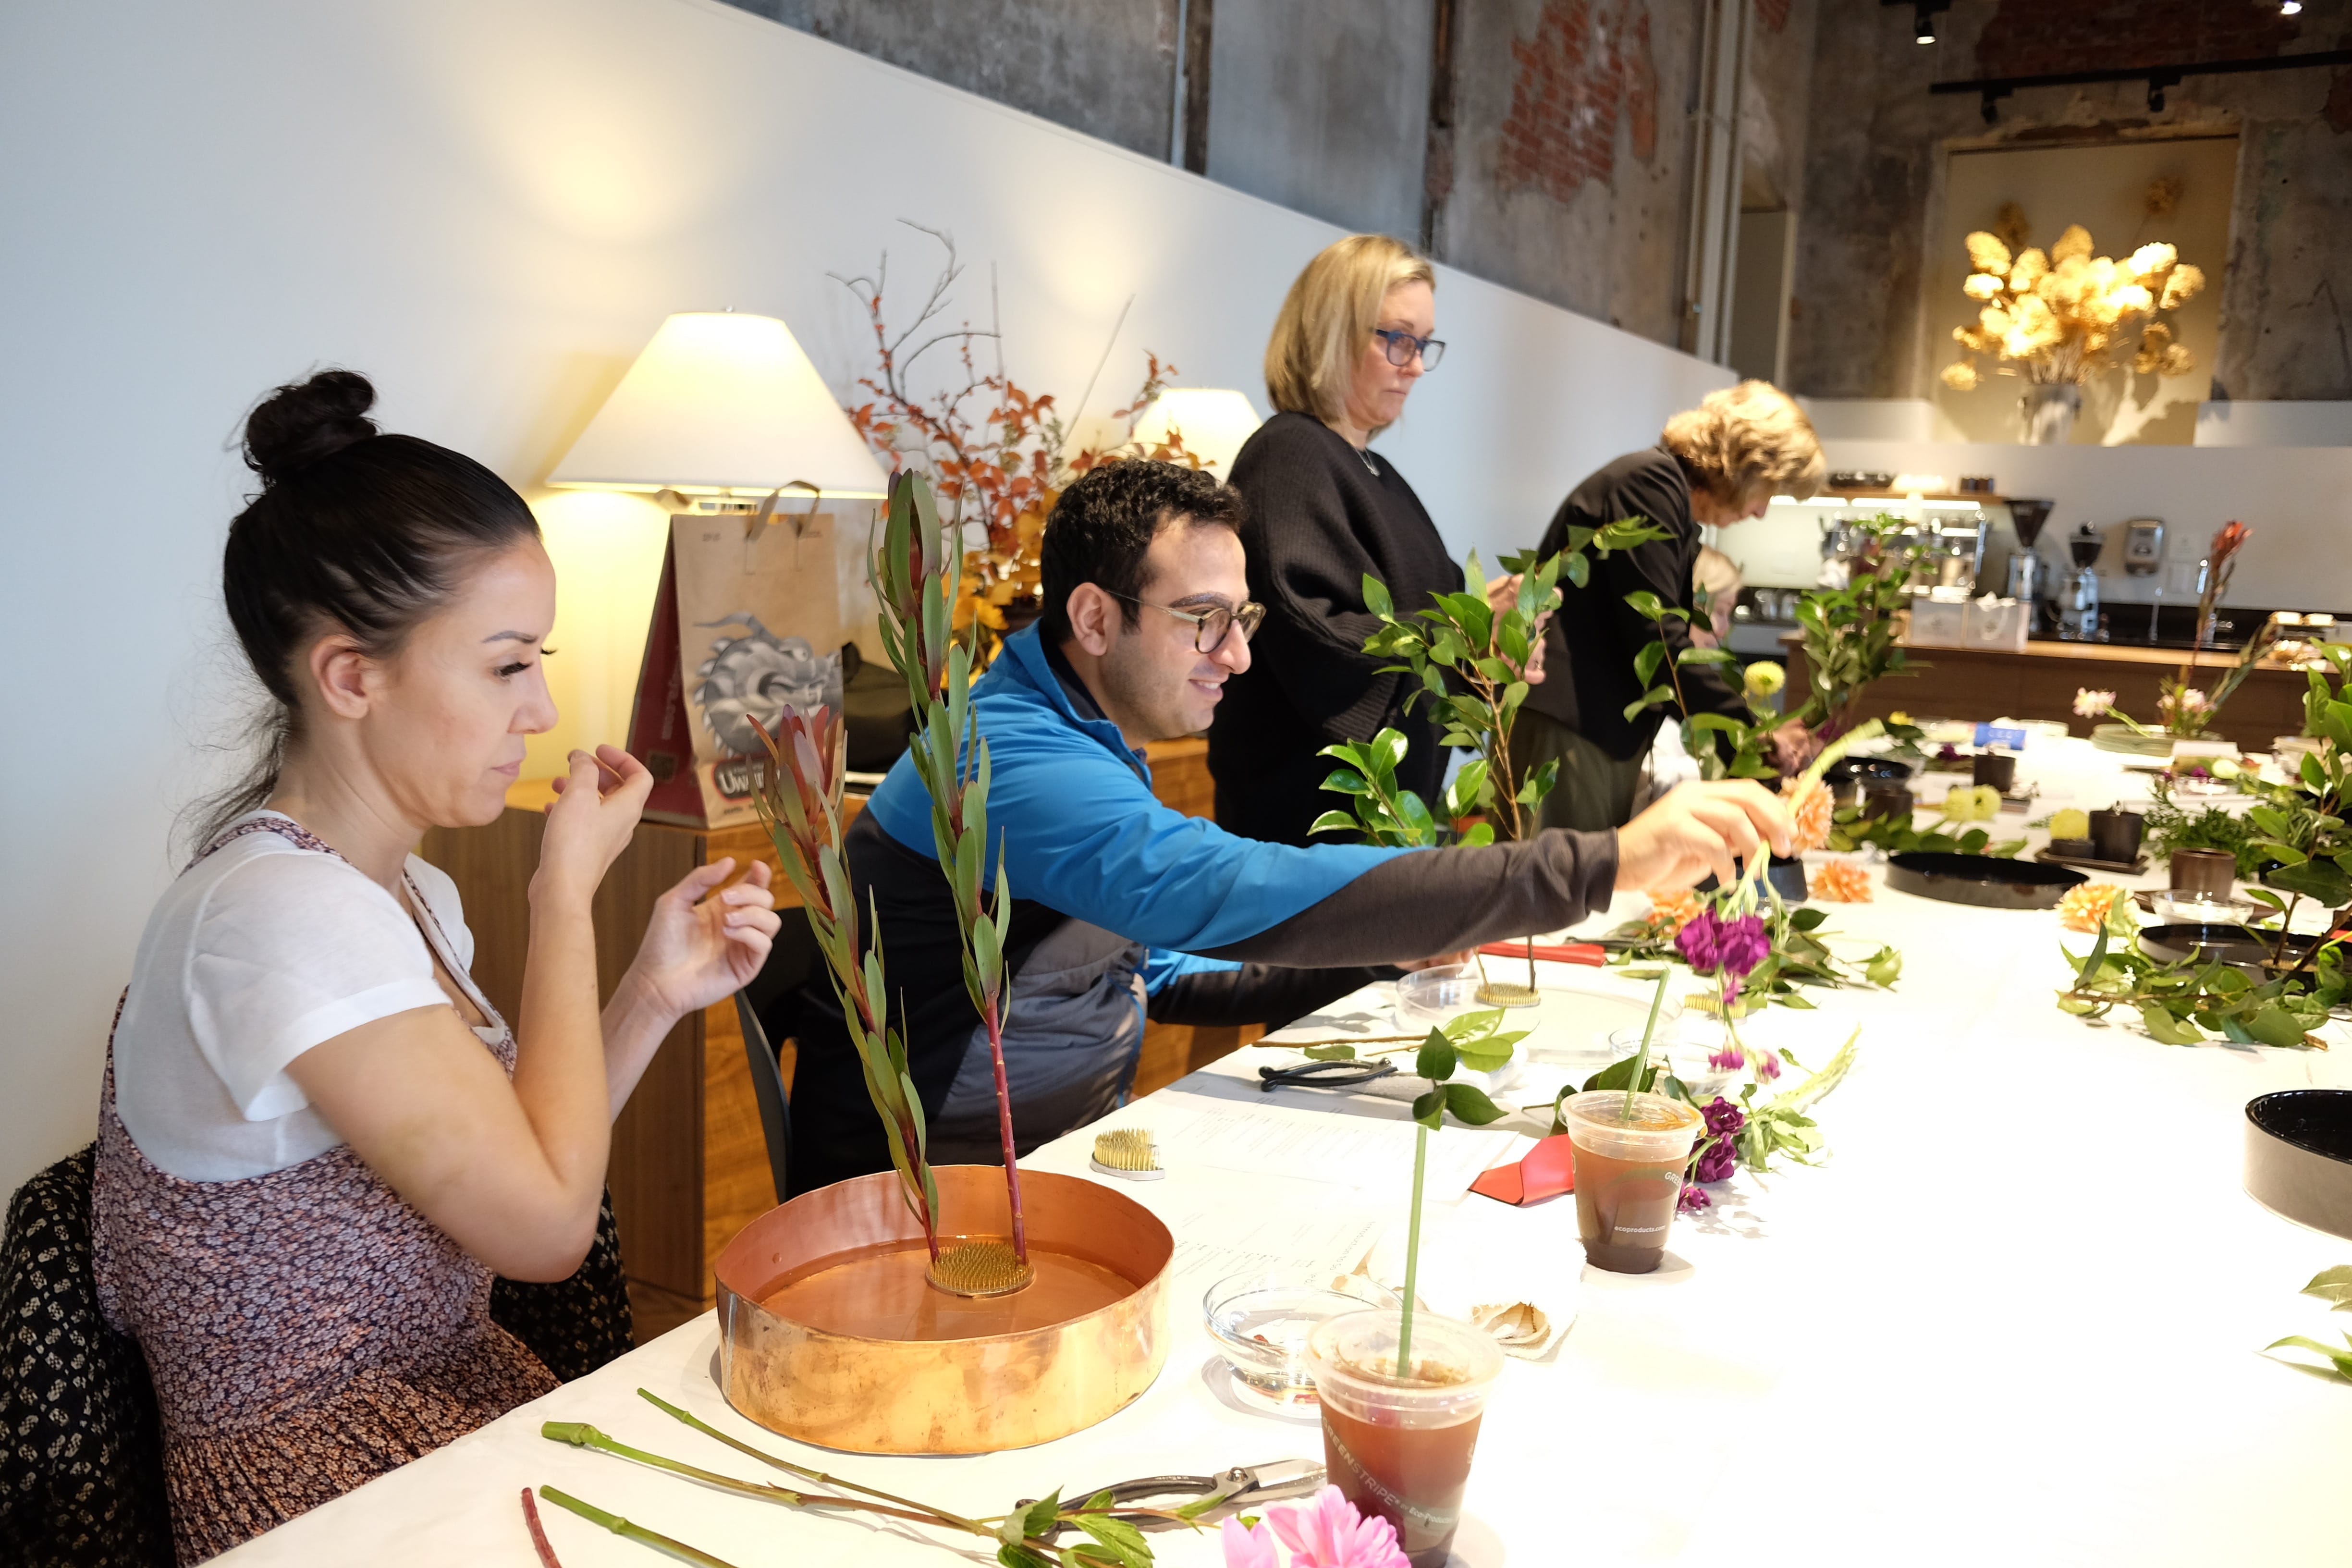
Here are the photos from today’s Ikebana class. For some of them, it is their first ever Ikebana arrangement. Great work, everyone!
Materials used today:
Hypericum, Peony foliage, Raspberry foliage, Iris foliage, Marigold (orange, yellow)
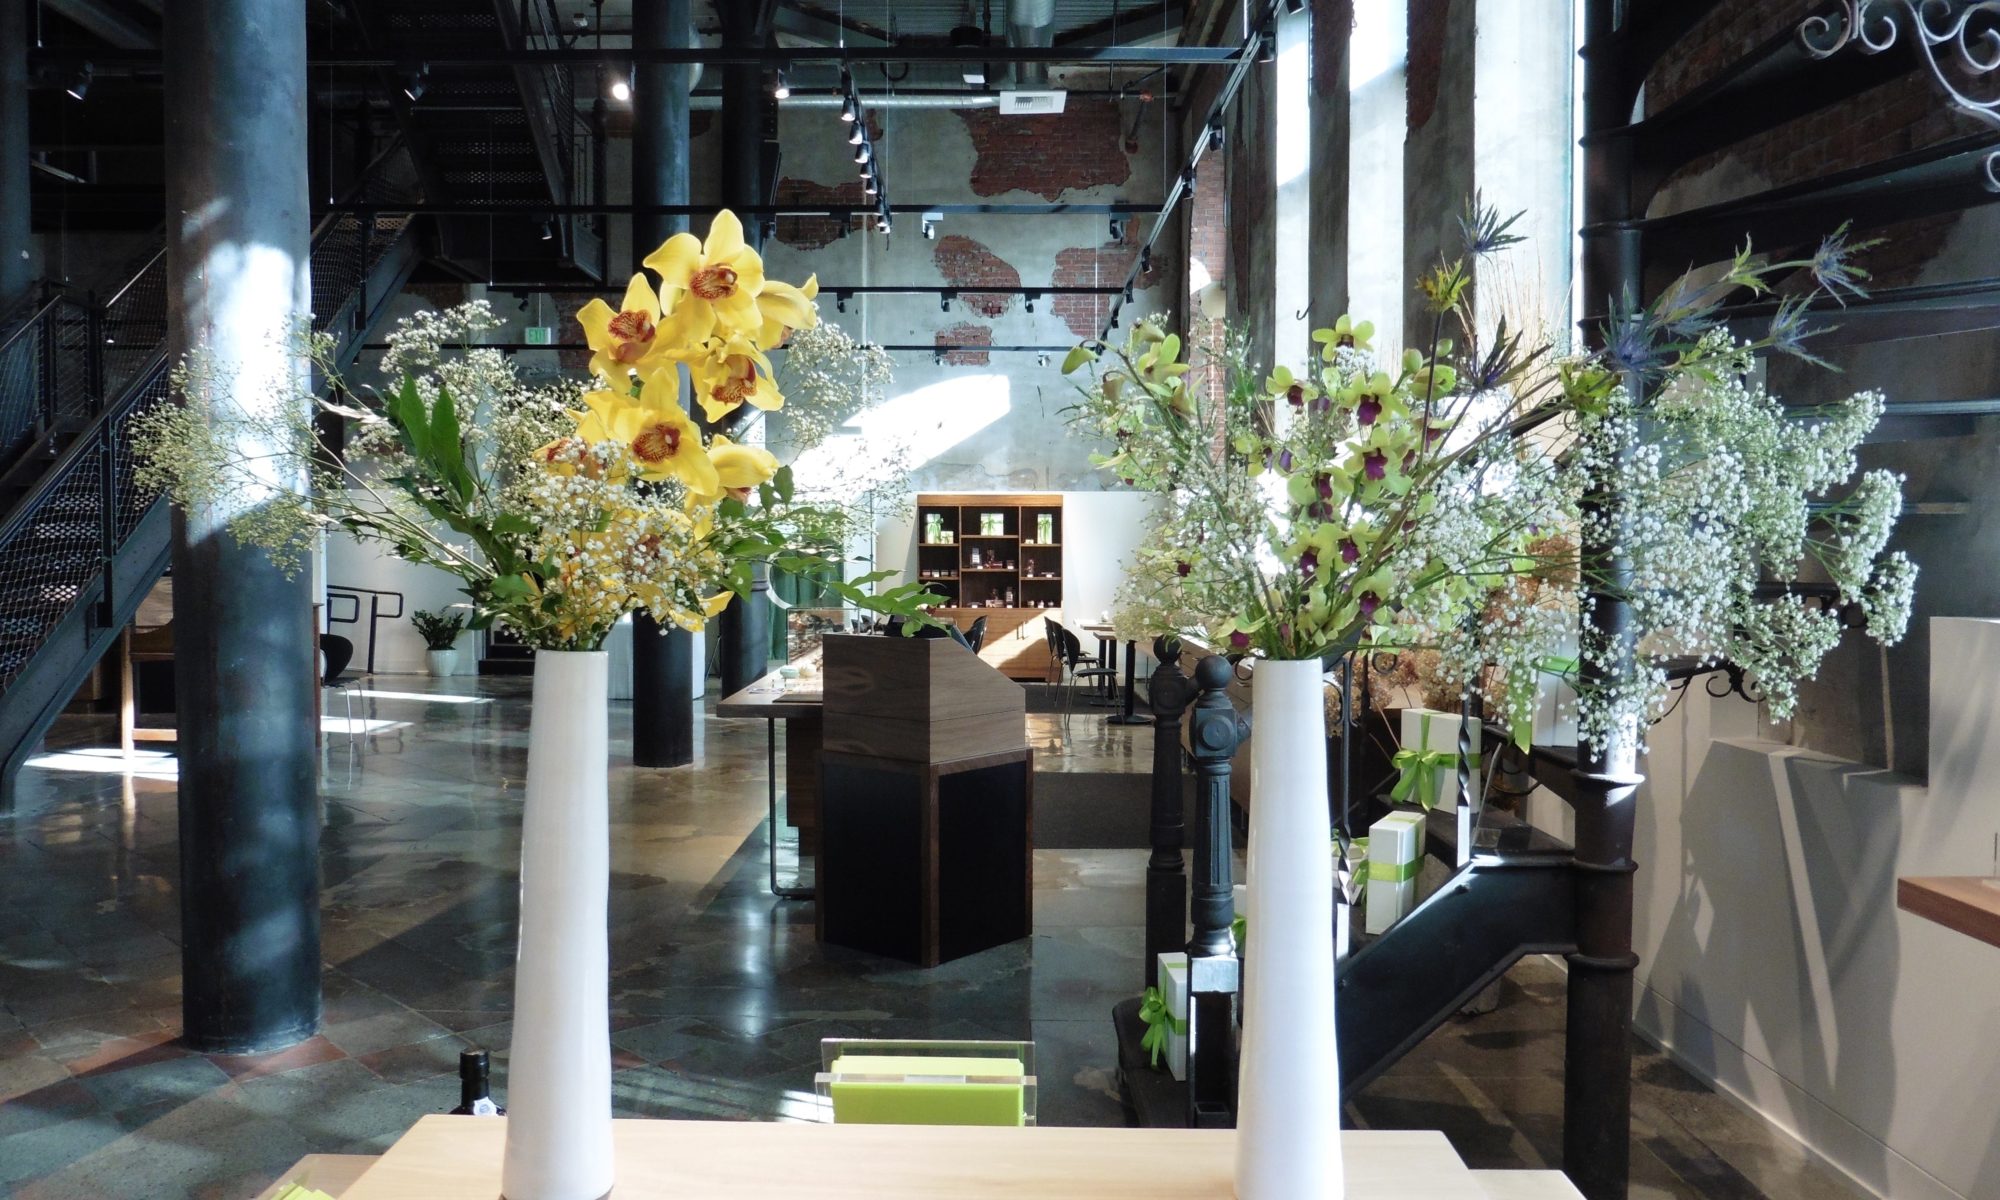
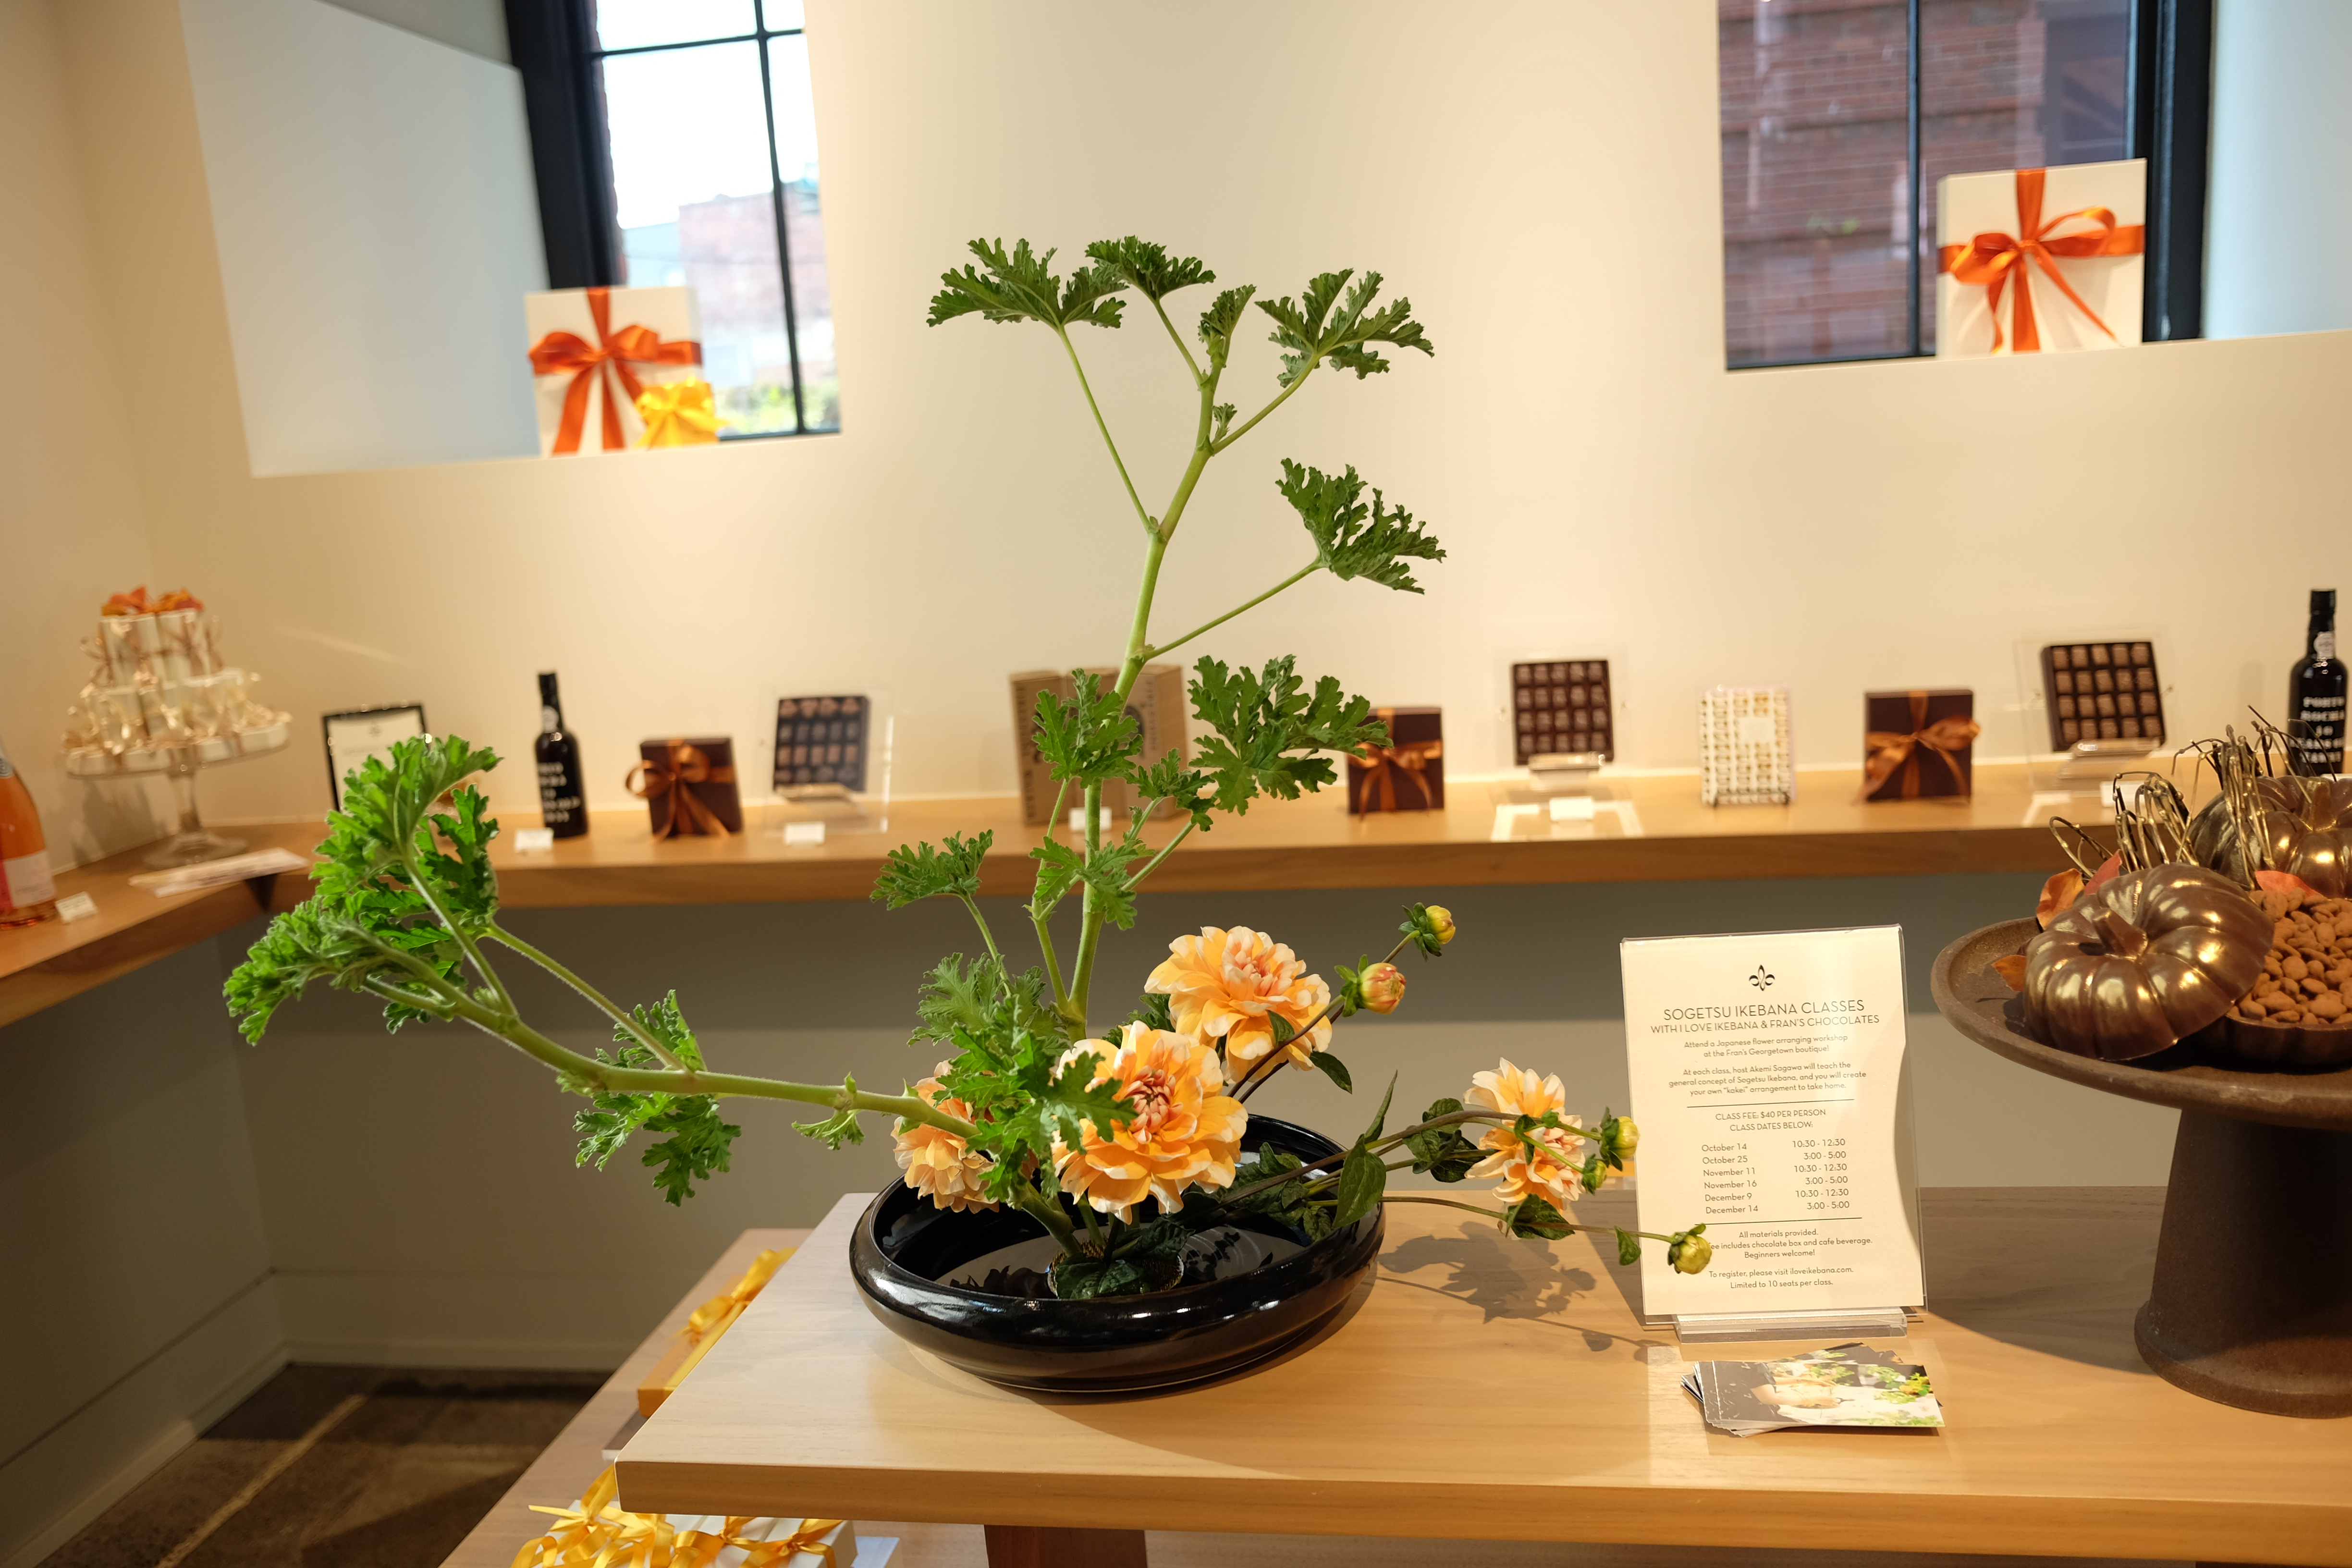
The Georgetown store of Fran’s Chocolates is housed in an old brick and mortar building which used to be a brewery. Anybody who visits the space falls in love with its serene and tranquil atmosphere.
I’m so thankful that Fran’s hosts my Ikebana class in this beautiful space twice a month. I would like to express my gratitude here.
I was intrigued when I saw at first the Japanese Chabako Box at Fran’s downtown store. Chocolates in a Paulownia tree box wrapped in Washi paper?
Being a Japanese, I’m familiar with Paulownia tree box and Washi paper. Never have occurred to me, though, to store chocolates in it!
Three years ago, a group of us were looking for a venue to host a small trunk show, named Senses from Japan. Preferably near Kyoto Art and Antiques, to coincide our show with their warehouse sale. What about Seattle Design Center? Or Nagomi Tea House at Uwajimaya?
After the meeting, we walked into Fran’s Georgetown store which was newly opened. And we all said, “Wow! This is the perfect place!” But how should we approach Fran’s? Over coffee and hot chocolate, we started our discussion again.
Guess who came down the stairs right then…. Fran, the owner! I rushed and introduced myself to her. “As your Japanese Chabako Box represents,…” I asked her if I can propose an event about Japan’s traditional crafts. Fran, although had never met me before, gave me her business card!
The trunk show in the fall of 2015, became not the only but the first Senses from Japan event at Fran’s. A year later, we held it again with a tea ceremony demonstration. Then at the third Senses from Japan event this April, we added Ikebana demonstrations.
“I would love to learn Ikebana, but too bad that there is no class nearby.” When I overheard somebody say that, I took that word as an order. It was time for me to start teaching Ikebana again. No more procrastination.
It is such an honor and joy for me to hold Ikebana classes there. Thank you, Fran, and everybody at Fran’s Chocolates who supports my class.
If you are interested in Ikebana, come join us at Fran’s Chocolates in Georgetown. Please visit iloveikebana.com/schedule to check out the next class. I hope to see you there soon!


