How to Make a Memorable Holiday Ikebana

As soon as Thanksgiving is over, the show windows in town turn to the holiday colors: green and red.

As I mentioned in the previous article, high contrast of vivid green and red brighten up our long nights.

Poinsettia is no doubt the most popular plant for this holiday season.  But why not using other plants? What about anthurium?

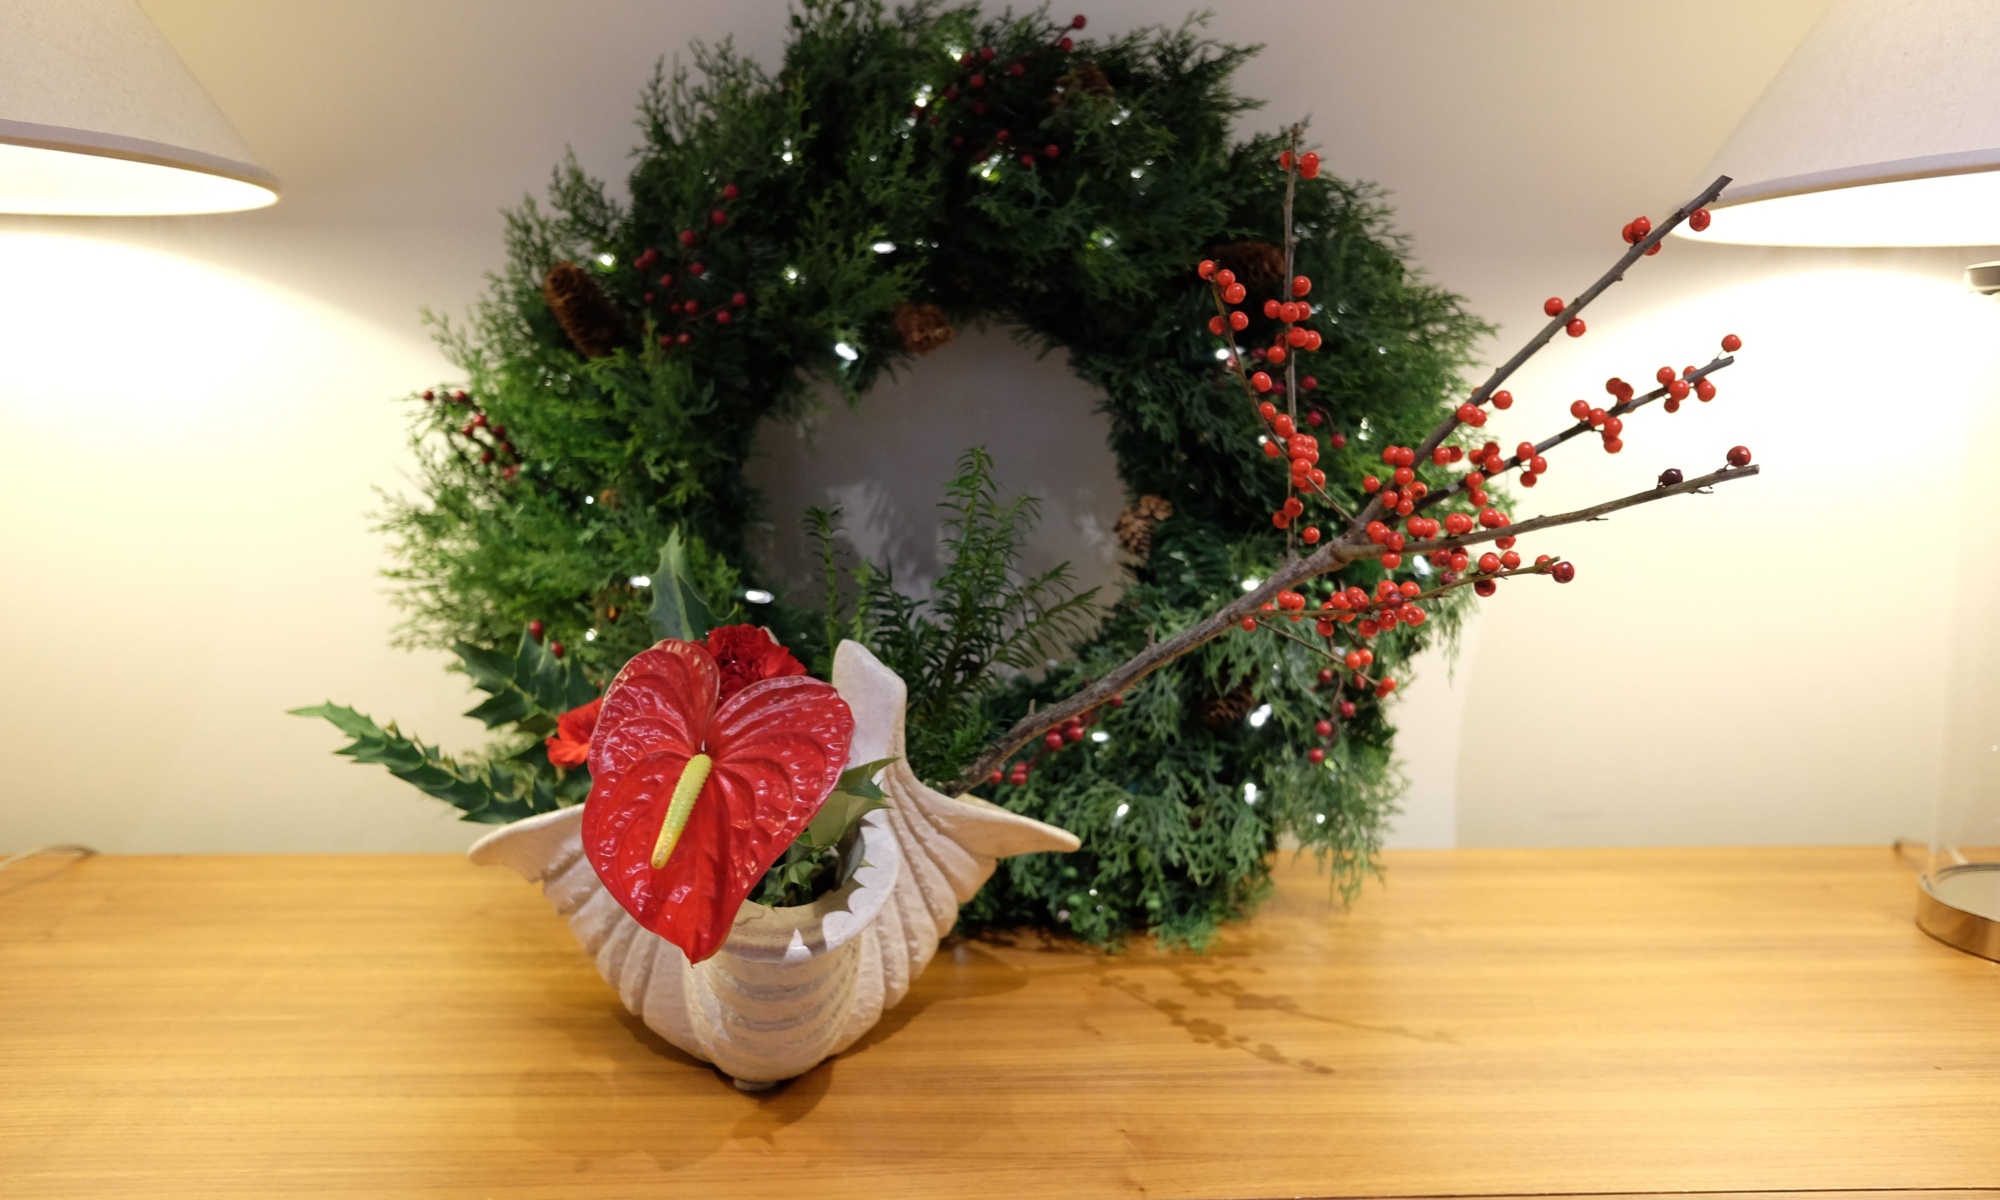
This year I chose anthurium to be the main element of the holiday Ikebana.  In contrast, I placed holy leaves and yew branches. The white container should help emphasize the high contrast of red and green.

How does your holiday Ikebana look like?

How to Arrange Flowers on a Dining Table

As the Sogetsu School’s motto says, ikebana is for anytime, anywhere and by anyone. You don’t need a special alcove to display ikebana arrangement.  Rather, you would like to enjoy beautiful arrangements near you in your daily life.

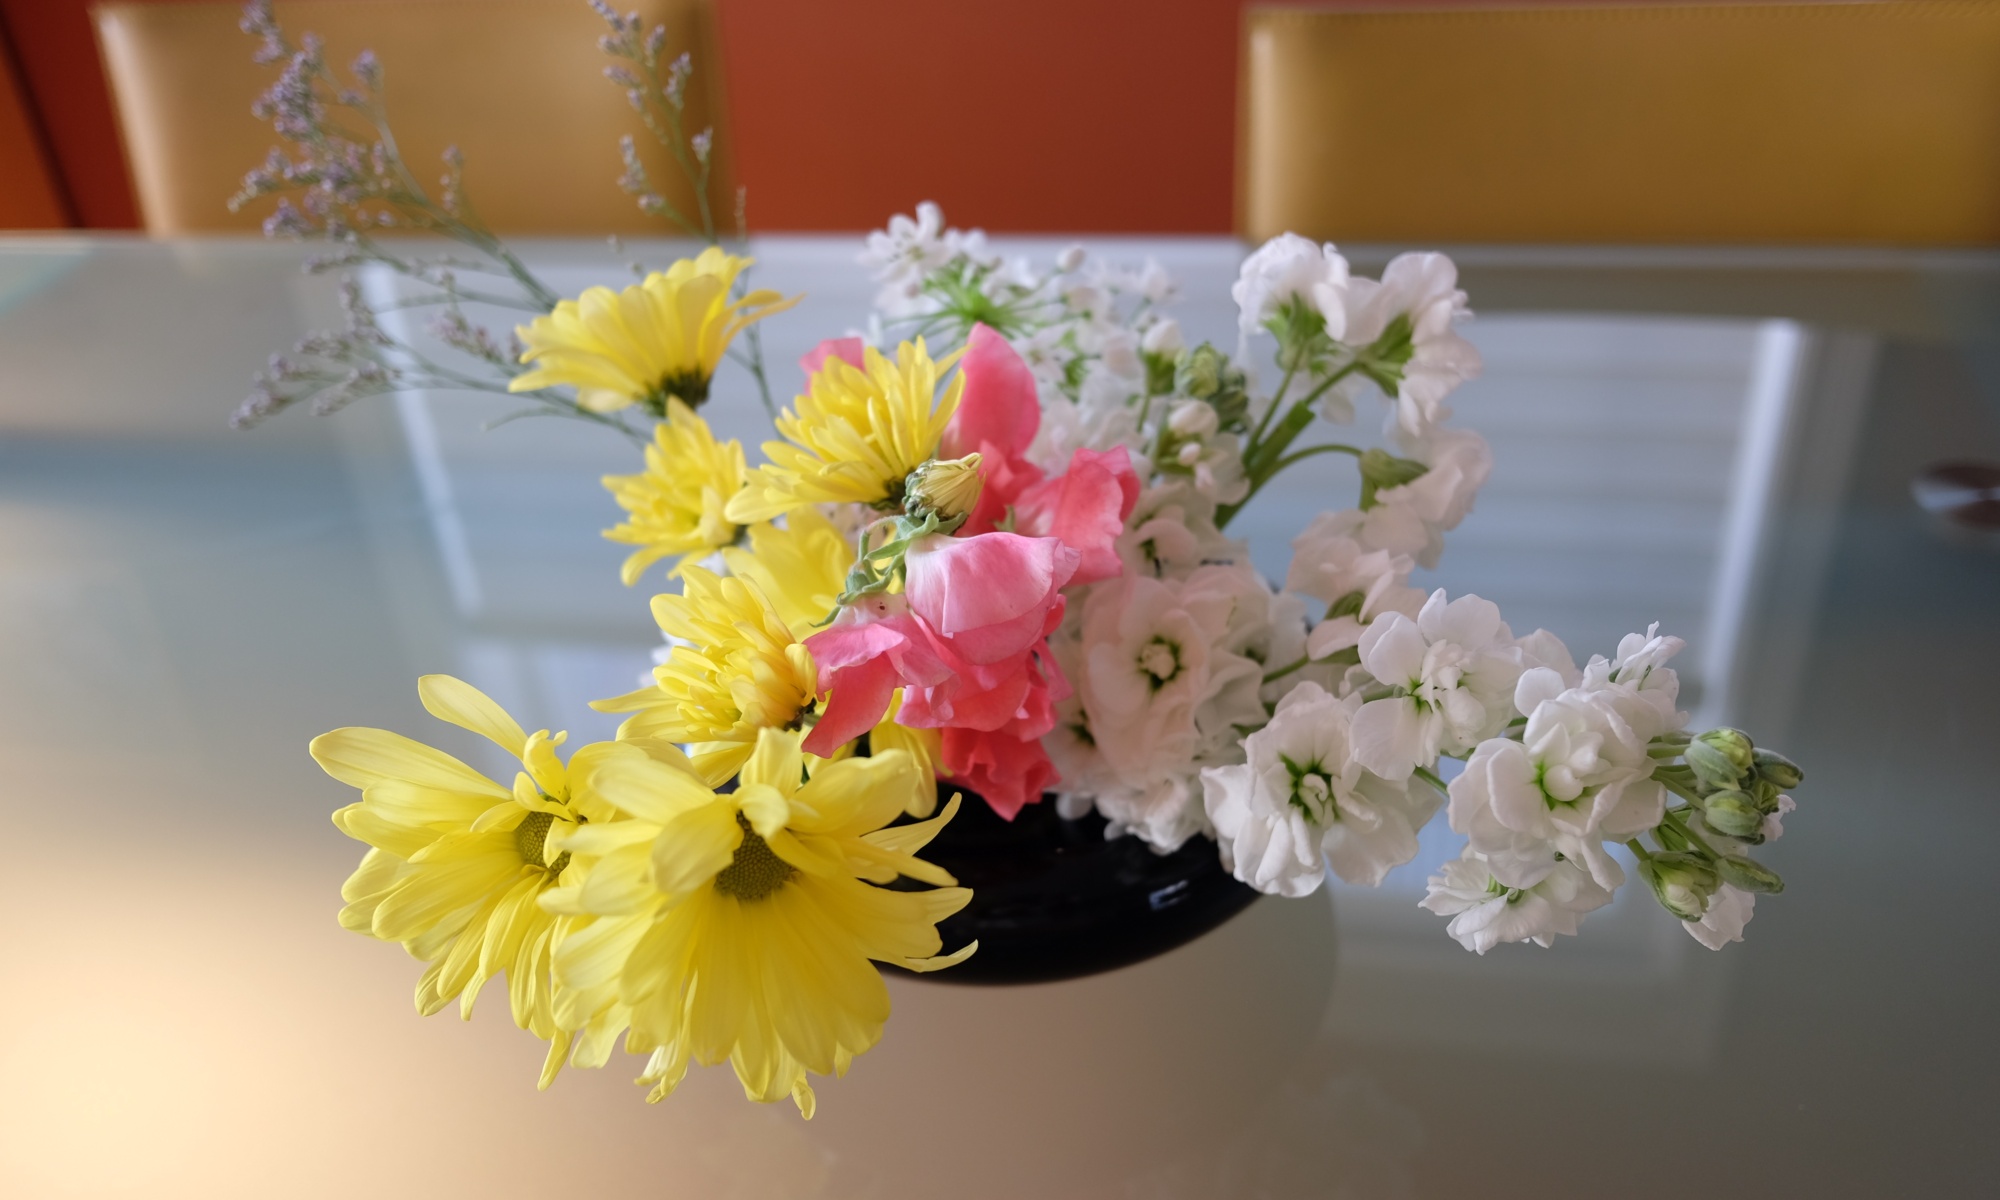
How much time do you spend sitting at the dining table? I guess, not only when you have meals, but maybe when you read newspapers, or you even work there. Why not accompany with you a little piece of beautiful flowers on the table?

Here are a couple of things you might want to keep in mind when you arrange flowers as a table centerpiece.

Height:

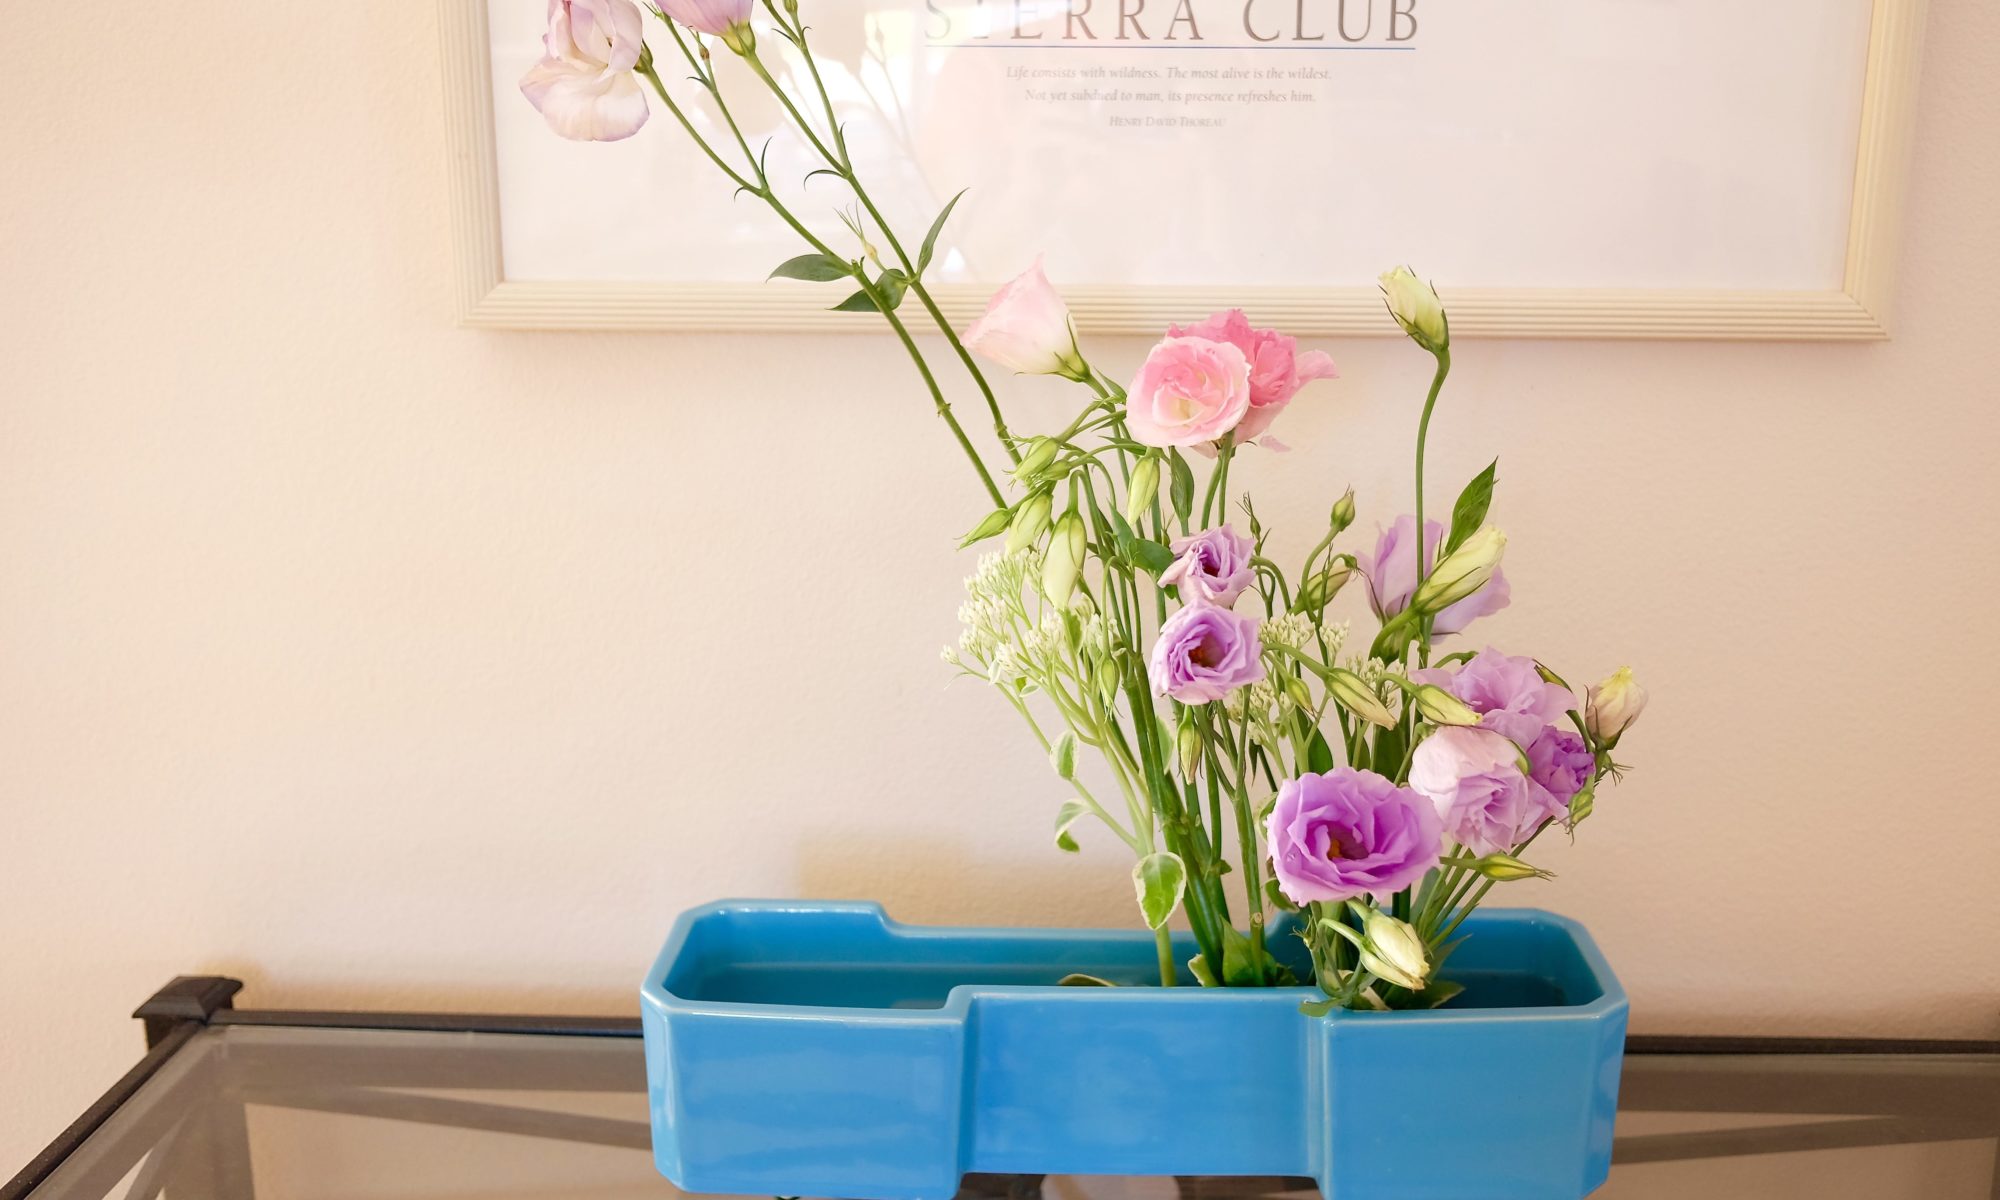
Assuming that several people will be sitting at the table and carrying conversation during the meal, you don’t want your centerpiece to be a distracting factor for your conversation.  Make it short enough so that it doesn’t hide the face of the person sitting across the table.  For that purpose, you might want to choose a flat container.

Direction:

If you are placing the piece against the wall, nobody will be poking the arrangement from the back, so you don’t have to worry about how it looks from the back.  Not the case of a centerpiece.  People will be looking at the piece from all different directions. You want to make sure that the piece looks nice from 360 degrees.   When you arrange flowers, rotate the container occasionally and see if you have covered all the directions.

Scent:

You might be tempted to use that gorgeous lily you have just picked up from your garden, but wait!  Its fragrance is so strong that it might clash or spoil your dinner you serve.  For a  table centerpiece, it is safe to avoid flowers with too strong fragrance.

With these three things in mind, let’s spruce up your dining table with flowers.  Enjoy!

How to Make a Memorable Holiday Ikebana

It’s winter. The day time is short.  Here in Seattle today, the sun rises at 7:50am and sets at 4:18pm. By now most deciduous trees have lost leaves and they look bare.

Focus on Color

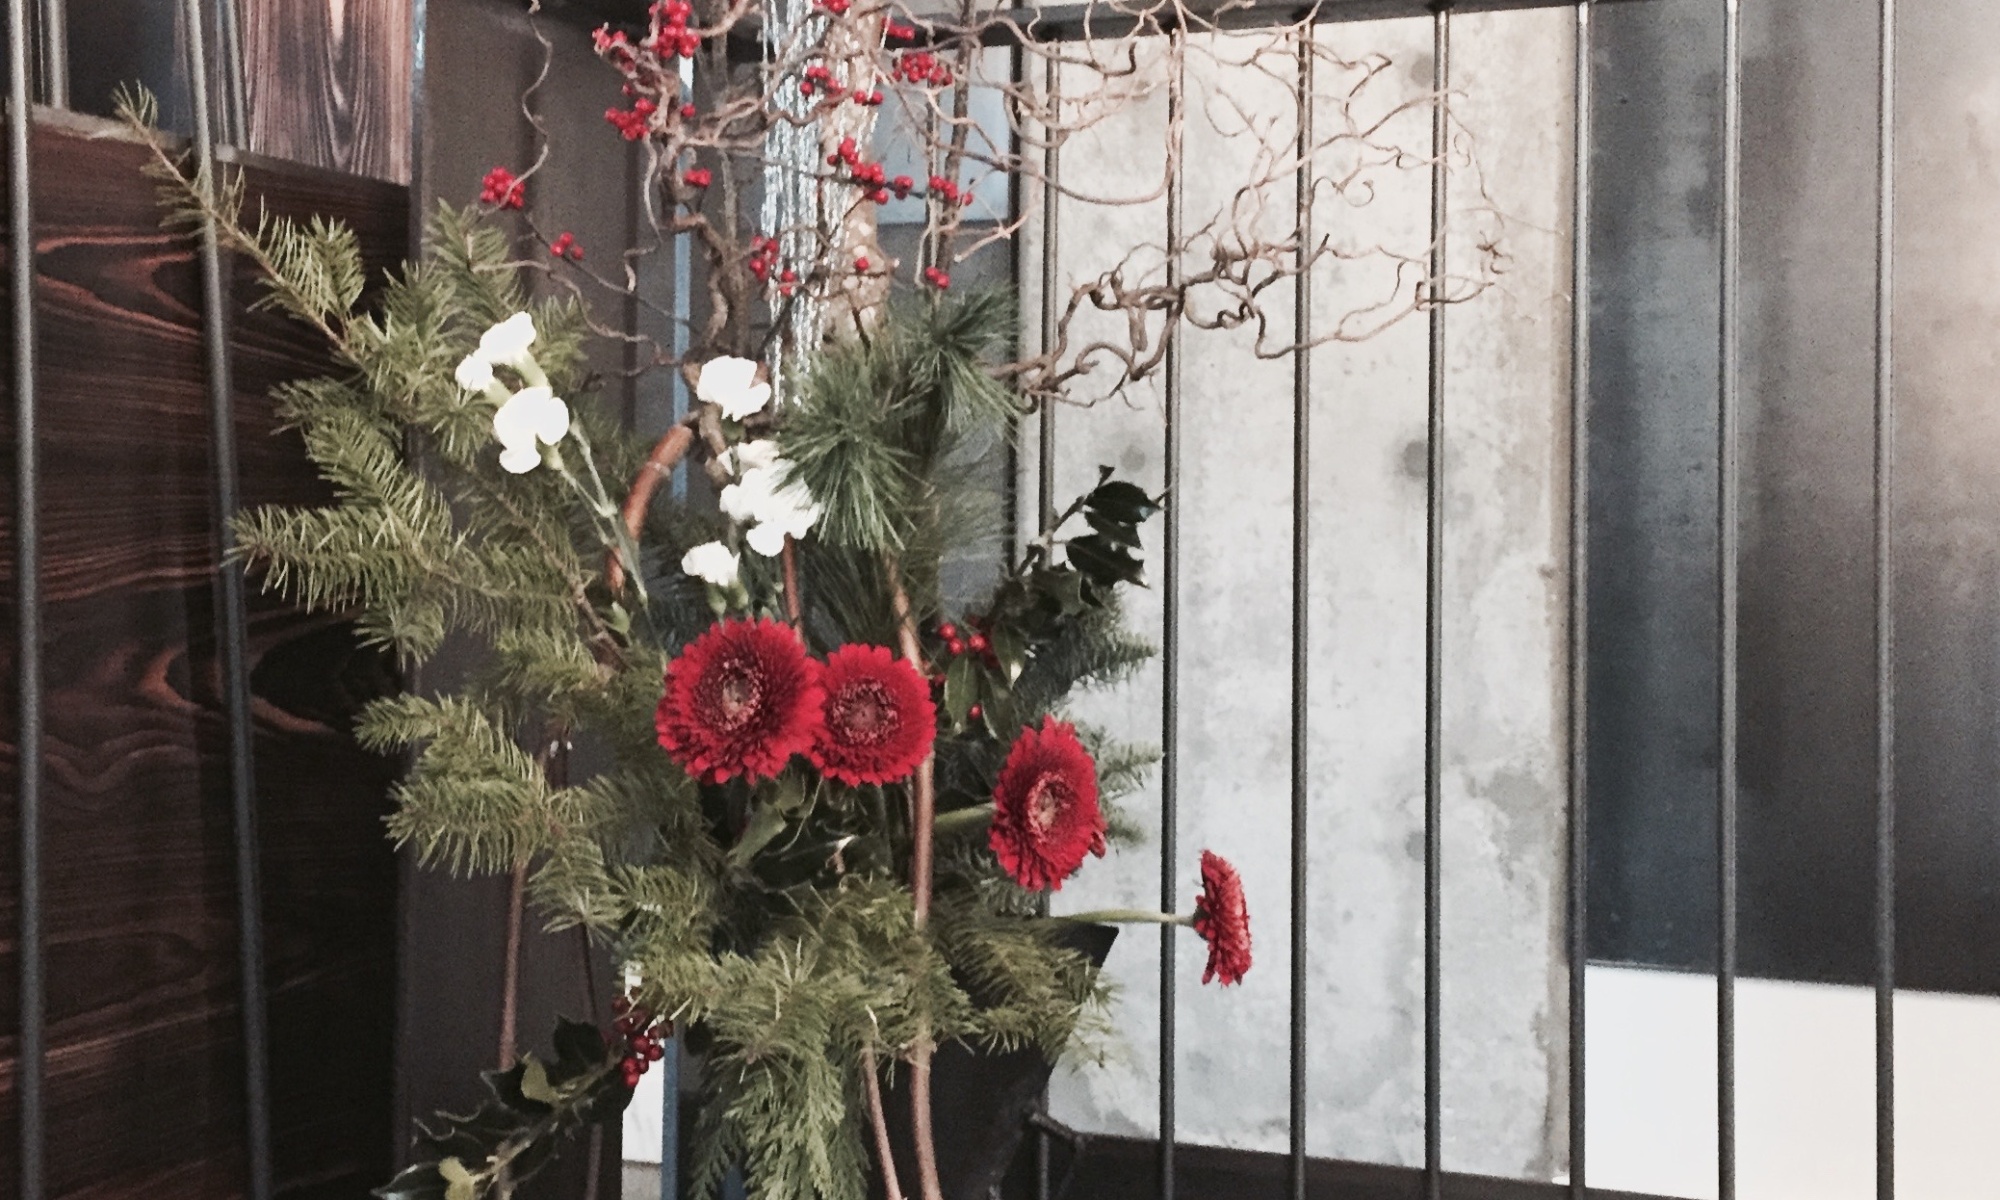
When everything else looks dull in color such as gray and brown, the vivid green of trees such as cedar, fir and yew, looks all the more attractive.

No wonder why we look to evergreen to decorate inside and outside the house.

Green and Red: Complementary Colors

The complementary color of green is red.  When placed next to each other, green and red give us the most striking contrast in the eye. And this high color contrast makes us feel full of life in the middle of winter.

Color is one of the important elements for Ikebana.  Do you have any evergreen plant in your yard? Why not trimming a little and bringing home? Add some red color. Flowers, fruits, or even ribbons will do. Enjoy the high contrast of these two colors!

Color is one of the important elements for Ikebana.  Do you have any evergreen plant in your yard? Why not trimming a little and bringing home? Add some red color. Flowers, fruits, or even ribbons will do. Enjoy the high contrast of these two colors!

Ikebana

What Is the Tip for Using Kenzan

Ikebana

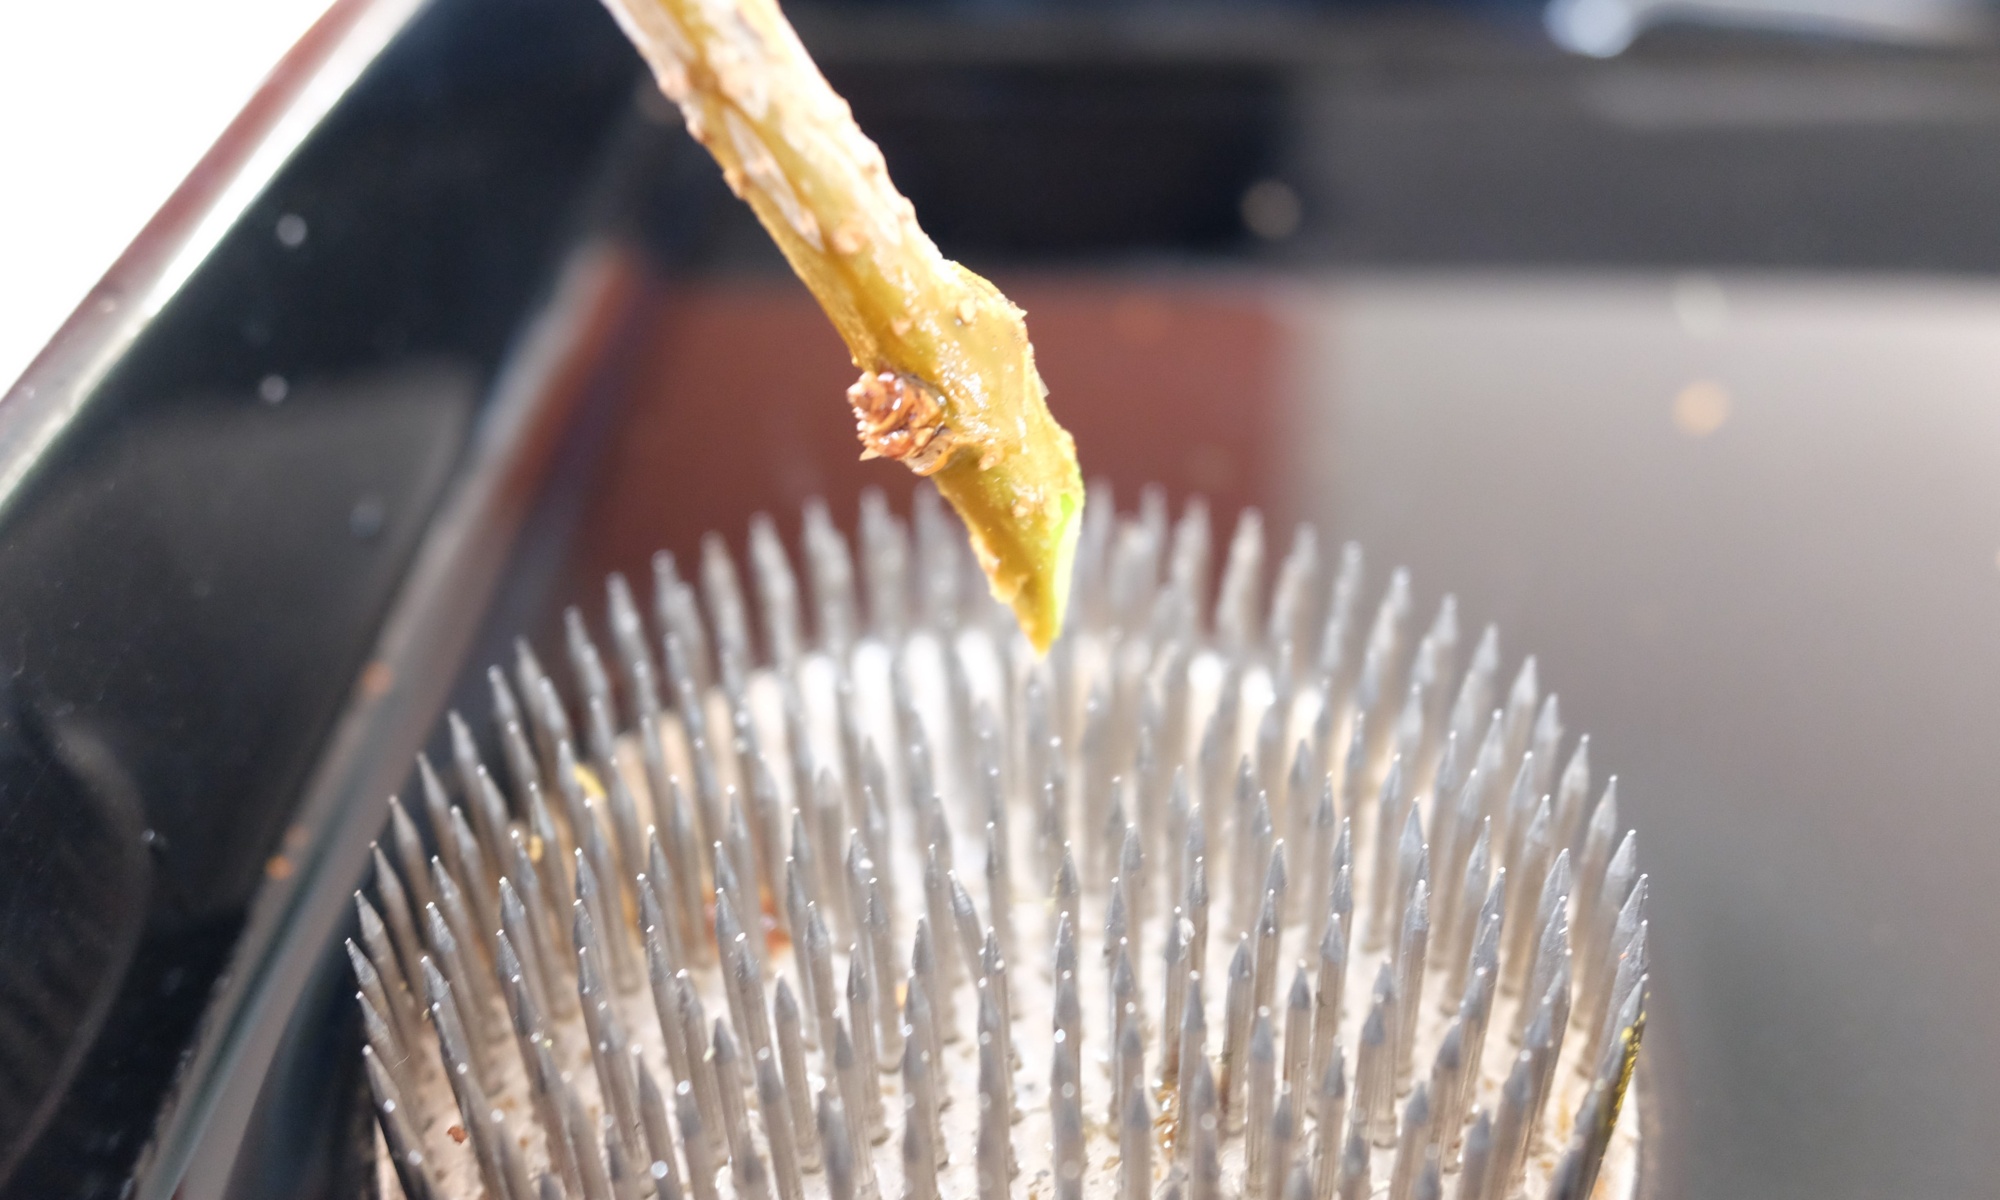
If you want to place the branch onto the Kenzan, how do you do it?

I have seen so many people try to place the cut end of the branch against the pins of  Kenzan. However, it’s hard to securely place the branch that way.

It’s rather counter-intuitive, but try this.

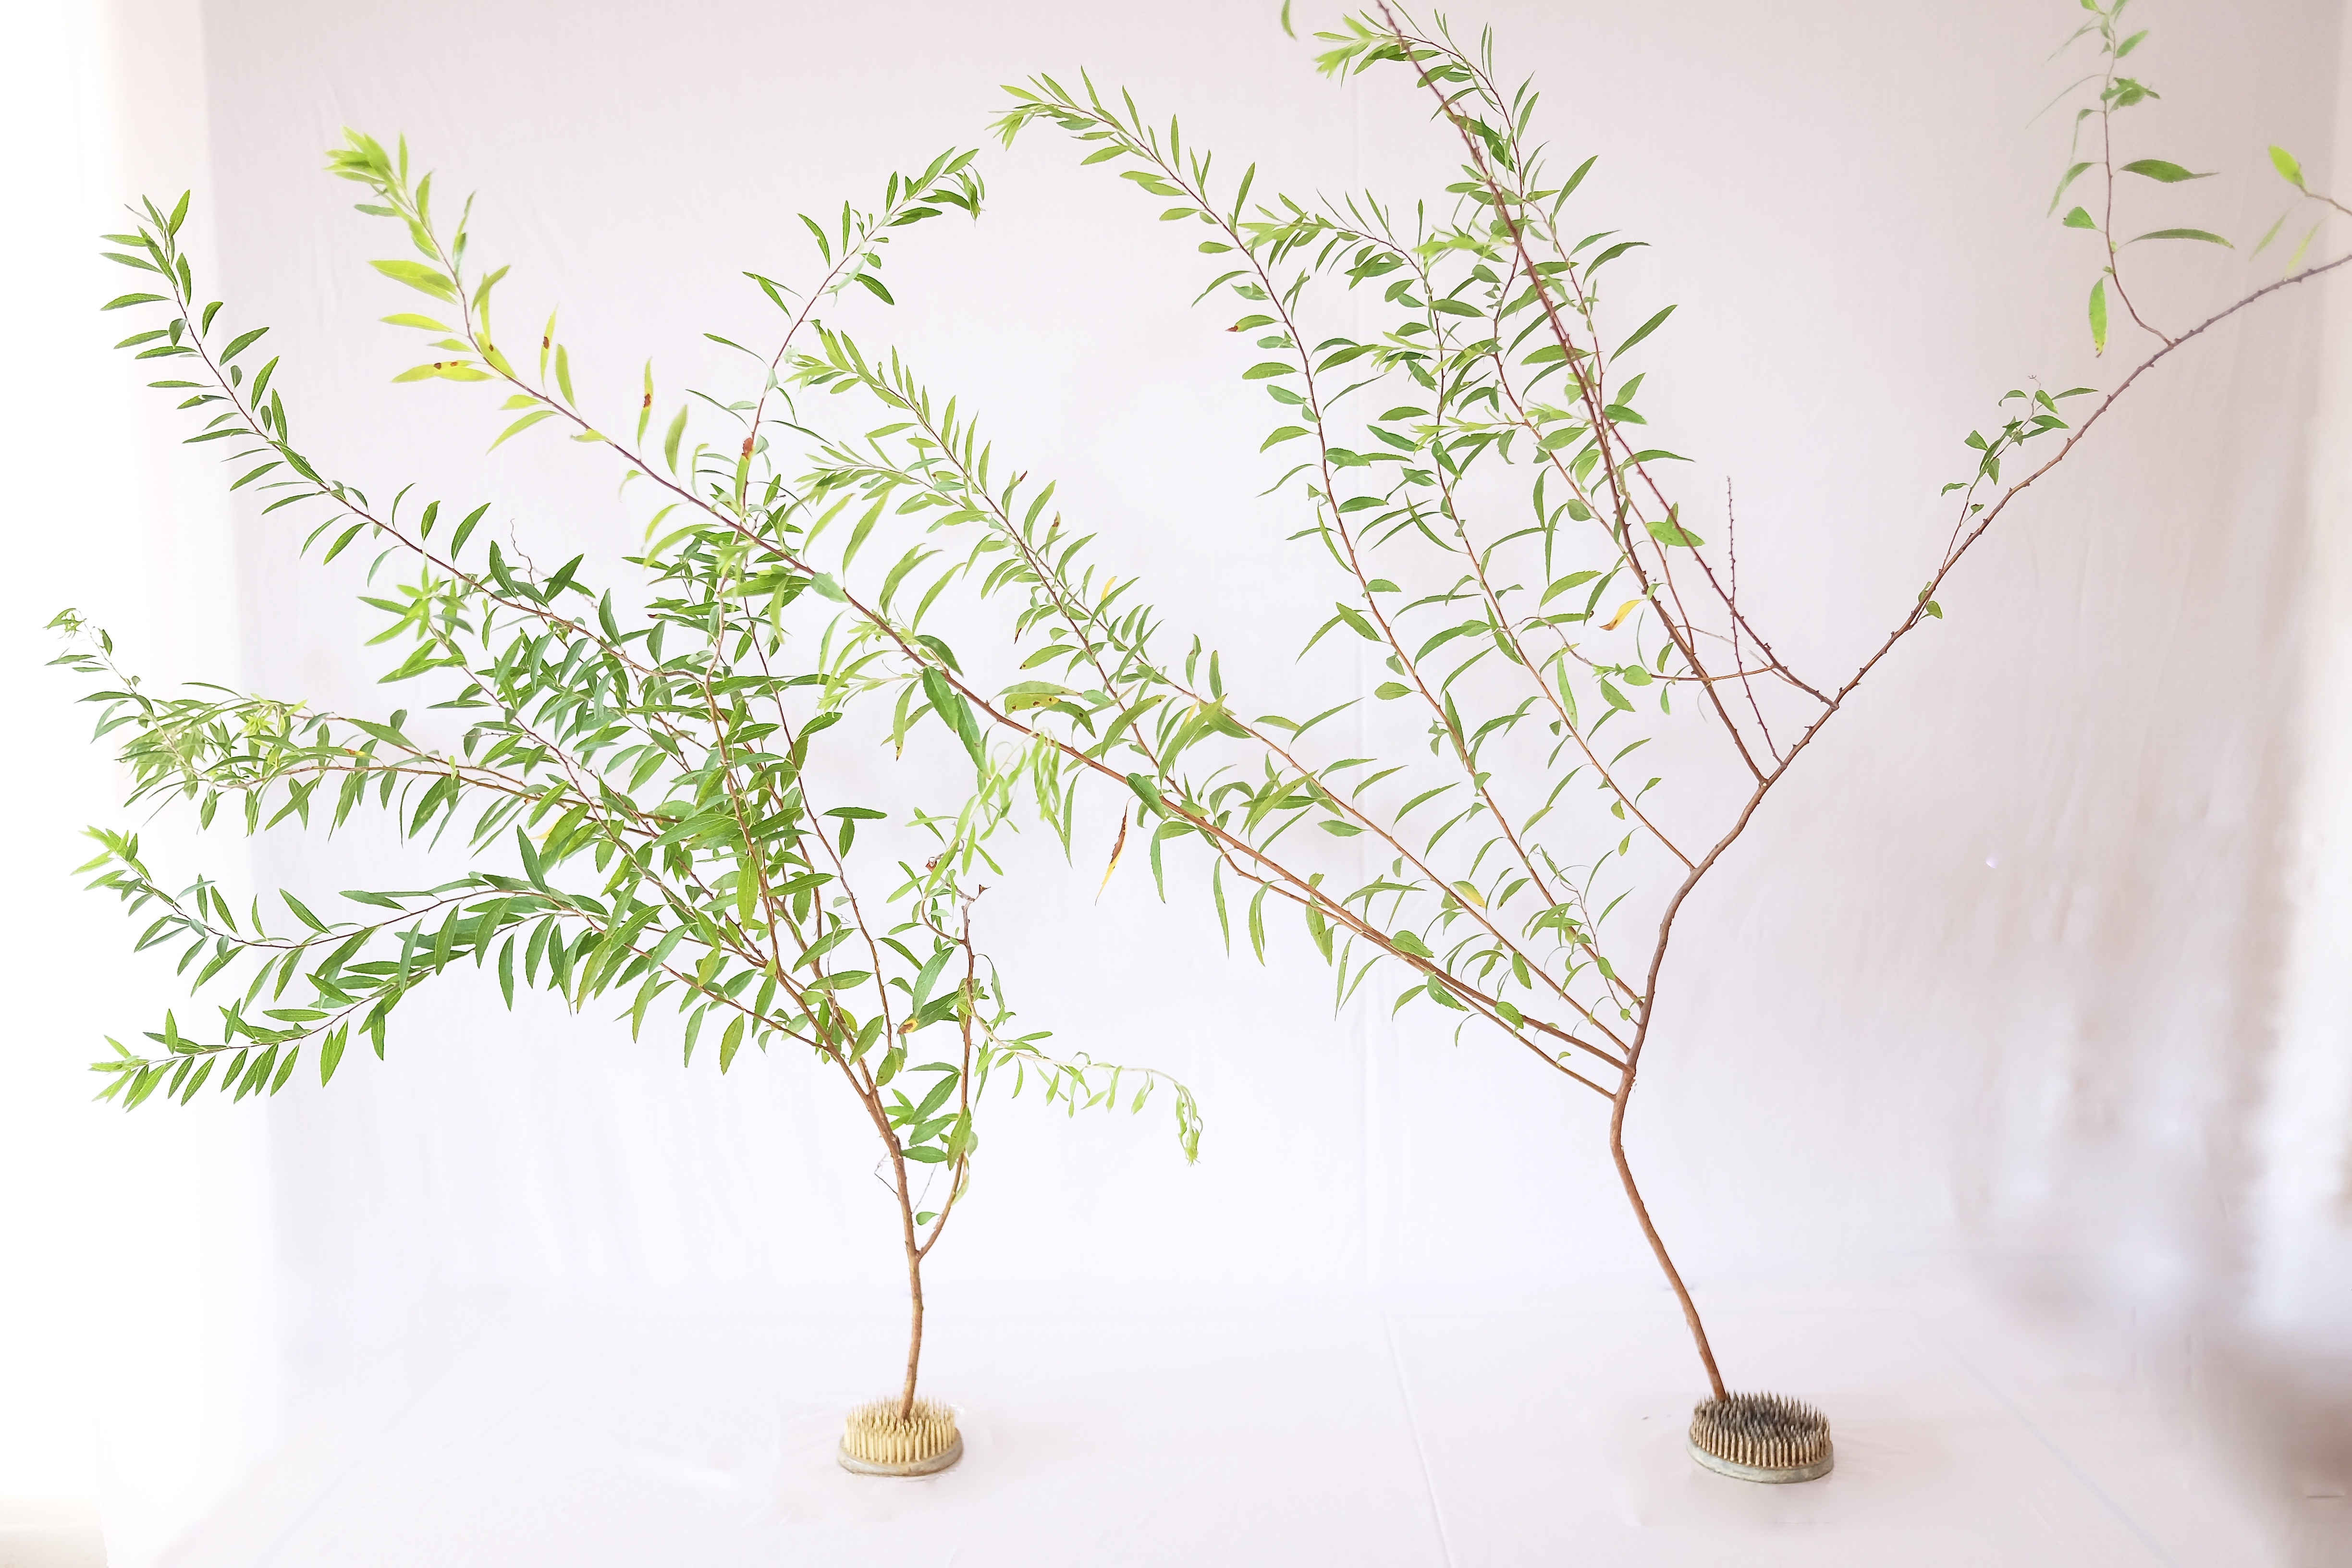
  • You first cut the branch not straight, but slanting, like shown on the photo.
  • Holding the branch with both hands, you place the cut end of the branch straight onto the Kenzan. You almost thrust the Kenzan with the sharp tip of the branch.
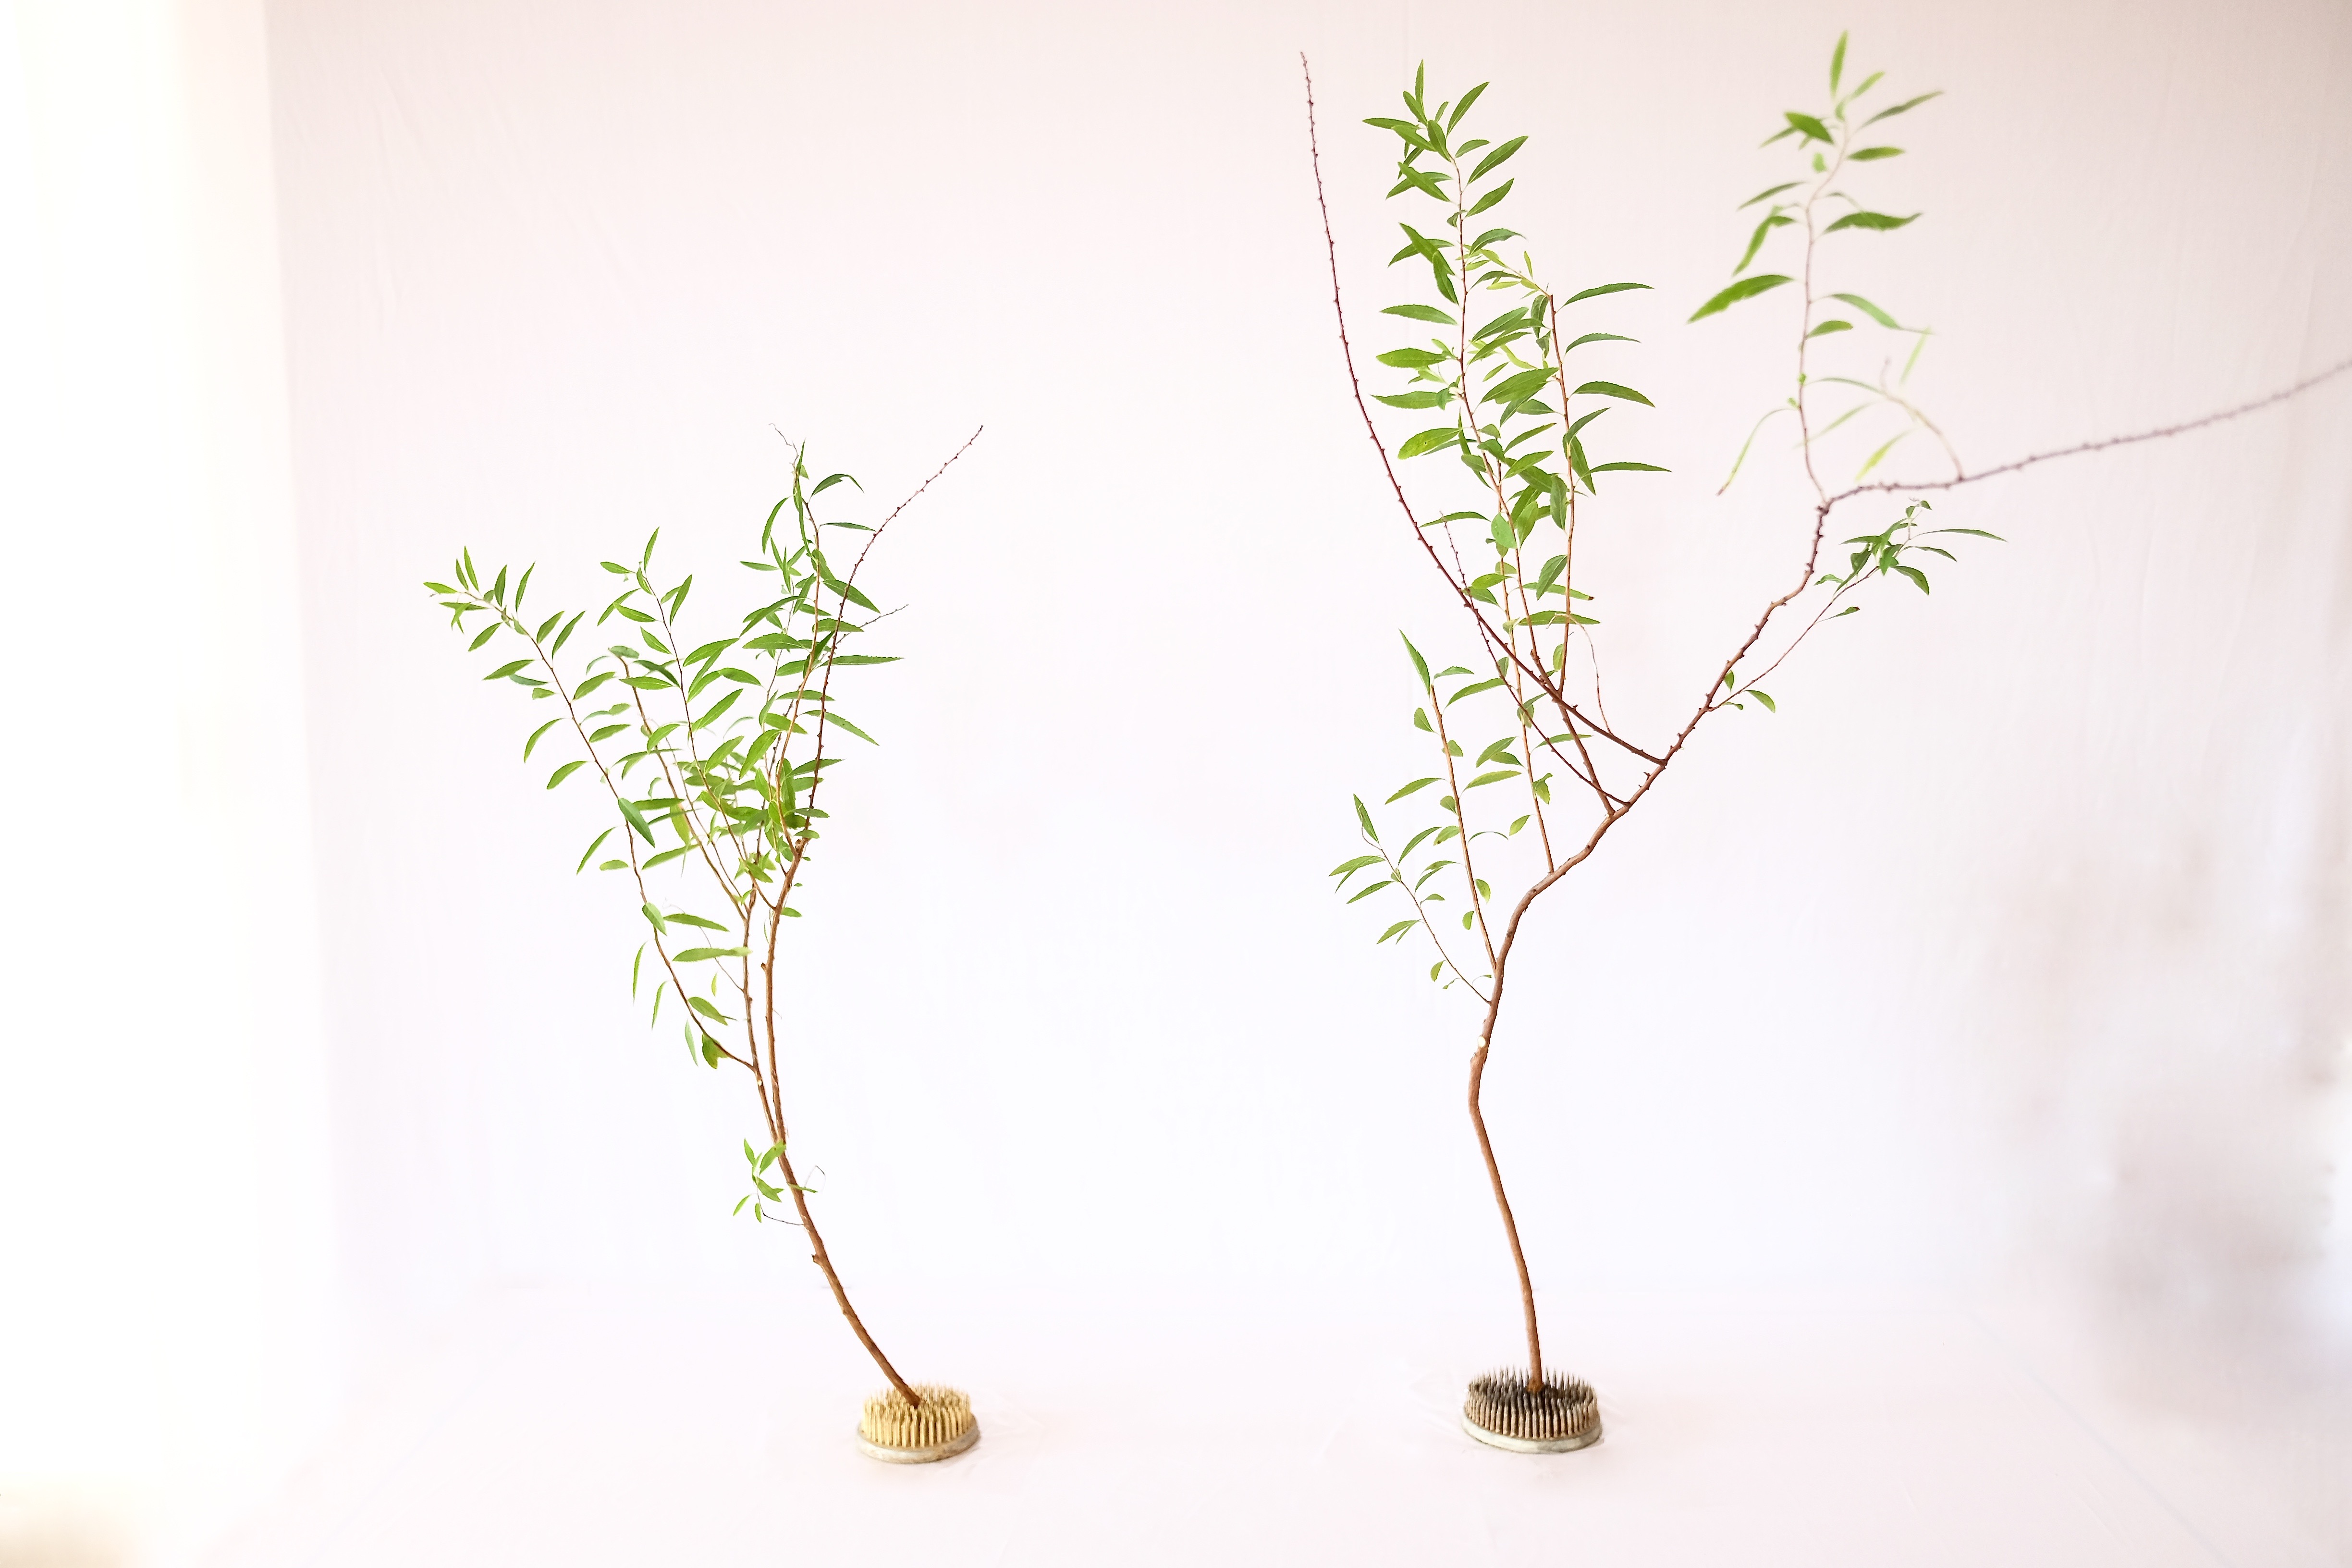
  • Once the branch is securely placed onto Kenzan straight, then slant the branch to the side of the longer bark, not the other way.

In other words, if you want to place the branch slanted to one direction, you have to leave the bark long on the side to which the branch will incline.

You will now securely place the branch. Try a couple of times, until it becomes natural to you.

Which Material is Suitable for Fall Arrangements

If you live in a tropical place surrounded by beautiful lowers, lucky you.  You don’t have this problem.  If you are like me, living in a place where fresh local flowers are getting scarce lately, you might get depressed….

Let’s not! If you look around, you will find abundance of beautiful materials for your fall arrangements.

Fruits

Ikebana

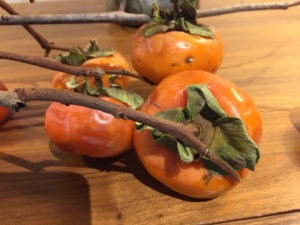
After those pretty flowers are gone from branches, what do you see next?  With successful pollination, now you see fruits on the branch.  Some fruits look delicious and the best way to enjoy them is to eat them.  Some fruits, however, may be too sour or too ripe.  They are not good enough to be consumed.

They are good enough to please your eyes, though.  The rich color and dense volume of any fruit, large and small, gives you totally different impression from any flower.

You don’t need many of them.  Even a single fruit on a vase may have a significant presence.

Leaves

Ikebana

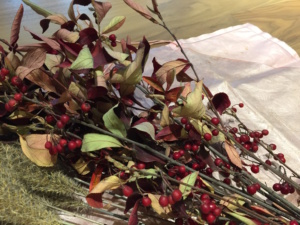
Maple is not the only tree whose leaves turn color.  The foliage of many perennials change color before finally wilting.  Leaves just about to fall (but not yet) give you such a delicate feeling.

Grass

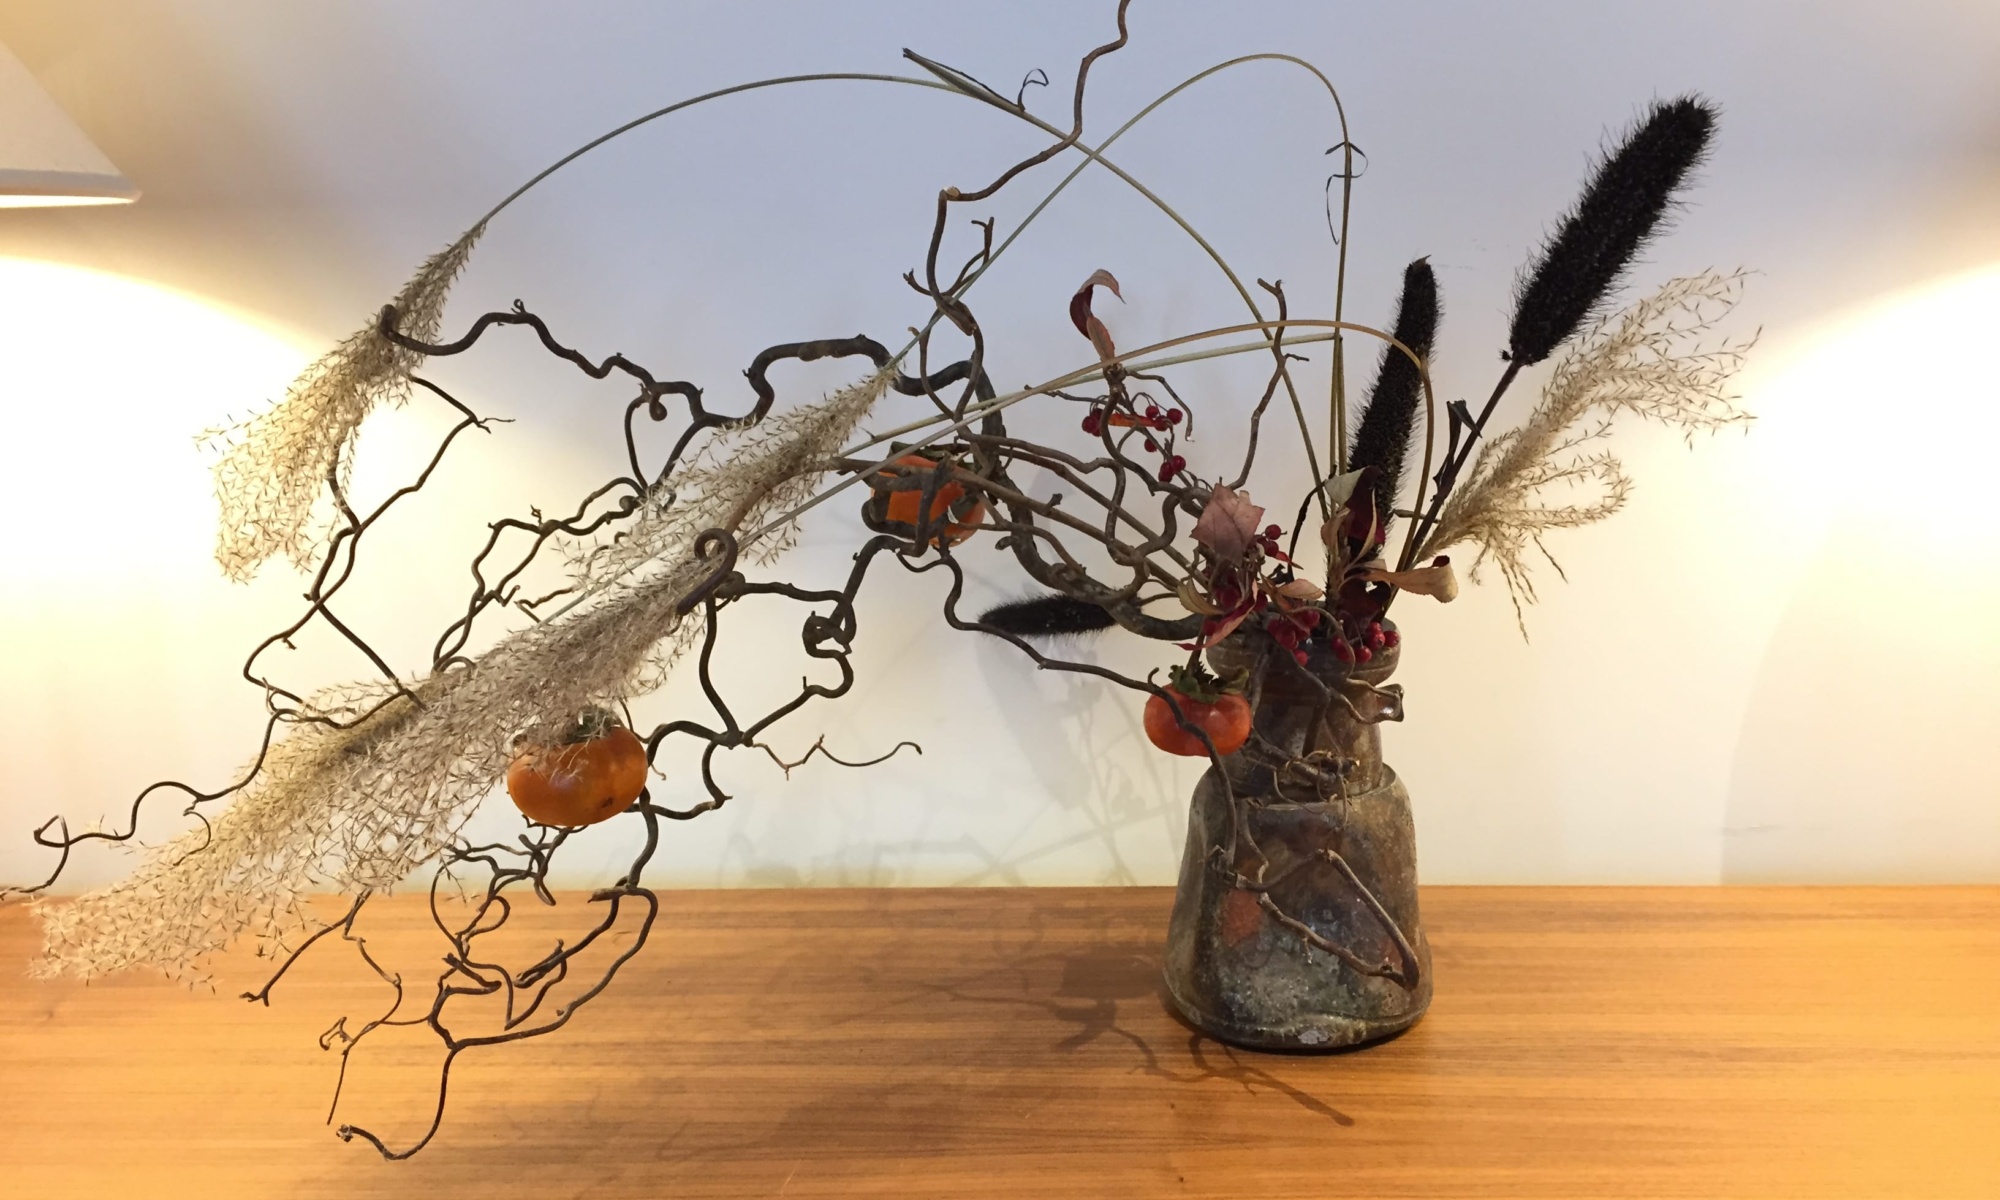
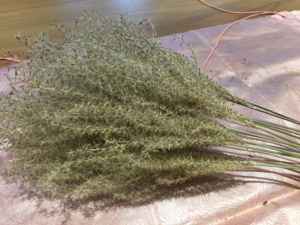
Lacy Pampas grass, sticking out of green leaves, is a good addition. You can use it as dry material, which means you don’t have to remain the tip under water.  The lacey appearance of the grass softens the atmosphere and appearance of other materials.

You might have heard a Japanese term “wabi-sabi.” Although there is no good English term that precisely express the meaning of “wabi-sabi,” somewhat rustic appearance of fruits, leaves with turning color and grass, all perfectly represent the beauty of “wabi-sabi.” Let’s enjoy it to the full in this season!


How to Make Flowers Last Longer

Of course you know that fresh flowers won’t last forever.  They are not dry, nor are they preserved.  They look beautiful on the first day, but the next day they may be wilted.

But of course you want the flowers to last as long as they can.  What can you do to make them flowers last longer?

Why Cut Flower Stems under Water

The simplest, but most effective way to make your beautiful flowers last longer is to cut stems under water.

The vascular system of plants transports water and nutrients from the roots to the leaves upward.  When the stem is cut, this vascular system is truncated.  The air may be drawn into the stem and creating the air pocket and blocking the water absorption.

If you bought the cut flowers at the flower shop, they were most likely transported dry.  With the air pocket in the stem, the plant won’t be able to absorb water even if there is water in the vase.

When you cut the stem under water, you prevent creating the air pocket, so that the flowers can continue to absorb water from the vase.

How to Cut Flower Stems under Water

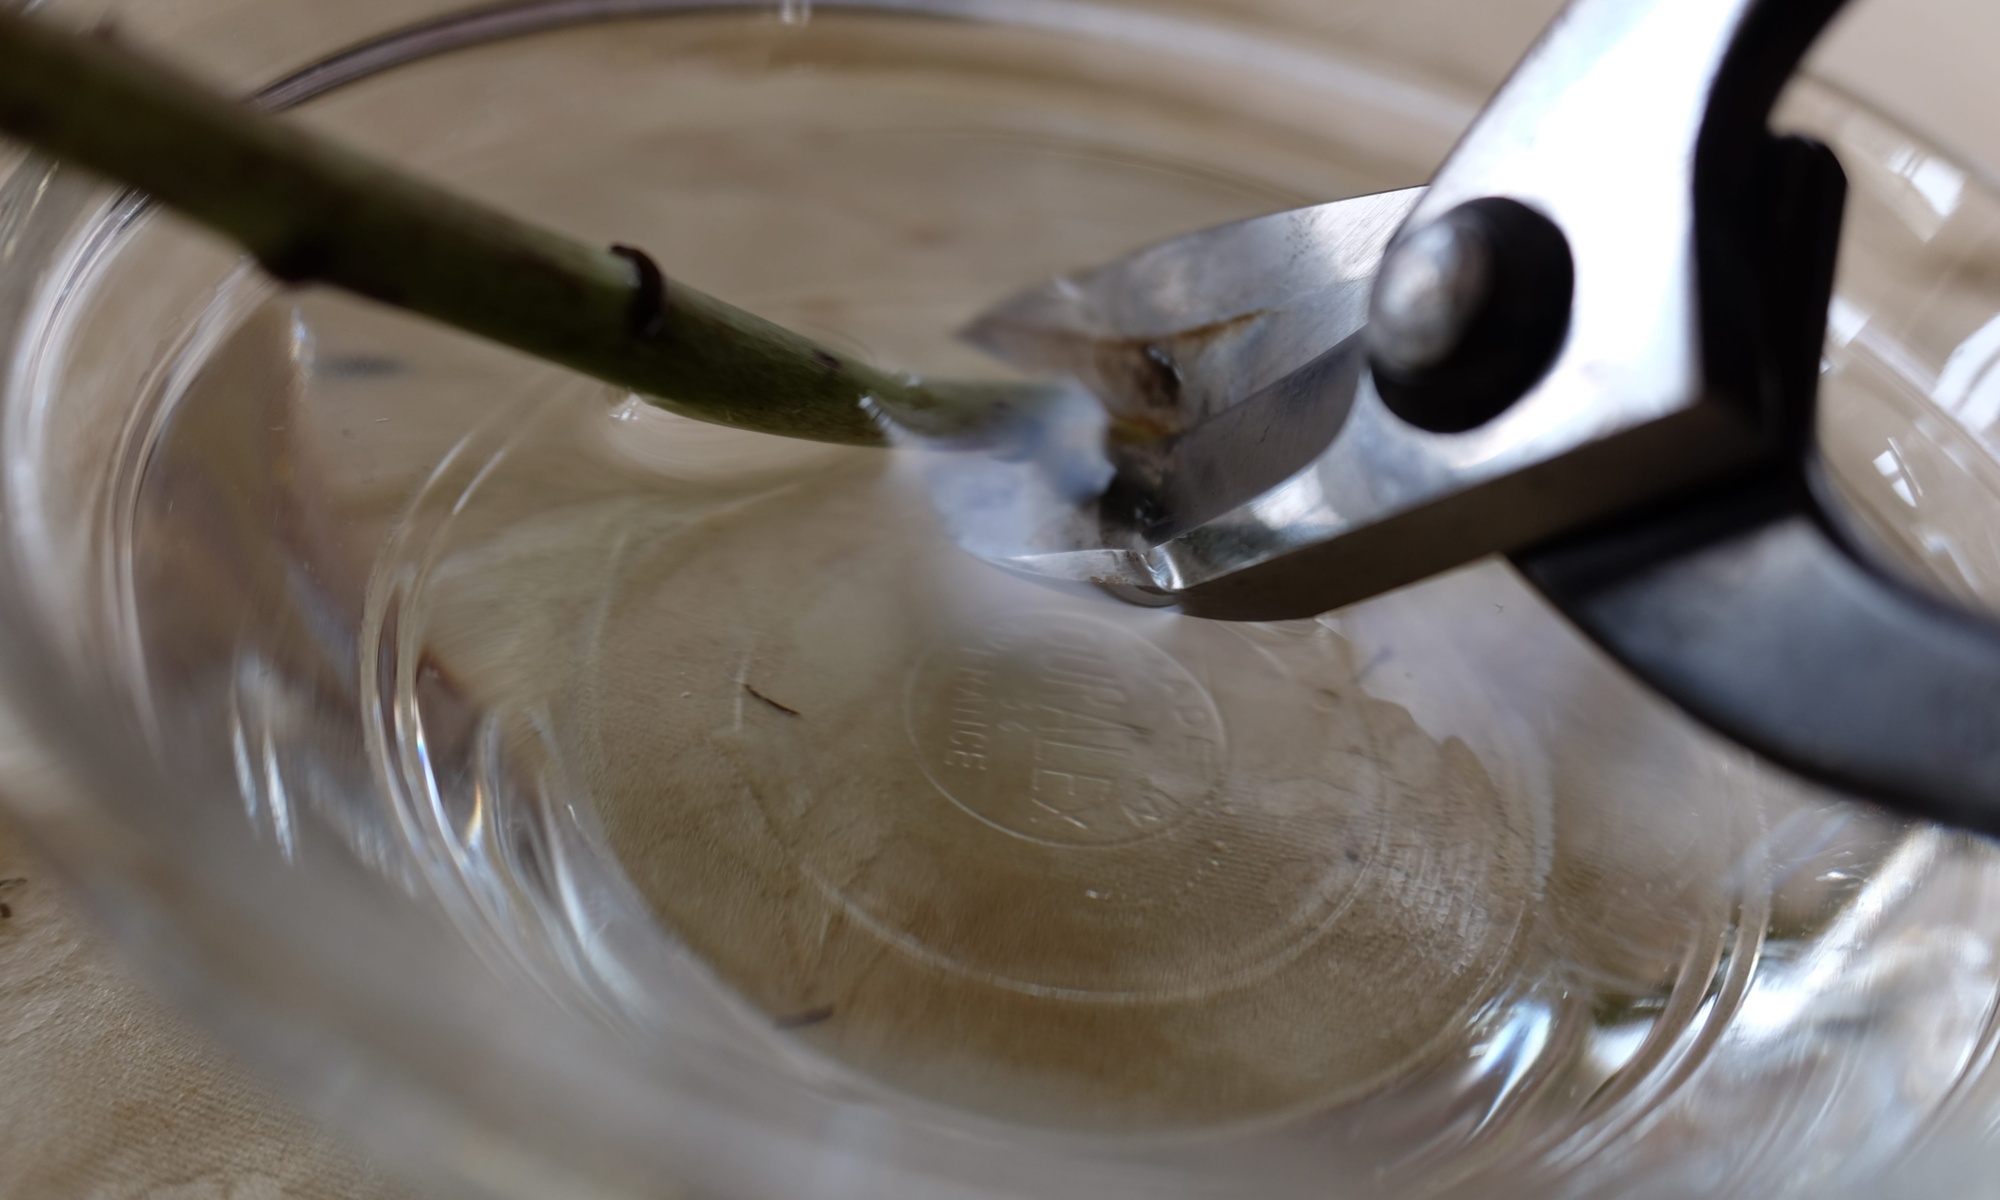
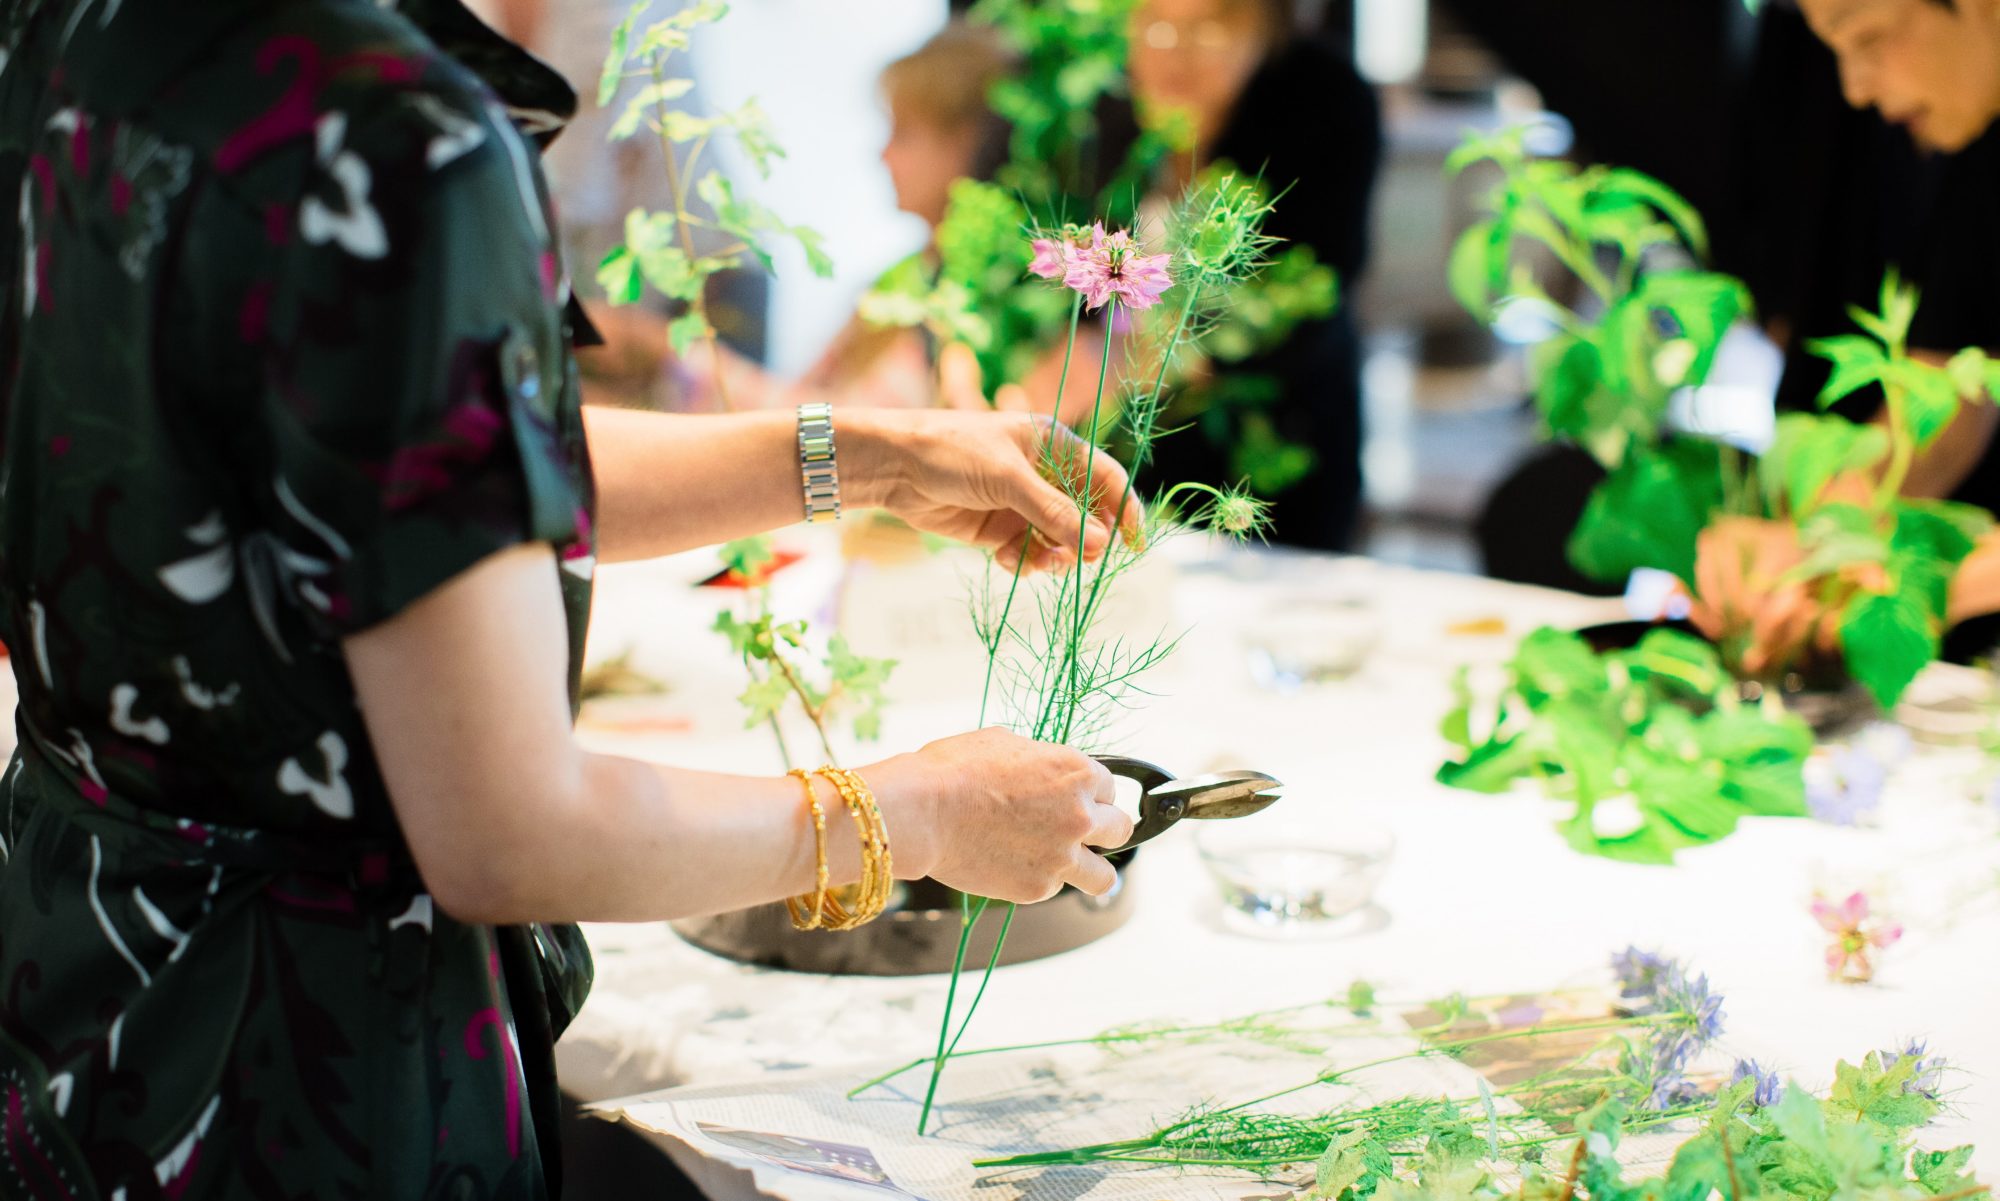
When arranging flowers, right before placing each flower, cut the stem under water, half an inch or so.  You may want to cut a couple of times for each stem.

If you don’t arrange flowers right away after bringing them home, cut each stem under water and then keep them in the water until you make an arrangement.  When you arrange flowers, don’t forget to cut stems under water again.

For some plants (like wisteria), you may want to dip the stem edge into alcohol.  For other plants (like poinsettia), you may want to briefly burn the edge.  For most of the flowers, however, cutting the stems under water will help prolong the life.

To avoid your scissors from rusting, don’t forget to wipe out water after cutting the stems under water.  A small towel comes handy, so keep it together with your scissors.
 

How to Decorate Different Rooms with Same Flowers

If flowers are in full bloom in your back yard, why not bring them in the house?  You don’t have to stay in the sun long time in order to appreciate them.

No problem if you have only one kind.  Here is how you can decorate different places in your house with the same flowers.

Flowers in the Living Room

You would want to enjoy flowers in the room where you spend most of your time. May it be your living room or dining room, find a flat surface, like on the sideboard or cabinet.

Next, pick your favorite vase in the house.  Chances are that the vase has never been accompanied with real flowers. With fresh flowers in companion, your vase will look different.

Flowers in the Bath Room

With flowers


Without flowers

How many times do you visit this rather tiny room in your house?  I do, quite often.  Why not enjoy your beautiful flowers there?

Good news is you don’t need a lot of flowers.  Place them near the mirror, like shown in the photo, then your flowers look twice as much with the reflection.

Flowers in the Entrance

Give a warm welcome with your beautiful flowers to anybody who opens the front door. You don’t need a big space for that.  Find a little opening where you can place a small vase or cup, fill it with water, and put a stem or two.


Who will find it first?

Flowers in the Bedroom

How about ending your day with a moment of calmness? Your flowers will help you relax. In the dim light in the bedroom, your flowers will look so different from the ones in the living room.

Which Tools I Need to Make an Ikebana Art

Now you know the true meaning of Ikebana. You feel like trying it. You want to give a new life to flowers! What tools do you need? Here is a list of things you need for Ikebana.

Three Must Haves

For Ikebana, you need at least these three items:

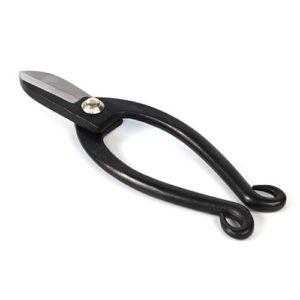
  • Scissors

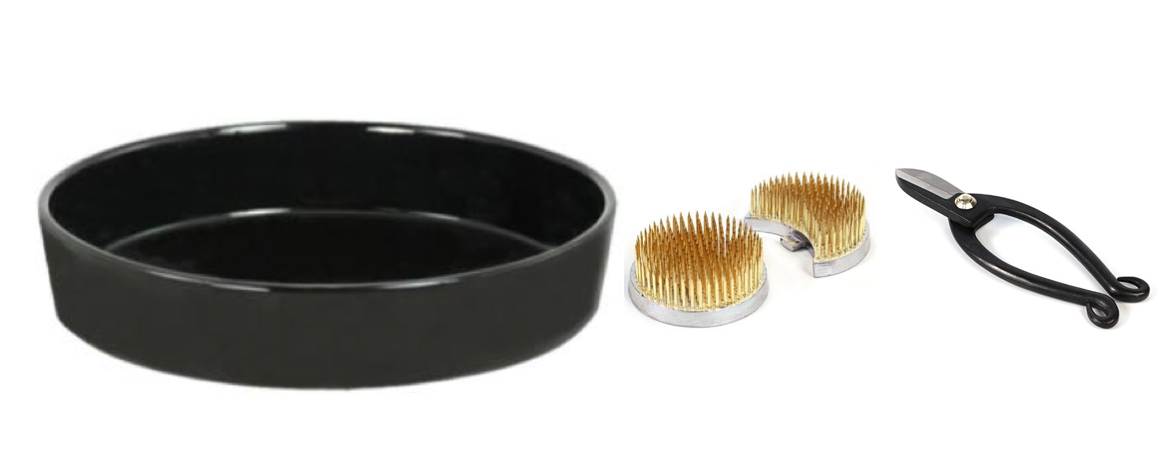
The most common type is called Ikenobo hasami (hasami means scissors in Japanese).The tip of the handles is curled up, giving appropriate weight on the handles.  They are mainly made of iron orstainless steel. The size is about 6-7 inches long.

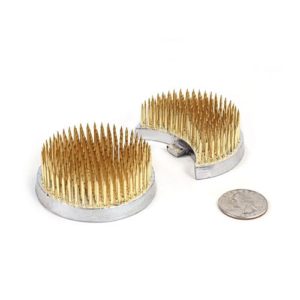
  • Kenzan


The pinfrog is called kenzan. For the container with 12 inches diameter, a round kenzan with 2.5 – 3 inches in diameter would be appropriate.  The kenzan shown in the photo above is called Sun and Moon.  I recommend this type, because often times you will use the moon-shaped one as weight if you use a heavy branch.

  • Container… A round, shallow, flat-bottom container as shown in the photo above is most versatile for a beginner. Twelve inches in diameter is a good size. A square or rectangle shape will work, too.  Any material would do, either ceramic, glass, or plastic.  Make sure there are no holes or leakage!

Also Need to Haves

  • Small bowl… You fill the small bowl with water and keep it beside the container. Whenever you cut a stem, you cut it under water. A bowl with 4-5 inches in diameter will be large enough.


  • Towel… In order to keep your scissors from rusting, you want to wipe out water from the blades after you cut stems. An old hand towel will be handy.

Nice to Haves (later, but not now)

Those items listed above are all you need to start Ikebana. As you keep practicing it, the next thing you want to add is a tall, slim container.  With two containers, one flat and one tall, your Ikebana repertoire will drastically expand.

As you further advance your skills, you will find yourself adding such items below in your Ikebana tool kit:  Wires, pins, staples, pliers, gloves, nails, hammers, etc.


Your First Ikebana Arrangement – Step by Step

You might wonder what exactly you do and learn at our Ikebana class. So here is a sneak preview of our first lesson.

Step 1: Remove unnecessary twigs and leaves

We will provide you with branches and flowers. These materials, however, need some thinning before you can use for your arrangement. Using a pair of scissors, you first remove unnecessary twigs and leaves.

Before

After

Step 2: Cut each stem to appropriate length

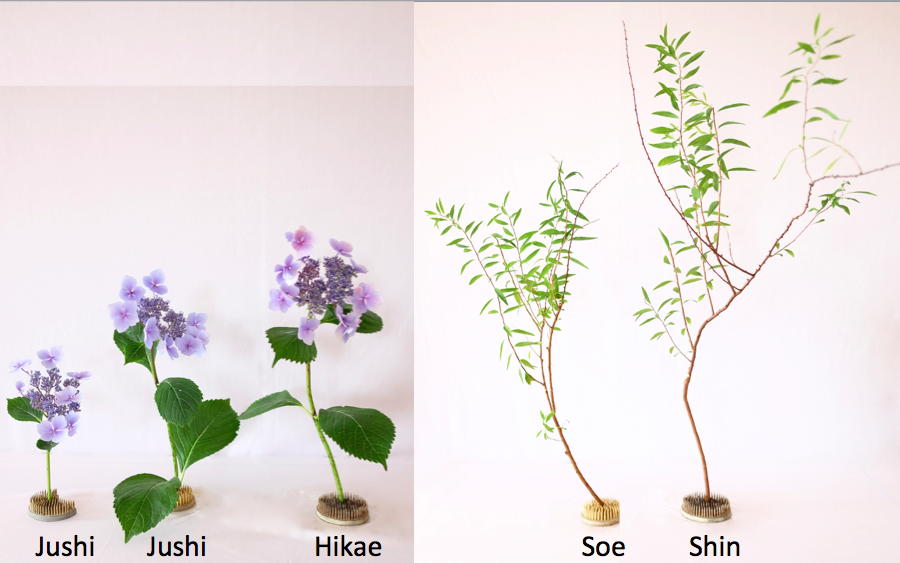
Ikebana is a three dimensional art.  With three lines, you construct the basic shape of your arrangement. The stems used for these lines are called Shushi (main stems). The longest Shushi is called Shin, the second longest is called Soe, and the third Hikae.

Then you have several Jushi, which are supporting stems. How many Jushi stems you add is totally up to you.

Step 3: Place Shin, Soe and Hikae onto Kenzan

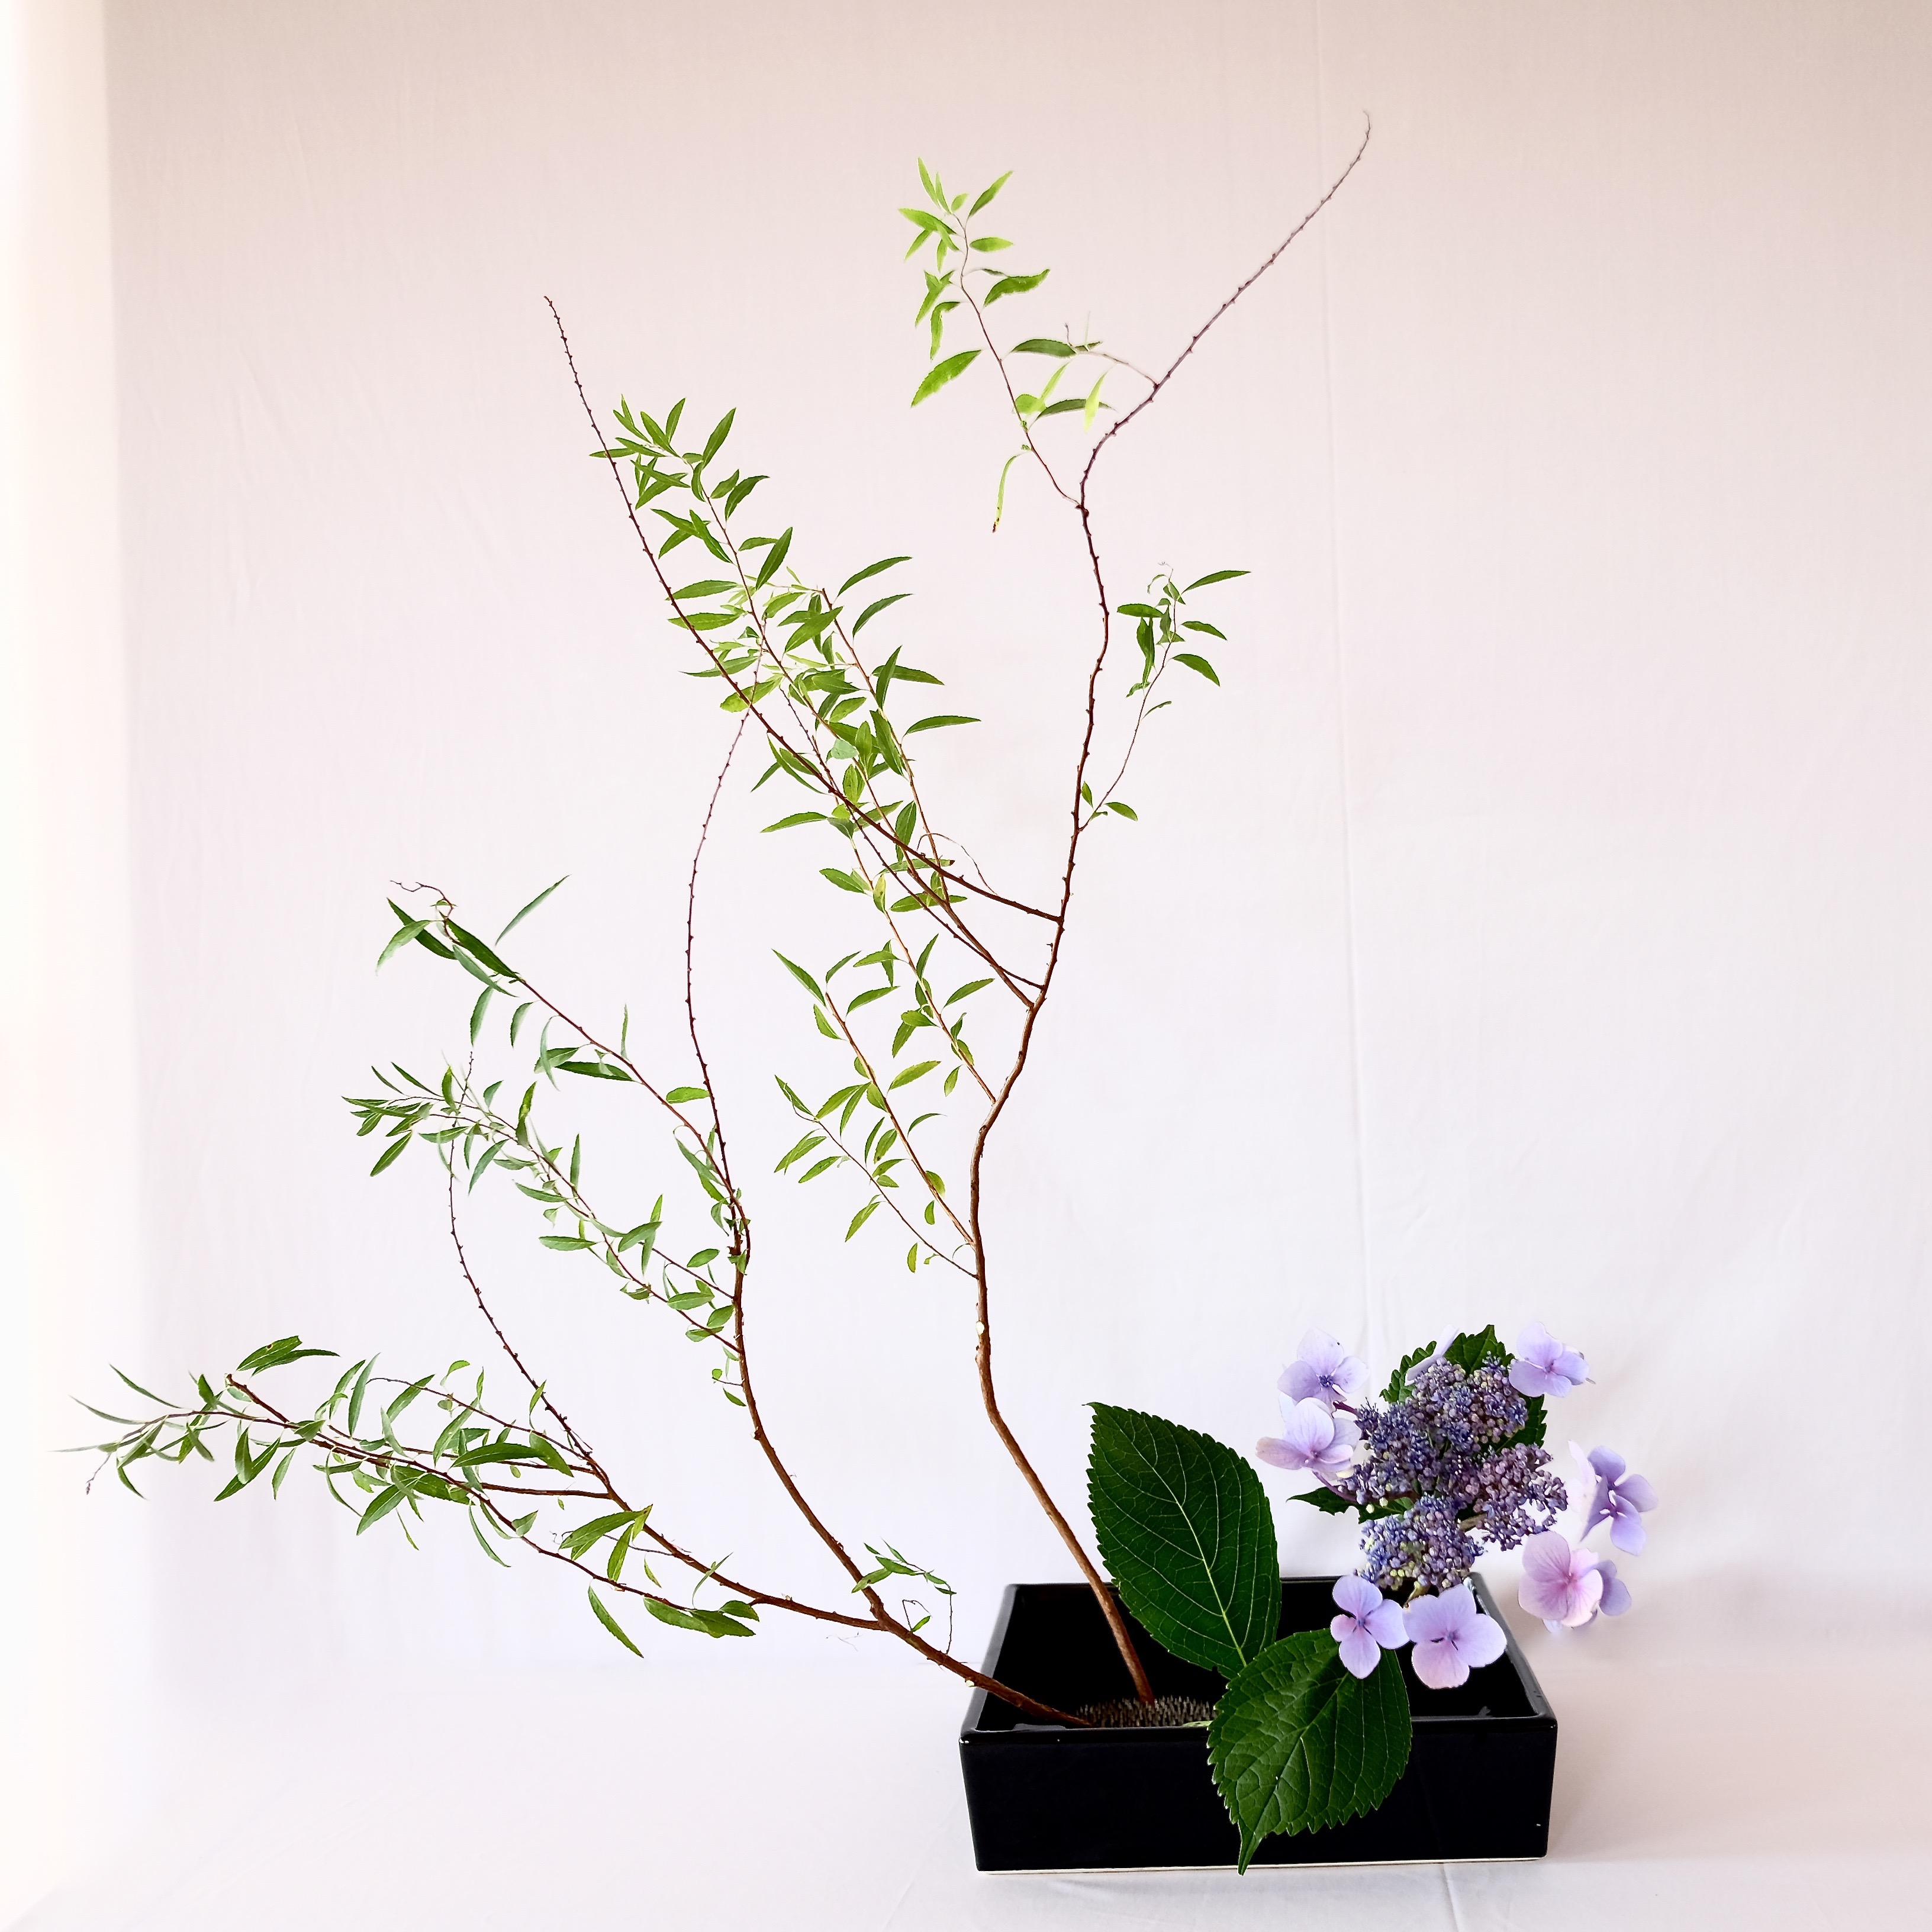
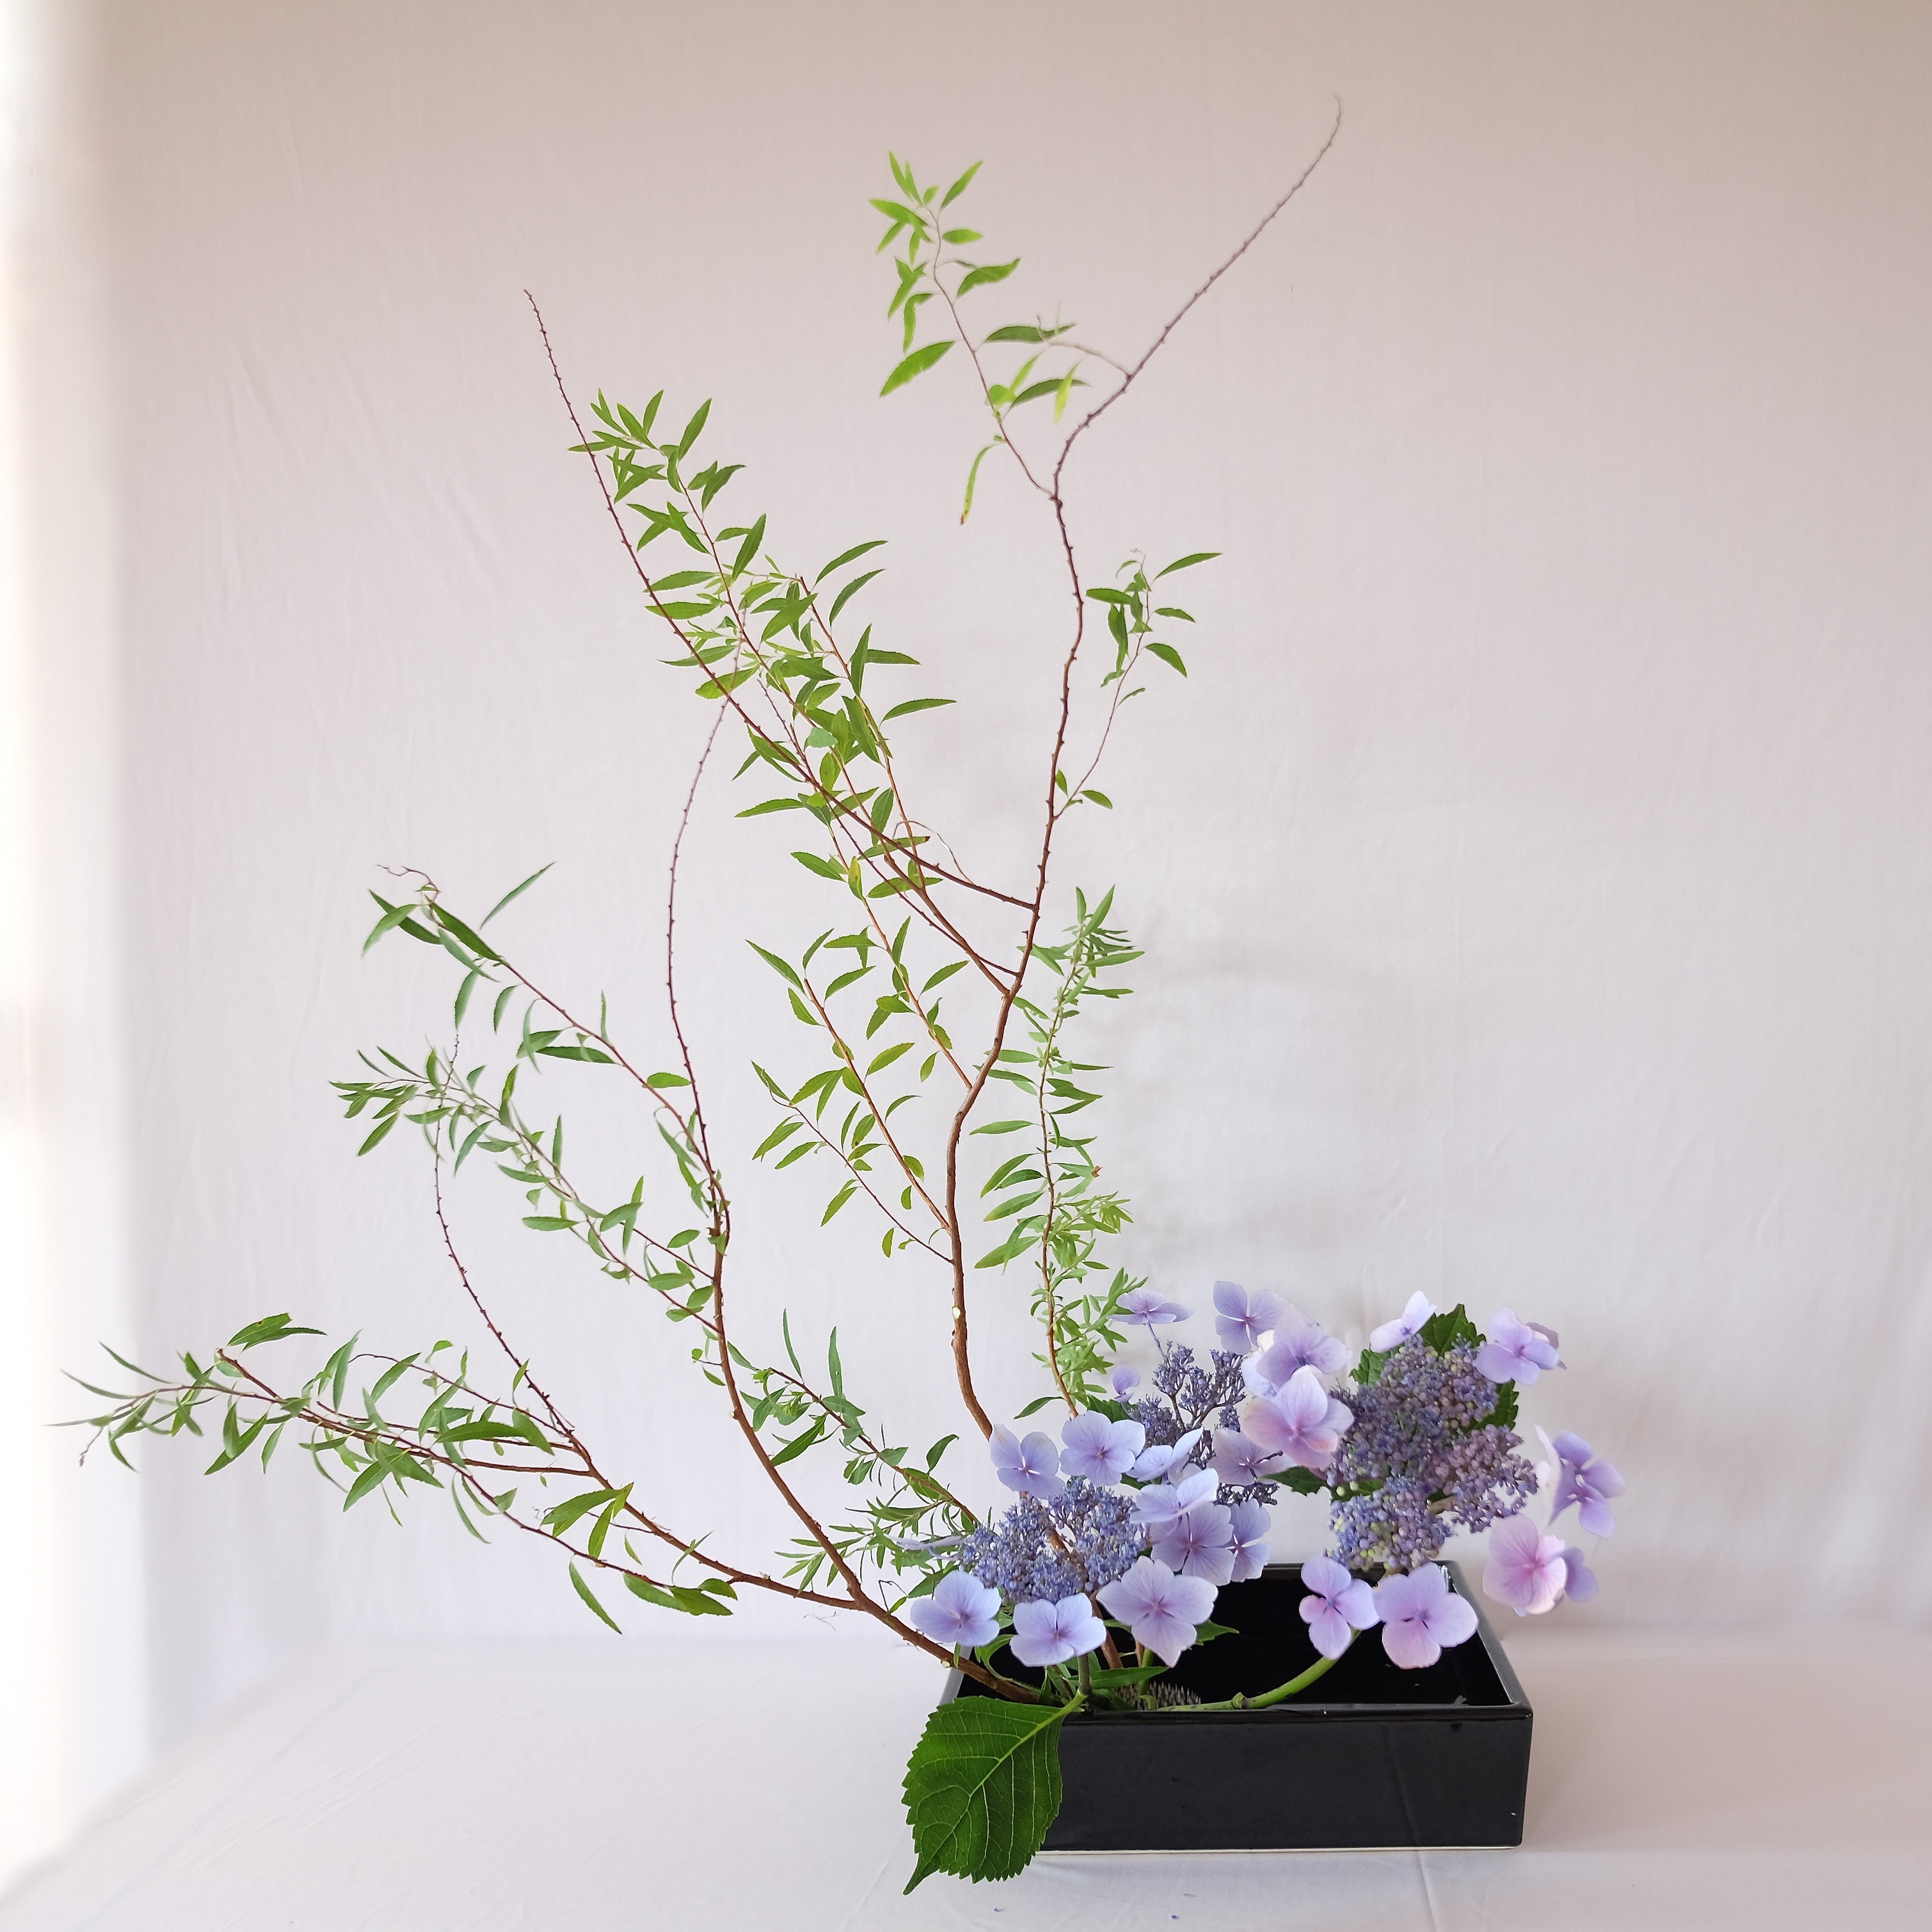
On the first lesson, you place Shin on 10-15 degrees left from upright, Soe on 45 degrees left, and Hikae on 75 degrees right. 

Step 4: Place Jushi to add fulness and depth

Finally, you place Jushi to add fulness and depth to your arrangement.  Another point to remember is to hide Kenzan. 


That’s it! 

Why not giving it a try? Come sign up for one of our classes at your convenience.